 Save to Pinterest
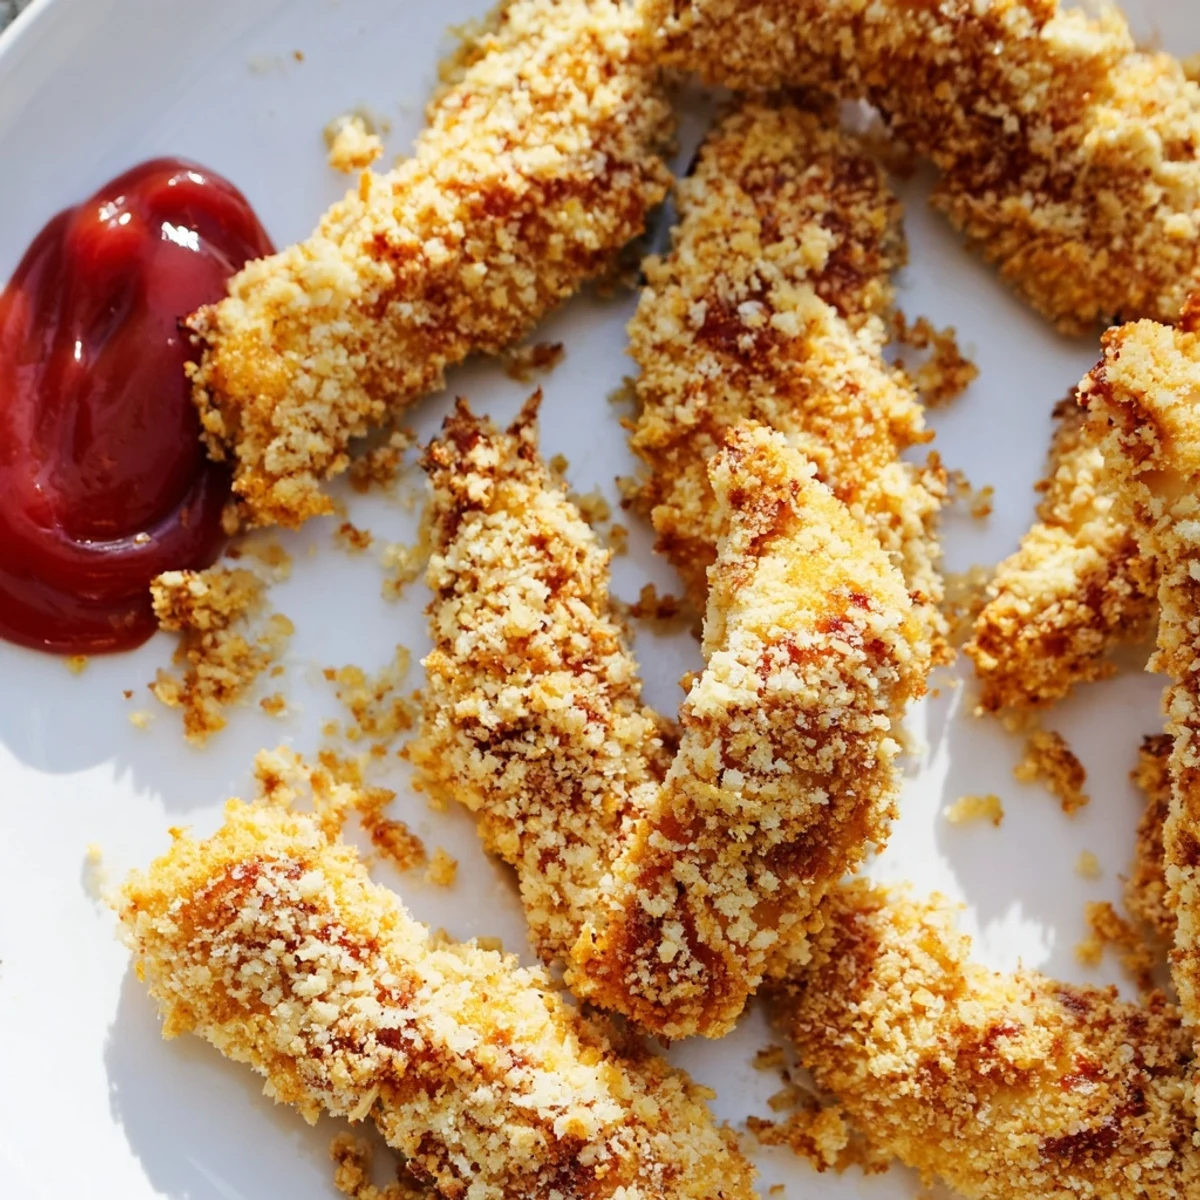
 Enjoy tender chicken strips coated in a crispy Parmesan and panko breadcrumb crust, baked to a golden finish. This straightforward method combines garlic, paprika, and olive oil for optimal flavor and texture. A creamy tangy sauce made with Greek yogurt, mustard, and lemon juice complements the chicken, adding brightness. Ideal for a quick, family-friendly dinner that balances crunch and moistness without frying.
There's something magical about the moment when you pull golden, crispy chicken tenders from the oven and the kitchen fills with that savory, toasted aroma. I discovered this recipe years ago while trying to recreate that satisfying crunch of fried chicken without the mess of deep frying. What started as a simple weeknight dinner experiment became the go-to meal I make whenever I need something that feels indulgent but doesn't require an apology.
My daughter once declared these were "better than the restaurant kind," which might be the highest compliment I've received in the kitchen. That's when I realized this recipe had crossed from being practical to becoming something my family actually requests. Now whenever someone comes over for a casual dinner, I find myself reaching for these tenders because they somehow please everyone.
Ingredients
- Chicken tenders or breast strips: Use fresh, not frozen, if you can—they coat more evenly and cook more uniformly.
- Panko breadcrumbs: These are coarser than regular breadcrumbs and give that satisfying crunch; don't skip the upgrade.
- Parmesan cheese: Freshly grated makes a noticeable difference in flavor, but pre-grated works in a pinch.
- Egg and milk mixture: This is your adhesive; it's what makes the coating stick and helps it brown.
- Garlic powder and paprika: These season the coating itself, so every bite has flavor, not just the outside.
- Olive oil: A light spray or drizzle prevents sticking and helps achieve that golden finish.
Instructions
- Set up your station:
- Arrange three shallow bowls in a line with flour in the first, beaten egg and milk in the second, and your breadcrumb-Parmesan mixture in the third. This assembly-line approach keeps things tidy and makes the coating process feel smooth.
- Prepare the chicken:
- Pat your tenders completely dry with paper towels; any moisture will prevent the coating from adhering properly. If some tenders are thick, you can gently pound them to an even thickness so they cook uniformly.
- Coat each tender:
- Dredge in flour, shaking off excess, then dip into the egg mixture, then press firmly into the breadcrumb mixture, making sure every side is covered. Place each coated tender on your prepared baking sheet without overcrowding.
- Add the finishing touch:
- Lightly drizzle or spray the coated tenders with olive oil; this is what creates that golden, crispy exterior you're after.
- Bake until golden:
- Slide them into a preheated 220°C oven and let them bake for about 18 to 20 minutes, flipping them halfway through. They're done when they're deep golden brown and the internal temperature reaches 74°C.
- Make the sauce:
- While the tenders bake, whisk together your yogurt or mayo with ketchup, Dijon mustard, lemon juice, and smoked paprika until smooth. Taste and adjust the seasoning—sometimes a pinch more salt or lemon juice is exactly what it needs.
 Save to Pinterest
 I'll never forget the quiet moment when my partner took a bite and looked at me with surprise, like I'd just revealed a secret I'd been keeping. That's when cooking stops being about following instructions and becomes about the small joy of doing something well enough that people notice.
The Secret to Perfect Coating
The magic happens in the assembly line—having everything prepped and ready before you touch a single tender means you're not scrambling halfway through. I learned this the hard way after coating six pieces and realizing I hadn't mixed my breadcrumb blend yet. Now I treat the prep like a ritual; it only takes two minutes, and it makes the whole process feel effortless rather than chaotic.
Making the Sauce Your Own
The sauce is where you can have fun without changing the recipe—it's forgiving and flexible. I started with the basic version and then realized that a tiny pinch of smoked paprika elevates it from good to something people ask about. The beauty of a homemade sauce is that you can taste as you go, adjusting lemon juice or mustard until it feels right to your palate.
Serving and Storage Tips
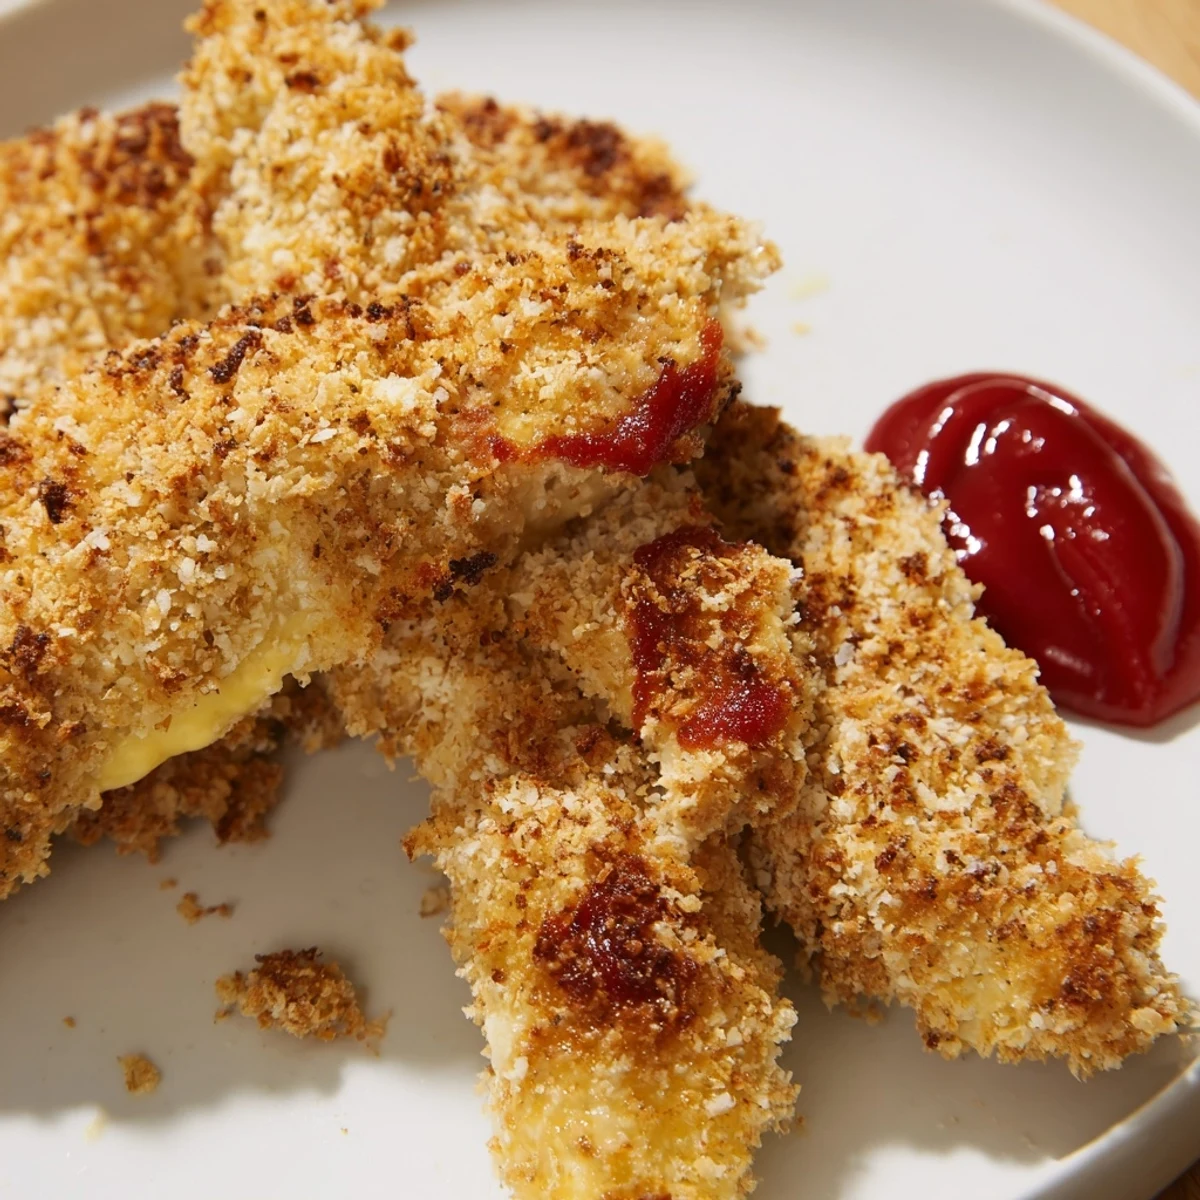
These tenders are best served hot, straight from the oven, when the coating is still crispy and the chicken is still steaming inside. They're wonderful with a simple green salad or baked fries on the side, turning a simple chicken dish into a complete meal that feels restaurant-quality.
- Leftovers keep for three days in an airtight container and can be reheated in a 180°C oven for about 5 minutes to restore crispiness.
- You can assemble the coated tenders on a baking sheet and freeze them for up to a month, then bake directly from frozen, adding just a few extra minutes to the cooking time.
- For a gluten-free version, swap the all-purpose flour and panko for their gluten-free counterparts without changing anything else.
 Save to Pinterest
 This recipe has become my answer to the question "what's for dinner?" because it delivers on everything that matters: it's quick, it's impressive, and it tastes like something you actually put care into making. Give it a try, and I promise it'll become a regular in your kitchen too.
Recipe FAQs
- → How do I ensure the chicken stays crispy when baking?
-
Lightly coating the tenders with olive oil before baking promotes a golden, crispy crust while keeping the interior juicy.
- → Can I substitute the Parmesan cheese?
-
Yes, Pecorino Romano or Asiago can be used to maintain a similar sharp, savory flavor.
- → What is the best way to prepare the dipping sauce?
-
Mix Greek yogurt or mayonnaise with ketchup, Dijon mustard, lemon juice, smoked paprika, salt, and pepper until smooth for a balanced tangy dip.
- → How long should the chicken be baked?
-
Bake the chicken tenders at 220°C (425°F) for 18-20 minutes, flipping halfway to ensure even cooking and golden color.
- → Can this dish be made gluten-free?
-
Use gluten-free flour and gluten-free breadcrumbs to maintain texture and avoid gluten.
