 Save to Pinterest
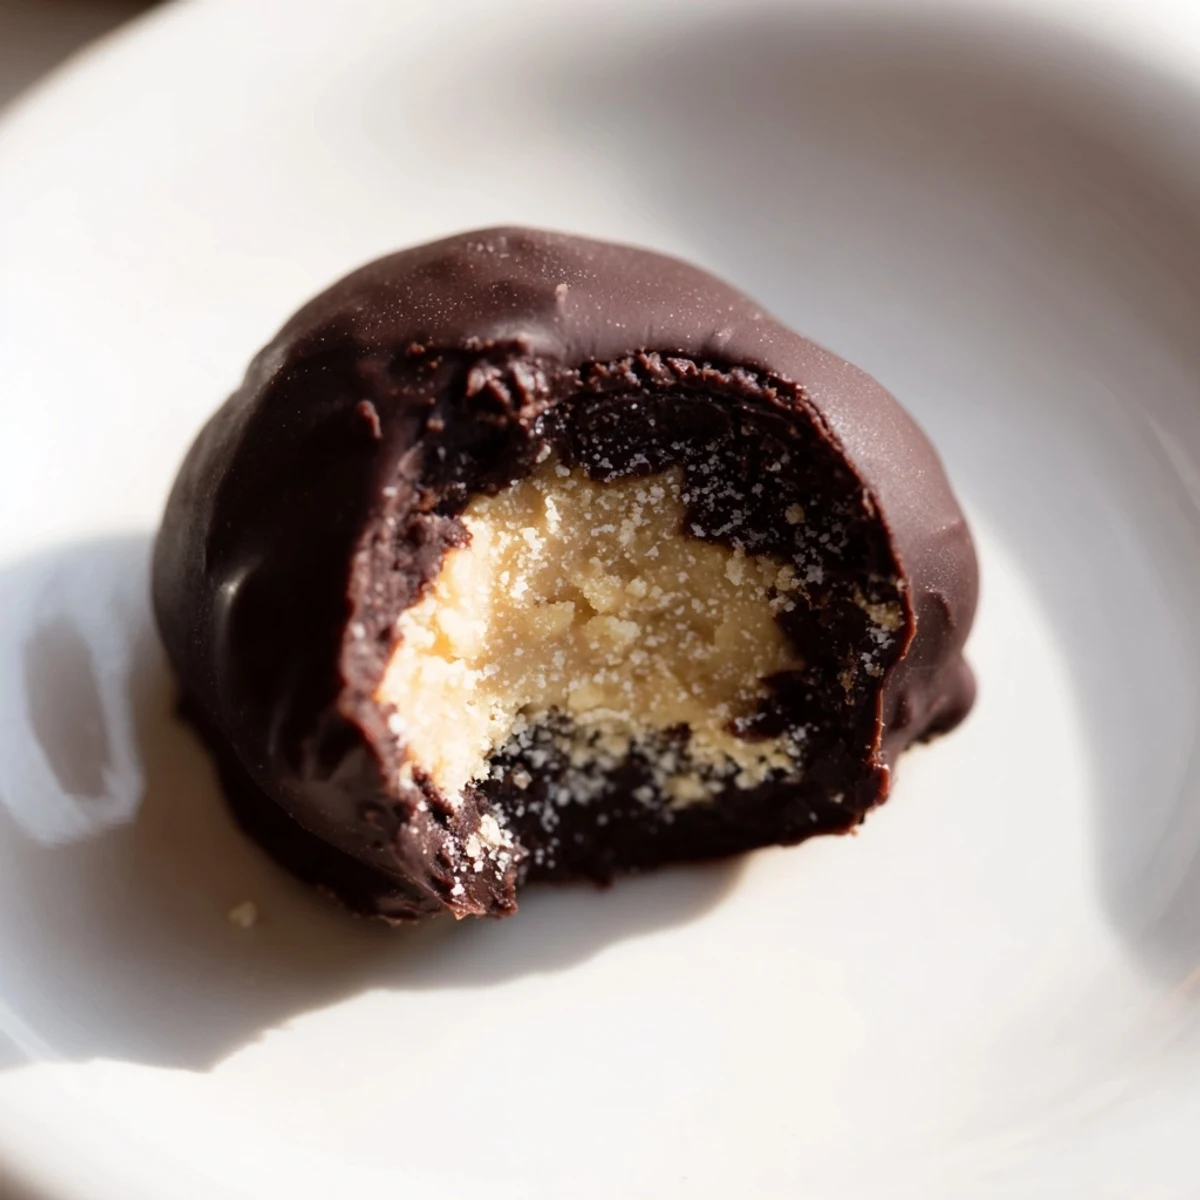
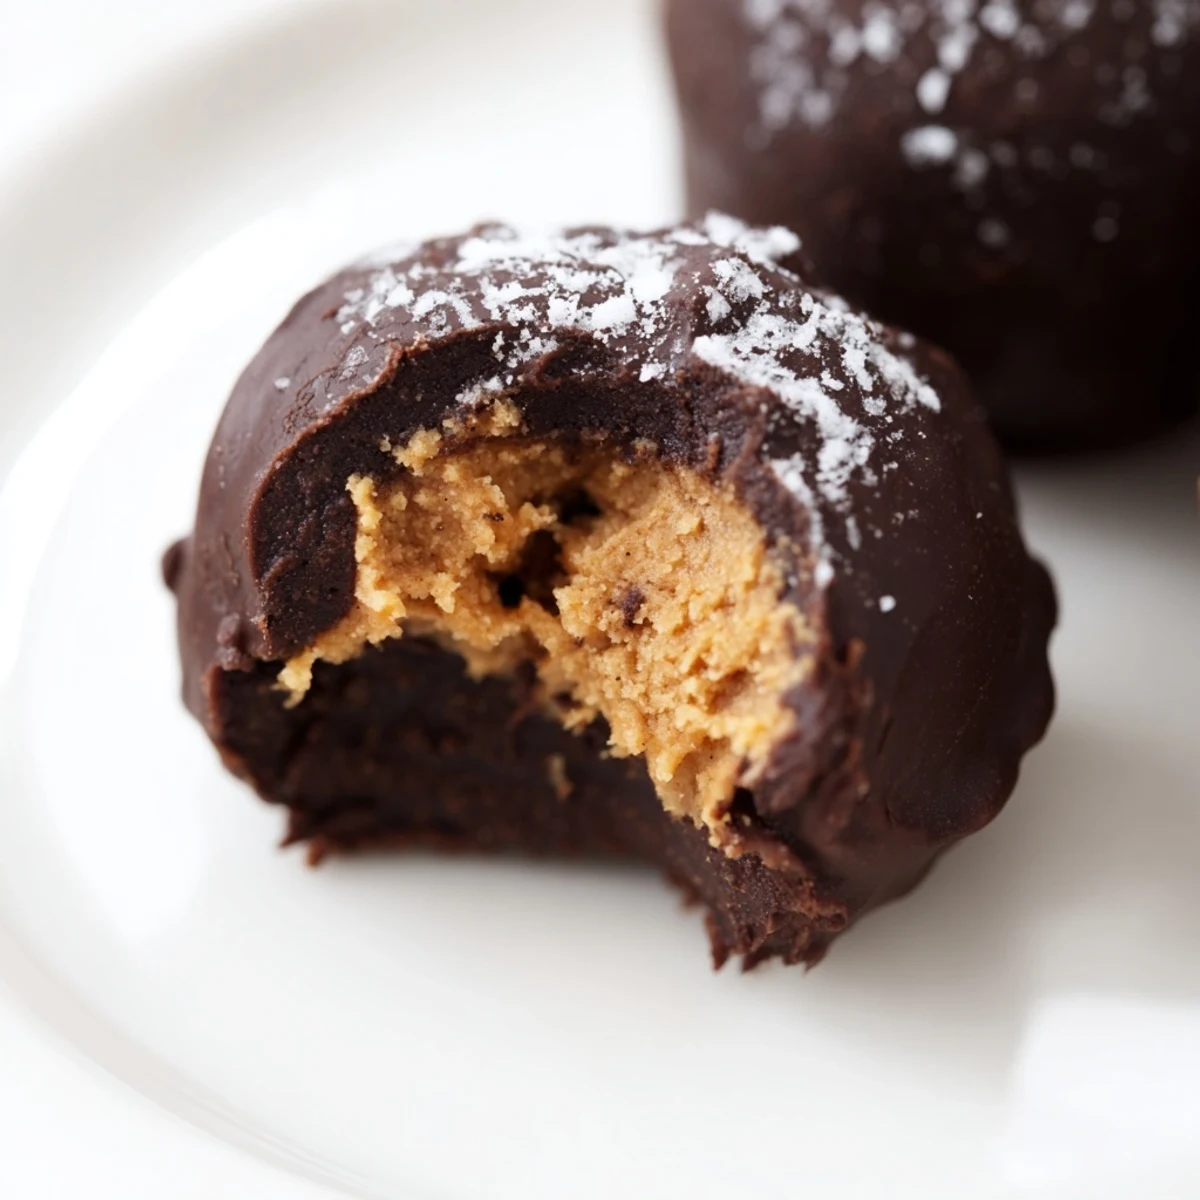
 These indulgent chocolate peanut butter balls are a simple no-bake dessert combining smooth peanut butter, powdered sugar, and a chocolate coating. Mix peanut butter with butter, powdered sugar, and vanilla, then roll into balls and chill. Dip each ball in melted chocolate and refrigerate until set. Ready in just 40 minutes with minimal effort, they're perfect for gift-giving or satisfying sweet cravings. Store in the refrigerator for up to a week.
The aroma of chocolate melting in my kitchen on a cold December evening takes me back to when my sister first taught me to make these peanut butter balls. Trying not to eat the filling straight from the bowl was the hardest part as a kid, but these days I still catch myself sneaking a taste. The silky peanut butter center wrapped in a chocolate shell creates that perfect combination that never goes out of style.
Last Christmas, my niece and I made three batches while catching up on life, her small hands rolling perfect little spheres while mine invariably came out lopsided. We packaged them in little cellophane bags with ribbon for neighbors and watched their faces light up upon delivery. Something about homemade candy feels more personal than cookies, perhaps because people rarely make it themselves anymore.
Ingredients
- Creamy peanut butter: The foundation of our filling needs to be smooth and spreadable, so avoid natural varieties that separate as they make the texture inconsistent.
- Powdered sugar: It dissolves completely into the peanut butter mixture, creating that fudgy interior thats not grainy but perfectly sweet.
- Semi-sweet chocolate chips: The chocolate shell provides both structure and that satisfying snap when you bite in, with semi-sweet offering the ideal balance to the sweet filling.
- Coconut oil: Just a tablespoon makes the chocolate coating glossy and prevents it from cracking when you bite into the balls.
Instructions
- Mix the filling:
- Combine peanut butter, softened butter, vanilla extract, and salt until silky smooth. You want it to look almost like a soft cookie dough with no streaks.
- Add the sweetness:
- Gradually incorporate the powdered sugar until the mixture thickens enough to hold its shape when pressed. It should feel like modeling clay in your hands.
- Shape into bites:
- Roll tablespoon-sized portions between your palms to create uniform balls. The warmth of your hands helps smooth any rough edges.
- Chill for success:
- Allow the balls to firm up in the refrigerator for about 20 minutes. This prevents them from melting or falling apart during dipping.
- Prepare the chocolate bath:
- Melt the chocolate chips with coconut oil in 30-second microwave bursts, stirring between intervals. The mixture should flow like satin when ready.
- Dip with care:
- Balance each chilled ball on a fork or toothpick and submerge in chocolate, gently tapping to remove excess. Watch for that perfect curtain of chocolate as it drips back into the bowl.
- Set and store:
- Return the coated balls to the parchment paper and refrigerate until the chocolate sets completely. Listen for that satisfying snap when you bite into one as proof of perfect tempering.
 Save to Pinterest
 During my college years, these peanut butter balls became my signature contribution to study group sessions. Surrounded by textbooks and stress, my friends faces would instantly relax at the sight of the container. Even our professor smiled when I brought them to our final exam review, briefly pausing his serious demeanor to ask for the recipe before continuing with differential equations.
Storage Tips
After spending an afternoon making these with my mom, we discovered that storing them in single layers with parchment between prevents the chocolate from sticking together. While they technically last a week in the refrigerator, Ive never seen them survive past day three in our house. For summer gatherings, I keep them chilled until just before serving to maintain that perfect chocolate snap.
Flavor Variations
One rainy weekend, I experimented with adding different extracts to the base recipe and created a whole tasting flight for my friends. Almond extract gave them a sophisticated twist, while mint extract created a thin-mint vibe that converted even my chocolate-peanut butter skeptic roommate. My personal favorite remains the classic, though a sprinkle of flaky sea salt on top elevates them to dinner party status.
Make It Your Own
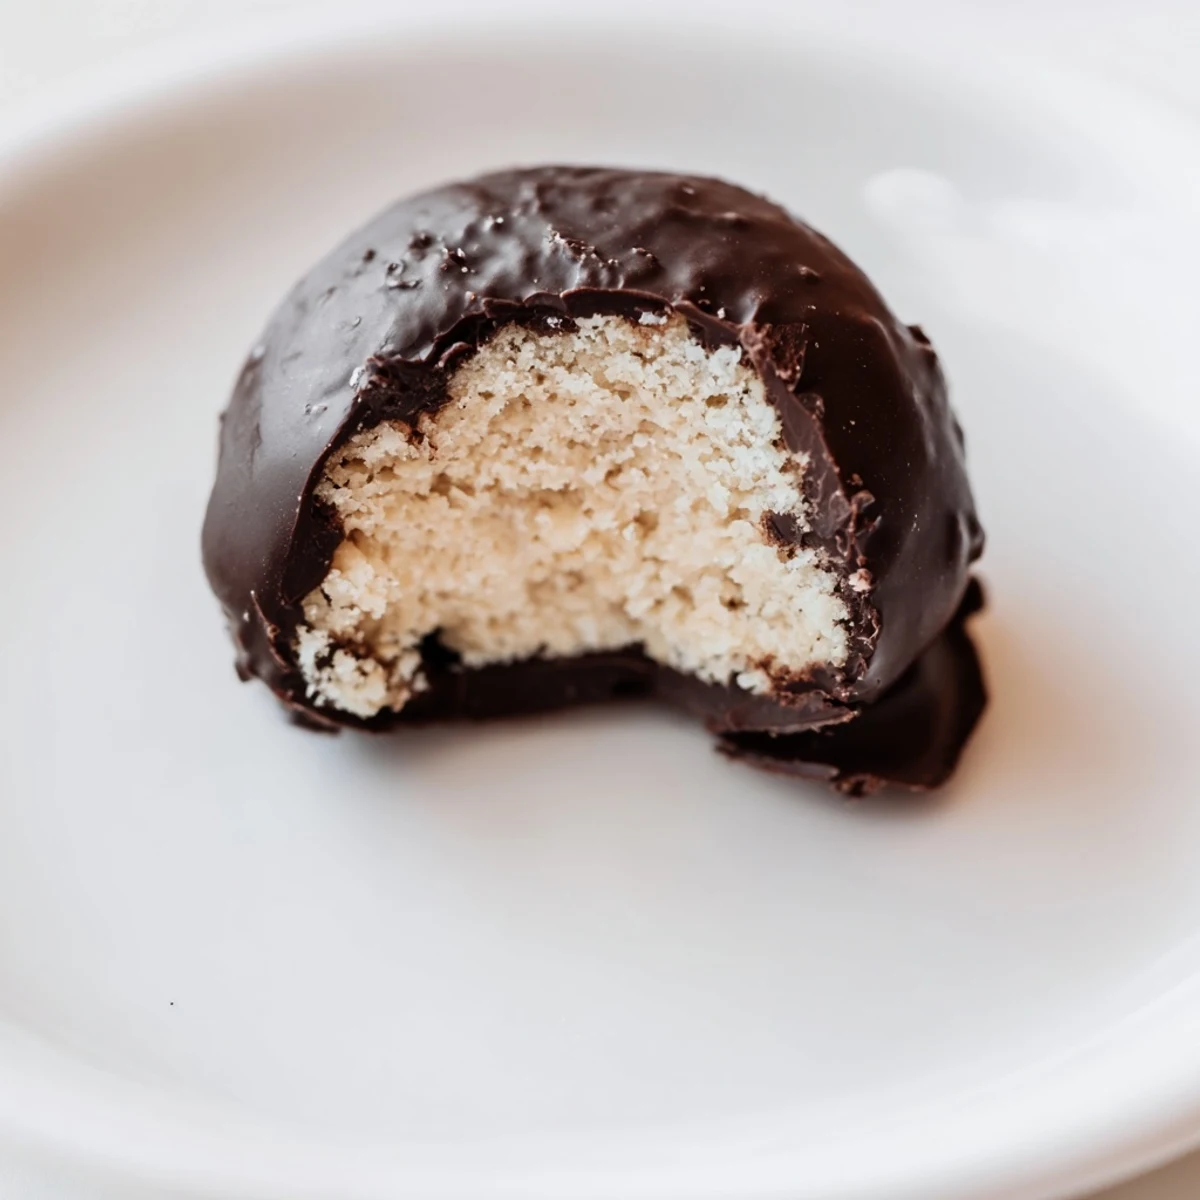
The beauty of these little treats lies in their adaptability to whatever your pantry holds. During a snowstorm when I couldnt get to the store, I discovered that crushed graham crackers mixed into the filling add a wonderful texture contrast.
- For a nutty crunch, fold in half a cup of finely chopped roasted peanuts or rice crispy cereal.
- White chocolate drizzled over the set chocolate coating creates an elegant presentation perfect for holiday gifts.
- Rolling the finished balls in crushed peanuts, cocoa powder, or sprinkles adds a decorative touch that kids especially love.
 Save to Pinterest
 These chocolate peanut butter balls connect us to something simple and joyful, a little moment of sweetness in a busy day. Whether made alone as kitchen therapy or with loved ones creating memories, theyre sure to become part of your tradition too.
Recipe FAQs
- → Can I make these ahead of time?
-
Yes, these can be made several days in advance. Store them in an airtight container in the refrigerator for up to one week. They also freeze well for up to two months.
- → What's the best way to dip the balls in chocolate?
-
Chill the balls thoroughly before dipping to prevent them from falling apart. Use a fork or toothpick to hold each ball, dip it into melted chocolate, tap off excess, and place on parchment paper. Working quickly keeps the chocolate at the right temperature.
- → How can I make the chocolate coating smoother?
-
Add one tablespoon of coconut oil or vegetable shortening to the melted chocolate. This reduces the thickness and creates a thinner, smoother coating that sets beautifully.
- → Can I use natural peanut butter instead of creamy?
-
Natural peanut butter works, but it may be oilier. Mix it well to combine the natural oils, and add slightly more powdered sugar if the mixture becomes too soft to roll into balls.
- → What variations can I try?
-
Add chopped roasted peanuts to the filling for crunch, swap semi-sweet chocolate for dark or white chocolate, or drizzle contrasting chocolate over the finished balls for visual appeal.
- → Do these need to be refrigerated?
-
Yes, they should be stored in the refrigerator to maintain their shape and texture. Room temperature will cause the peanut butter filling to soften and the chocolate to melt.
