 Save to Pinterest
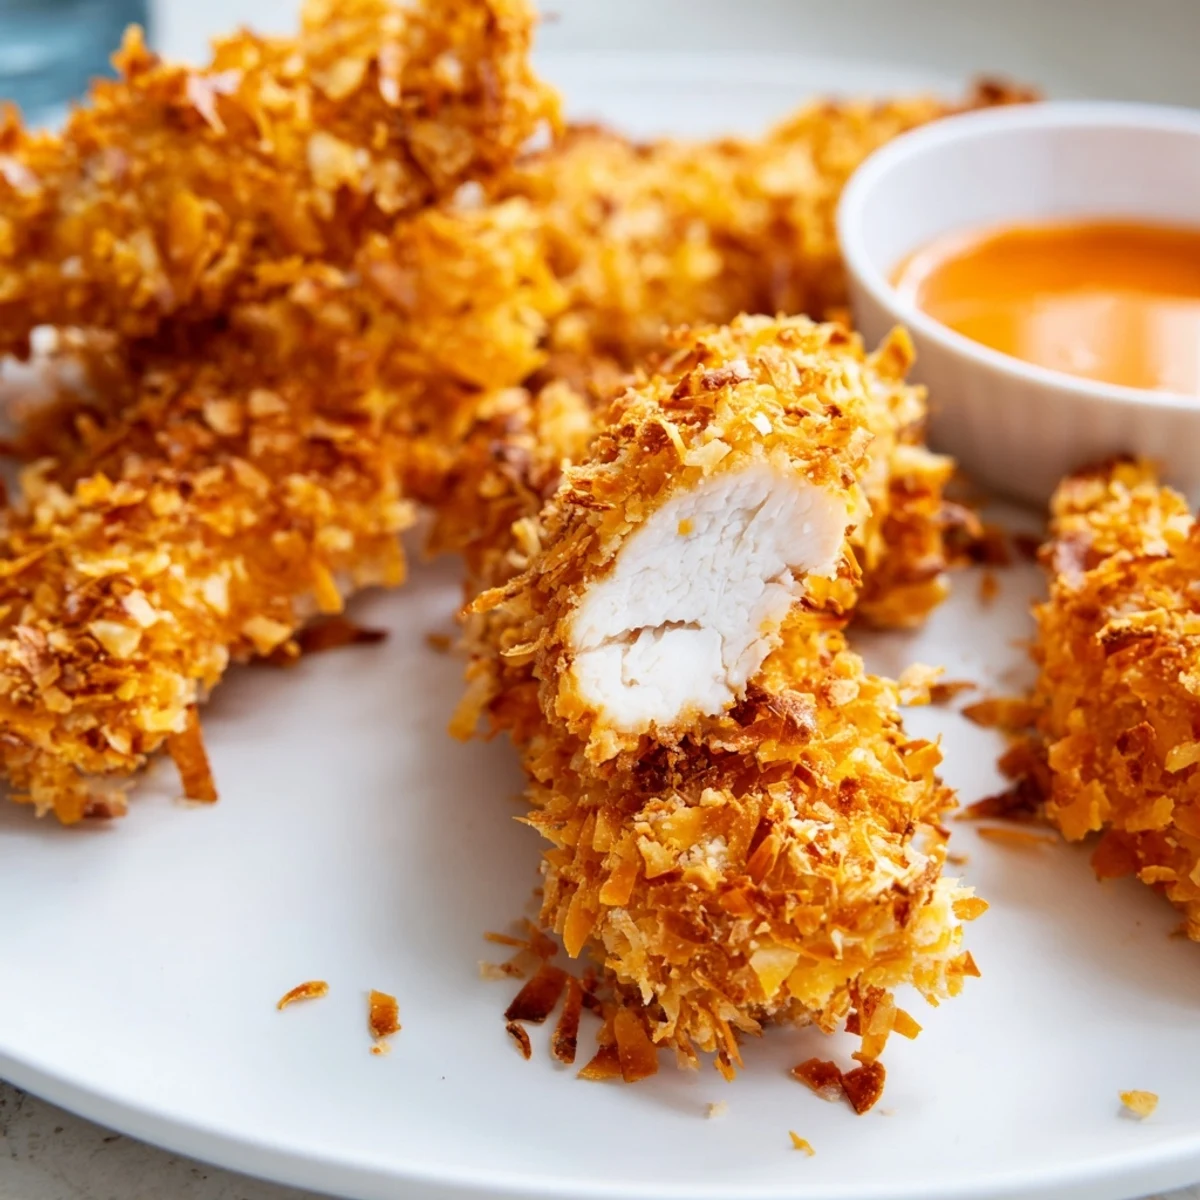
 Crunchy coconut chicken strips feature juicy boneless chicken coated in a flavorful three-step breading of seasoned flour, beaten eggs, and a blend of unsweetened shredded coconut with crispy panko breadcrumbs.
You can bake them in the oven at 200°C for a lighter option or pan-fry in oil for extra crispiness—both methods yield beautifully golden, crunchy results in about 20 minutes of cooking time.
Serve these tropical-inspired strips with sweet chili sauce or mango chutney for dipping. They work wonderfully as a main dish alongside rice and salad, or as crowd-pleasing party finger food.
The sizzle of coconut hitting hot oil is one of those kitchen sounds that instantly pulls everyone to the doorway, hovering and asking if dinner is ready yet. That golden crust shattering between your teeth while the juice from the chicken runs down your chin is pure, unapologetic pleasure. This dish turned a random Tuesday into a tiny vacation somewhere warm and breezy. It is simple, loud, and absolutely worth every crumb left on the plate.
One evening my neighbor walked over with a bag of shredded coconut she had impulse bought and no idea what to do with, and I promised her something memorable. Three batches later we were sitting on the kitchen floor dipping cold strips into mango chutney and laughing at how quickly they disappeared. She now makes this weekly and calls it her therapy chicken.
Ingredients
- 600 g boneless skinless chicken breasts or tenders: Cut into even strips so every piece cooks at the same rate, and pat them dry first for better breading adhesion.
- 70 g all purpose flour: This is your anchor layer, seasoned well so flavor starts before the crust even forms.
- 1 tsp salt: Do not skimp here because underseasoned flour means a flat tasting crust no amount of dipping sauce can rescue.
- 1/2 tsp black pepper: Freshly cracked is ideal but the pre ground stuff works fine when you are in a hurry.
- 1/2 tsp garlic powder: It blooms in the hot oil and gives the coating a savory backbone that pairs beautifully with the sweetness of coconut.
- 2 large eggs beaten: The glue that holds everything together, and a thorough dip ensures no bald spots on your chicken.
- 90 g unsweetened shredded coconut: Unsweetened is critical because sweetened coconut burns before the chicken cooks through and turns bitter.
- 60 g panko breadcrumbs: Panko adds an airy crunch that shredded coconut alone cannot achieve, and together they are unstoppable.
- Vegetable oil for frying: Only needed if you choose the pan fried route, and any neutral oil with a high smoke point works beautifully.
- Sweet chili sauce or mango chutney for serving: A sweet tangy dunk balances the savory crust and makes each bite more addictive than the last.
Instructions
- Preheat and prepare your pan:
- If baking, heat your oven to 200 degrees Celsius (400 degrees Fahrenheit), line a baking sheet with parchment paper, and give it a light brush of oil so nothing sticks.
- Set up your breading station:
- Arrange three shallow bowls side by side: the first with flour, salt, pepper, and garlic powder whisked together; the second with beaten eggs; and the third with coconut and panko mixed thoroughly so every inch of coating is evenly distributed.
- Bread each strip with care:
- Dredge a chicken strip through the seasoned flour and shake off the excess, then bathe it completely in egg, and finally press it firmly into the coconut panko mixture, using your palms to pack the coating on tightly so it locks in place during cooking.
- Cook to golden perfection:
- To bake, arrange strips on the sheet, spray or brush lightly with oil, and bake 18 to 22 minutes flipping halfway until deeply golden and cooked through; to fry, heat about 2 cm of oil in a skillet over medium heat and cook strips in batches for 2 to 3 minutes per side until the crust is bronzed and the chicken is opaque and juicy inside.
- Serve immediately with flair:
- Transfer the chicken to a platter, whether straight from the oven or drained briefly on paper towels, and offer small bowls of sweet chili sauce and mango chutney alongside so everyone can dunk to their hearts content.
 Save to Pinterest
 A friend brought these to a potluck once and watched three people argue over the last strip before silently splitting it into uneven pieces and walking away in opposite directions.
Making It Your Own
A pinch of cayenne in the flour transforms the whole profile into something with a warm kick that lingers just enough to keep you reaching for another piece. Smoked paprika is another quiet addition that gives the crust a depth people will notice but struggle to identify, which is the best kind of compliment in cooking.
Gluten Free Without Compromise
Swap the all purpose flour for a one to one gluten free blend and use gluten free panko, which is now available in most grocery stores and crisps up nearly identically to the traditional version. The coconut does so much heavy lifting in the texture department that nobody at the table will suspect a substitution was made.
Serving and Storing Like a Pro
These strips are at their absolute best within ten minutes of leaving the pan or oven, when the crust is still singing and the juices are locked tight. For leftovers, a quick reheat in a hot oven or air fryer restores nearly all of the original crunch, which makes them an excellent make ahead option for busy weeknights.
- Let the coated raw strips rest on a plate for five minutes before cooking so the breading firms up and adheres better to the chicken.
- Freeze cooked strips in a single layer on a sheet pan before transferring to a bag so they do not clump together into a sad coconut brick.
- Always let your oil come back up to temperature between batches because patience here is the difference between golden and greasy.
 Save to Pinterest
 Keep a stash of these in your freezer and you will always be fifteen minutes away from something golden, crunchy, and genuinely comforting. That is the kind of math that makes any day better.
Recipe FAQs
- → Can I bake instead of fry the coconut chicken?
-
Yes, absolutely. Arrange the coated strips on a parchment-lined baking sheet, lightly spray or brush with oil, and bake at 200°C (400°F) for 18–22 minutes, turning halfway through. You will still get a satisfying golden crunch without the extra oil.
- → How do I keep the coconut breading from falling off?
-
Make sure to follow the three-step breading process: flour first, then eggs, then the coconut-panko mixture. Press the coating gently onto each strip to help it adhere. Also, let the breaded chicken rest for 5 minutes before cooking to set the coating.
- → Can I use sweetened shredded coconut instead?
-
Unsweetened shredded coconut is recommended because it provides a subtle nutty flavor without adding extra sugar that could burn during cooking. Sweetened coconut will still work but may brown more quickly, so watch the heat carefully.
- → What dipping sauces pair well with coconut chicken?
-
Sweet chili sauce and mango chutney are classic pairings that complement the tropical coconut flavor beautifully. You could also try a creamy sriracha mayo, honey mustard, or a simple squeeze of fresh lime juice.
- → Can I make this dish gluten-free?
-
Yes, swap the all-purpose flour for a gluten-free flour blend and use gluten-free panko breadcrumbs. All other ingredients are naturally gluten-free. Always check packaged products for cross-contamination warnings if you have severe sensitivities.
- → How should I store and reheat leftovers?
-
Store leftover coconut chicken in an airtight container in the refrigerator for up to 3 days. To reheat and restore crispiness, place the strips on a baking sheet in a 190°C (375°F) oven for 8–10 minutes. Avoid microwaving, as it will make the coating soggy.
