 Save to Pinterest
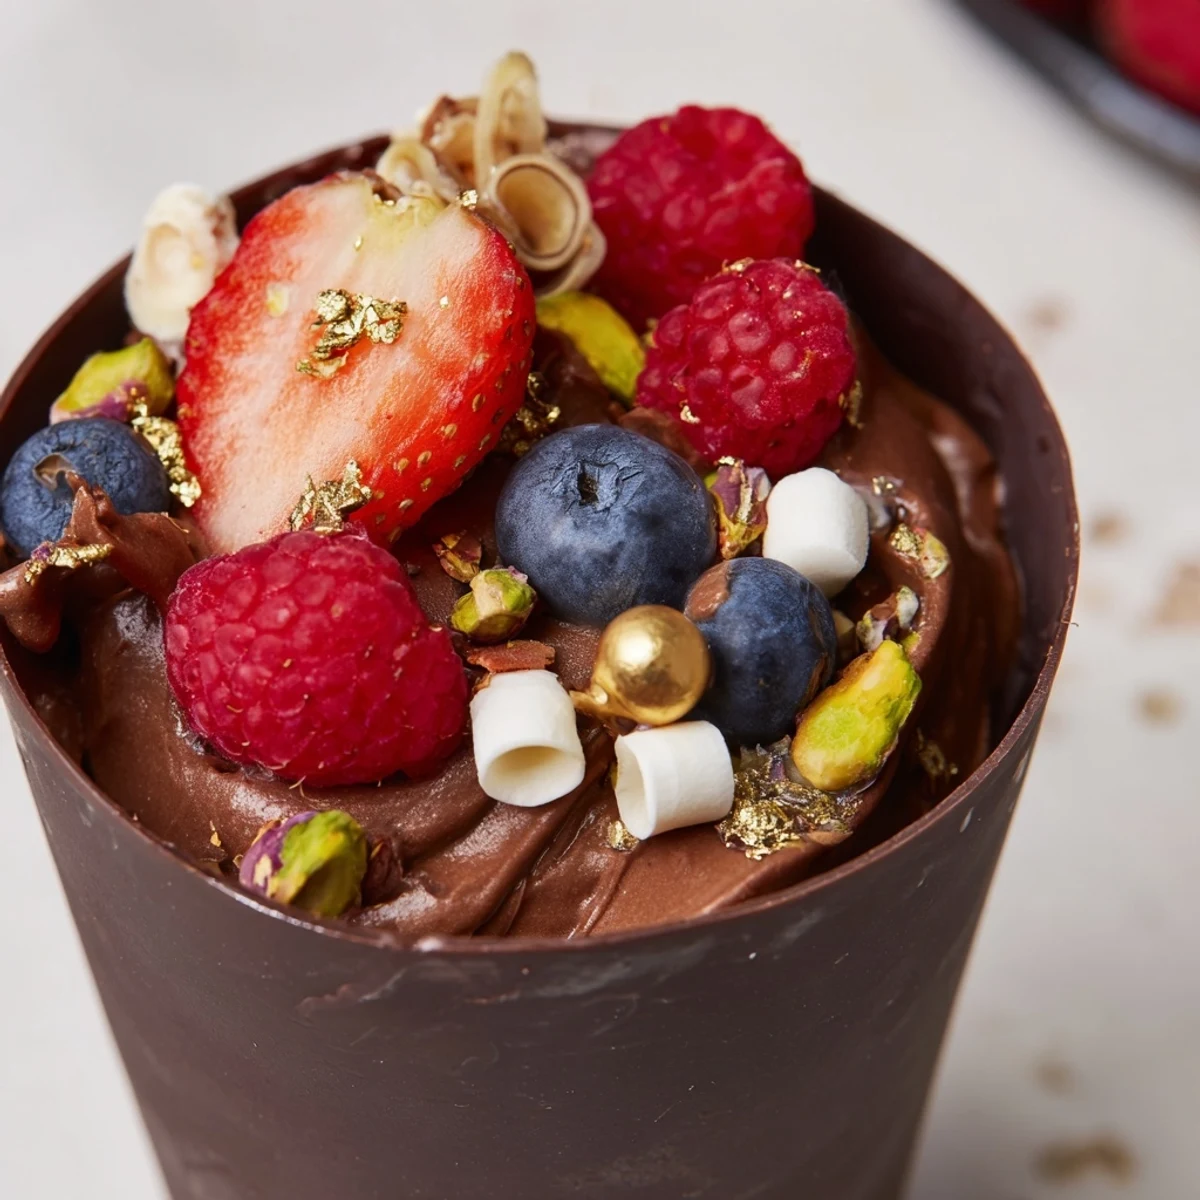
 Create stunning edible dessert cups with melted dark chocolate formed into delicate vessels and filled with silky smooth chocolate mousse. These individual portions feature layers of whipped cream-enriched mousse topped with fresh seasonal berries, roasted nuts, mini marshmallows, and chocolate curls. The combination of velvety textures and crisp elements creates an impressive dessert experience perfect for entertaining.
The assembly involves melting and molding chocolate cups, preparing a light whipped mousse, and artfully arranging toppings for maximum visual appeal. Each element can be prepared ahead, making these ideal for special occasions or dessert grazing tables.
Last Valentine's Day, I was scrambling for something that looked impressive but wouldn't leave me crying over a failed souffré when guests arrived. These chocolate cups were my salvation, my friend Sarah actually gasped when I brought them out, thinking I'd spent hours at a pastry school.
I made these again for my sister's birthday last month, and the best part was watching everyone customize their own cups with toppings. My niece piled hers high with extra marshmallows while my dad went straight for the hazelnuts, and suddenly dessert became this interactive little moment.
Ingredients
- 200 g dark chocolate: Go for at least 60% cocoa for that proper snap and serious chocolate depth, cheaper chocolate just wont set the same way
- 200 ml heavy cream: The higher the fat content the better your mousse will hold its shape, I learned this after using half-and-half once and ending up with chocolate soup
- 100 g dark chocolate: This gets melted into the mousse base, taking it from ordinary whipped cream to something velvety and intensely chocolatey
- 2 tbsp powdered sugar: Just enough sweetness to balance the dark chocolate without making it cloying
- 1 tsp vanilla extract: Don't skip this, it somehow makes the chocolate taste more chocolatey
- 1 cup fresh mixed berries: The acid and brightness cut through all that rich chocolate
- 2 tbsp chopped nuts: Toast them first if you can, that warm nutty flavor adds another dimension
- 2 tbsp mini marshmallows: Pure nostalgia and fun, plus they look adorable scattered on top
- 2 tbsp chocolate curls: Use a vegetable peeler on a room temperature chocolate bar for professional looking curls
Instructions
- Craft the chocolate shells:
- Melt your chocolate in 30 second bursts, stirring between each, until it's glossy and smooth. Paint the inside of your cupcake liners with a generous layer, pop them on a tray, and let them firm up in the fridge for 20 minutes before carefully peeling away the liners.
- Whip up the mousse:
- Melt the second batch of chocolate and let it cool slightly while you whip your cream with the sugar and vanilla until soft peaks form. Fold a dollop of cream into the chocolate first to lighten it, then gently fold that mixture back into the remaining cream until no streaks remain.
- Build your masterpiece:
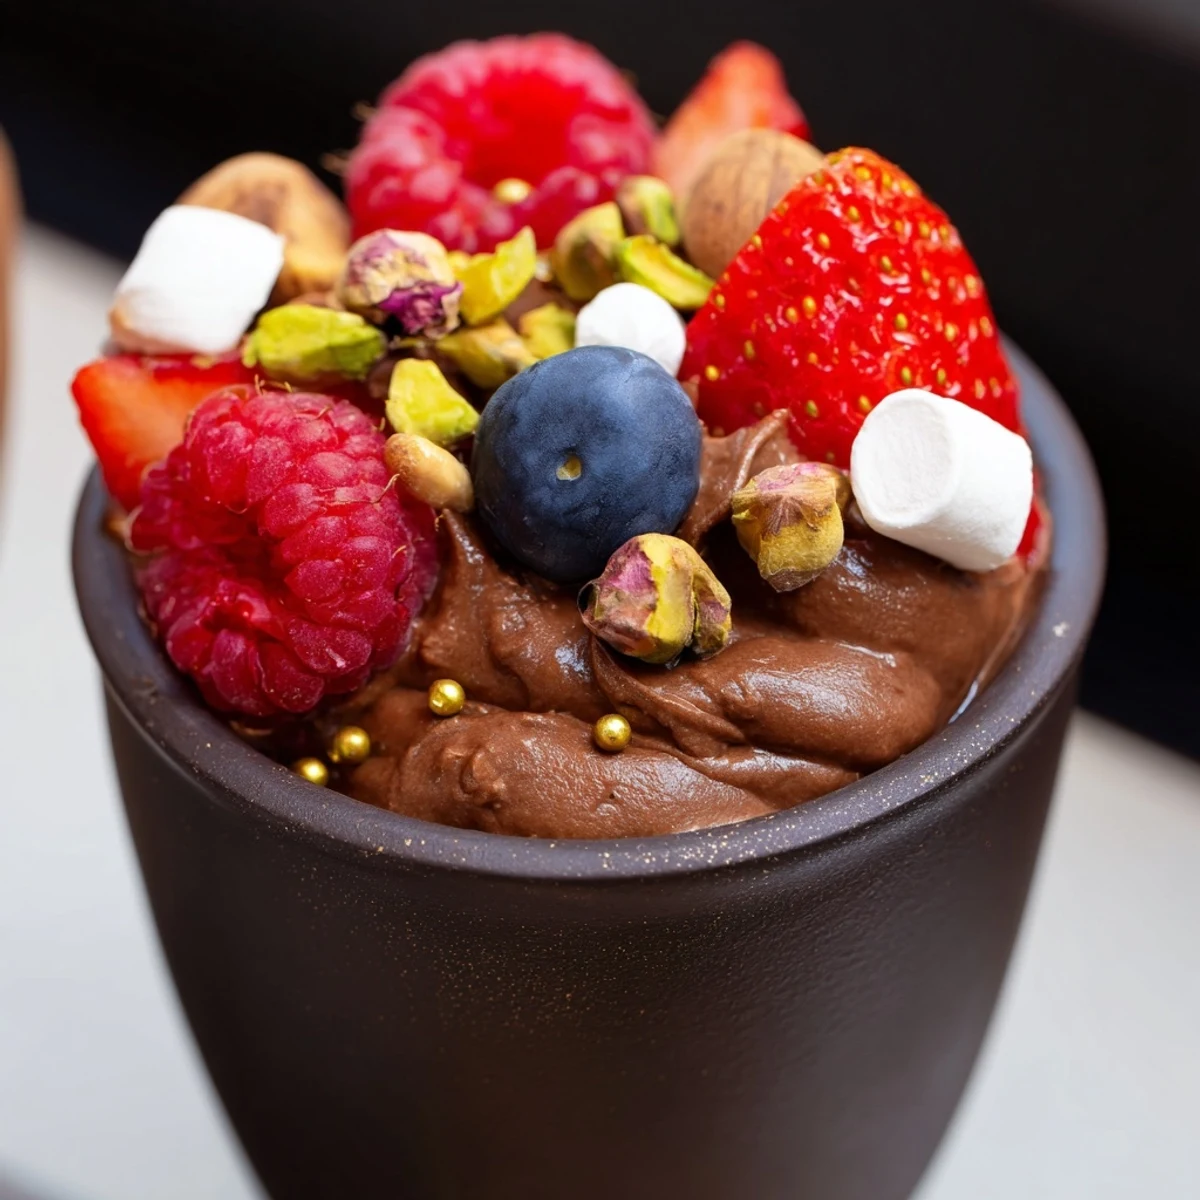
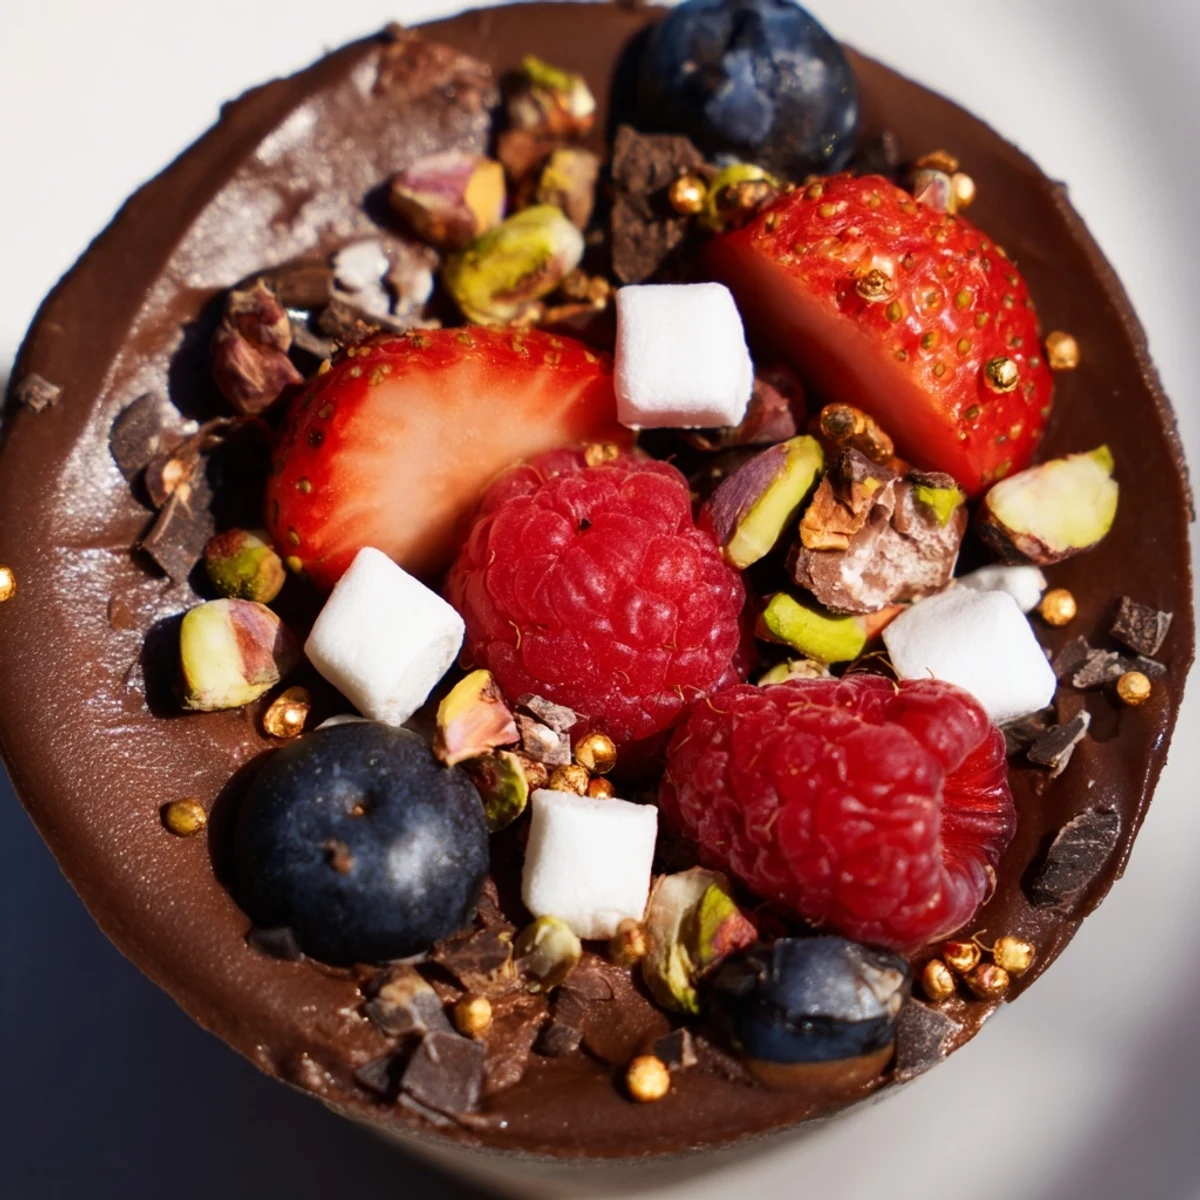
- Pipe or spoon that silky mousse into your chocolate cups, filling them about two-thirds of the way. Now comes the fun part, pile on your berries, nuts, marshmallows, and chocolate curls however feels beautiful to you.
- Let them rest:
- Give everything at least 20 minutes in the refrigerator to set properly. The wait is torture but worth it for that perfect first bite.
 Save to Pinterest
 My mom still talks about the dinner party where I served these, not because they were fancy, but because we all sat around dipping forks into each other's cups, trying different topping combinations. Food that brings people to the table is the best kind.
Making Them Ahead
You can form the chocolate cups up to three days in advance, just store them between sheets of wax paper in an airtight container. The mousse is best made the day of though, it loses that ethereal lightness after sitting too long.
Toppings That Work
Beyond the classics, try crushed pretzels for salt contrast, or candied citrus peel for brightness. I've even done a savory version with sea salt and rosemary that somehow worked beautifully with the dark chocolate.
Serving Suggestions
Set up a toppings bar and let guests decorate their own cups, it becomes an activity instead of just dessert. Pair them with espresso or a port wine, something that can stand up to all that intensity.
- Work in a cool room when making the cups, warm chocolate is stubborn
- If a cup cracks, patch it with a little melted chocolate, no one will notice under the toppings
- These are gorgeous on a mirrored serving tray if you want extra drama
 Save to Pinterest
 These little cups have become my go-to for moments that matter, when I want to show love through something handmade and indulgent.
Recipe FAQs
- → How far in advance can these chocolate cups be prepared?
-
The chocolate cups and mousse can be made up to 24 hours in advance and stored separately in the refrigerator. Assemble the cups within 4-6 hours of serving for optimal texture and appearance.
- → Can I use milk or white chocolate instead of dark chocolate?
-
Absolutely! Milk chocolate creates a sweeter, creamier profile while white chocolate offers a delicate vanilla flavor. Adjust the sugar in the mousse slightly when using sweeter chocolate varieties.
- → What other toppings work well with these grazing cups?
-
Consider adding crushed cookies, caramelized nuts, fresh mint leaves, shaved coconut, citrus zest, or edible flowers. Sea salt flakes also complement the rich chocolate beautifully.
- → How do I prevent the chocolate cups from cracking or breaking?
-
Ensure your chocolate is properly tempered by melting gently and avoiding overheating. Apply thick, even layers to the liners and chill completely before attempting to remove them from the molds.
- → Can these be made dairy-free or vegan?
-
Yes! Use dairy-free dark chocolate and coconut cream or plant-based heavy cream alternatives for the mousse. The texture remains luxurious while accommodating dietary restrictions.
- → What's the best way to melt chocolate for the cups?
-
A double boiler provides the most control—place chopped chocolate in a heatproof bowl over simmering water, stirring frequently until just melted. Avoid getting any water in the chocolate as it will seize and become unusable.
