 Save to Pinterest
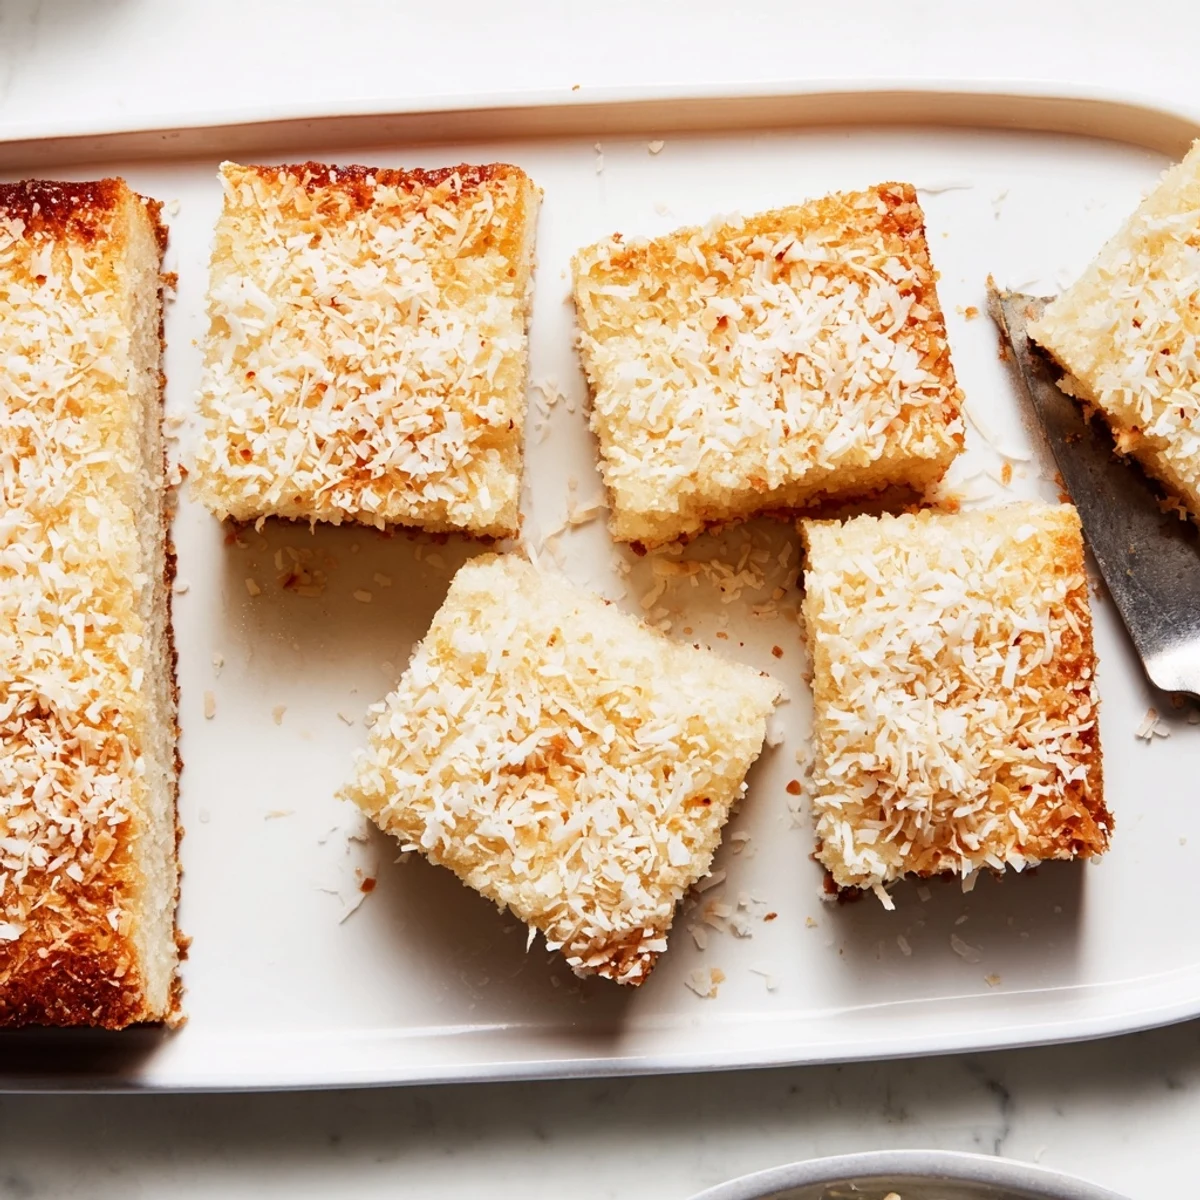
 This coconut mochi cake delivers a unique chewy texture that's both satisfying and indulgent. Sweet rice flour creates the signature mochi-like consistency, while full-fat coconut milk provides rich tropical flavor throughout every bite.
The batter comes together quickly—just whisk dry ingredients, combine with wet ingredients including eggs, melted butter, and vanilla, then bake until golden. A sprinkle of shredded coconut on top adds delightful crunch and enhances the coconut intensity.
Perfect for those seeking gluten-free desserts, this Hawaiian-inspired treat pairs beautifully with fresh fruit or vanilla ice cream. The cake keeps well for days, making it ideal for prep-ahead gatherings or afternoon tea service.
The first time I encountered mochi cake, I was at a potluck where someone brought this mysterious chewy squares that everyone kept returning to. I stood there watching people take second servings, completely hooked on that unique bounce between cake and candy. When I finally tried it myself, the coconut hit me first, then that incredible chewy texture that makes mochi so addictive. I immediately asked for the recipe and have been making my own version ever since.
I made this for my sister who cannot eat gluten, watching her face light up when she realized she could have seconds without worrying. Theres something so wonderful about serving a dessert that feels special and indulgent while being naturally gluten-free. Now she requests it for every family gathering, and Ive started keeping sweet rice flour in my pantry just for this cake.
Ingredients
- Sweet rice flour (mochiko): This glutinous rice flour creates the signature chewy texture, and regular rice flour or all-purpose flour will not give you the same result.
- Granulated sugar: Sweetens the cake just enough without competing with the coconut flavor.
- Baking powder: Gives the cake a slight lift so it is not dense.
- Fine salt: Balances the sweetness and enhances the coconut flavor.
- Coconut milk: Use full-fat and shake the can well before opening for the richest coconut taste.
- Whole milk: Adds creaminess and balances the thick coconut milk.
- Eggs: Room temperature eggs incorporate better into the batter.
- Unsalted butter: Melt and cool it completely so it does not scramble the eggs when you mix everything together.
- Pure vanilla extract: Rounds out all the flavors and adds warmth.
- Shredded coconut: Sprinkled on top for a nice textural contrast and pretty golden finish.
Instructions
- Preheat your oven and prepare the pan:
- Heat your oven to 350°F and grease a 9x13-inch baking pan, then line it with parchment paper so you can lift the whole cake out easily later.
- Whisk together the dry ingredients:
- In a large bowl, combine the sweet rice flour, sugar, baking powder, and salt until everything is evenly distributed.
- Mix the wet ingredients:
- In another bowl, whisk the coconut milk, whole milk, eggs, cooled melted butter, and vanilla until the mixture is completely smooth.
- Combine the batter:
- Pour the wet ingredients into the dry ingredients and stir with a spatula just until combined, being careful not to overmix.
- Pour and prepare for baking:
- Transfer the batter to your prepared pan and gently tap it on the counter to release any trapped air bubbles.
- Add the topping:
- Sprinkle the shredded coconut evenly over the surface of the batter.
- Bake until golden:
- Bake for 55 to 60 minutes until the edges are golden brown and a toothpick inserted in the center comes out mostly clean.
- Cool completely before serving:
- Let the cake cool completely in the pan on a wire rack before slicing into squares.
 Save to Pinterest
 One rainy afternoon, I made this cake while my kids were doing homework. That coconut aroma filled the entire house and had everyone wandering into the kitchen asking what time dinner would be ready. By the time it cooled, we had all gathered around with slices of warm mochi cake and tea, forgetting about homework and deadlines for a little while.
Making It Dairy-Free
Swapping whole milk for more coconut milk and using melted coconut oil instead of butter works beautifully. The coconut flavor becomes even more pronounced, which is never a bad thing in my book. I actually prefer this dairy-free version sometimes because it feels lighter while still being incredibly satisfying.
Serving Suggestions
Fresh tropical fruit like mango or pineapple alongside each slice creates the perfect flavor combination. A scoop of vanilla ice cream melting into a warm piece takes it over the top. I also love serving this with afternoon tea when friends visit because it feels elegant but is not overly sweet.
Storage Tips
This cake keeps remarkably well, which is fortunate because it is hard to stop at one slice. The texture actually becomes more chewy and developed on the second day, much to my delight.
- Store at room temperature for up to 2 days in an airtight container.
- Refrigerate for up to 5 days if your kitchen is warm.
- Bring chilled slices to room temperature or warm them briefly before serving.
 Save to Pinterest
 Every time I bake this mochi cake, I am reminded of how something so simple can bring so much joy. Hope it becomes a favorite in your kitchen too.
Recipe FAQs
- → What gives this cake its chewy texture?
-
Sweet rice flour, also known as mochiko, creates the signature chewy texture. This glutinous rice flour differs from regular rice flour and produces that distinctive mochi-like consistency when baked.
- → Can I make this dairy-free?
-
Yes. Simply replace the whole milk with additional coconut milk and substitute melted butter with coconut oil. The result remains just as delicious and naturally dairy-free.
- → How should I store leftovers?
-
Keep in an airtight container at room temperature for up to 2 days. For longer storage, refrigerate for up to 5 days. The cake maintains its texture well and can be served at room temperature or gently warmed.
- → Why is my batter lumpy?
-
Small lumps are normal and will dissolve during baking. Avoid overmixing, which can develop gluten in the sweet rice flour and affect the final texture. A few gentle folds until combined is sufficient.
- → Can I add other flavors or mix-ins?
-
Absolutely. Try swirling sweetened red bean paste for a Hawaiian twist, adding chopped macadamia nuts for crunch, or incorporating citrus zest to brighten the coconut flavor. The versatile base adapts well to various additions.
- → What's the best way to tell when it's done baking?
-
Look for golden-brown edges and a set center. A toothpick inserted in the middle should come out mostly clean—moist crumbs are fine, but wet batter needs more time. The top should feel springy when lightly touched.
