 Save to Pinterest
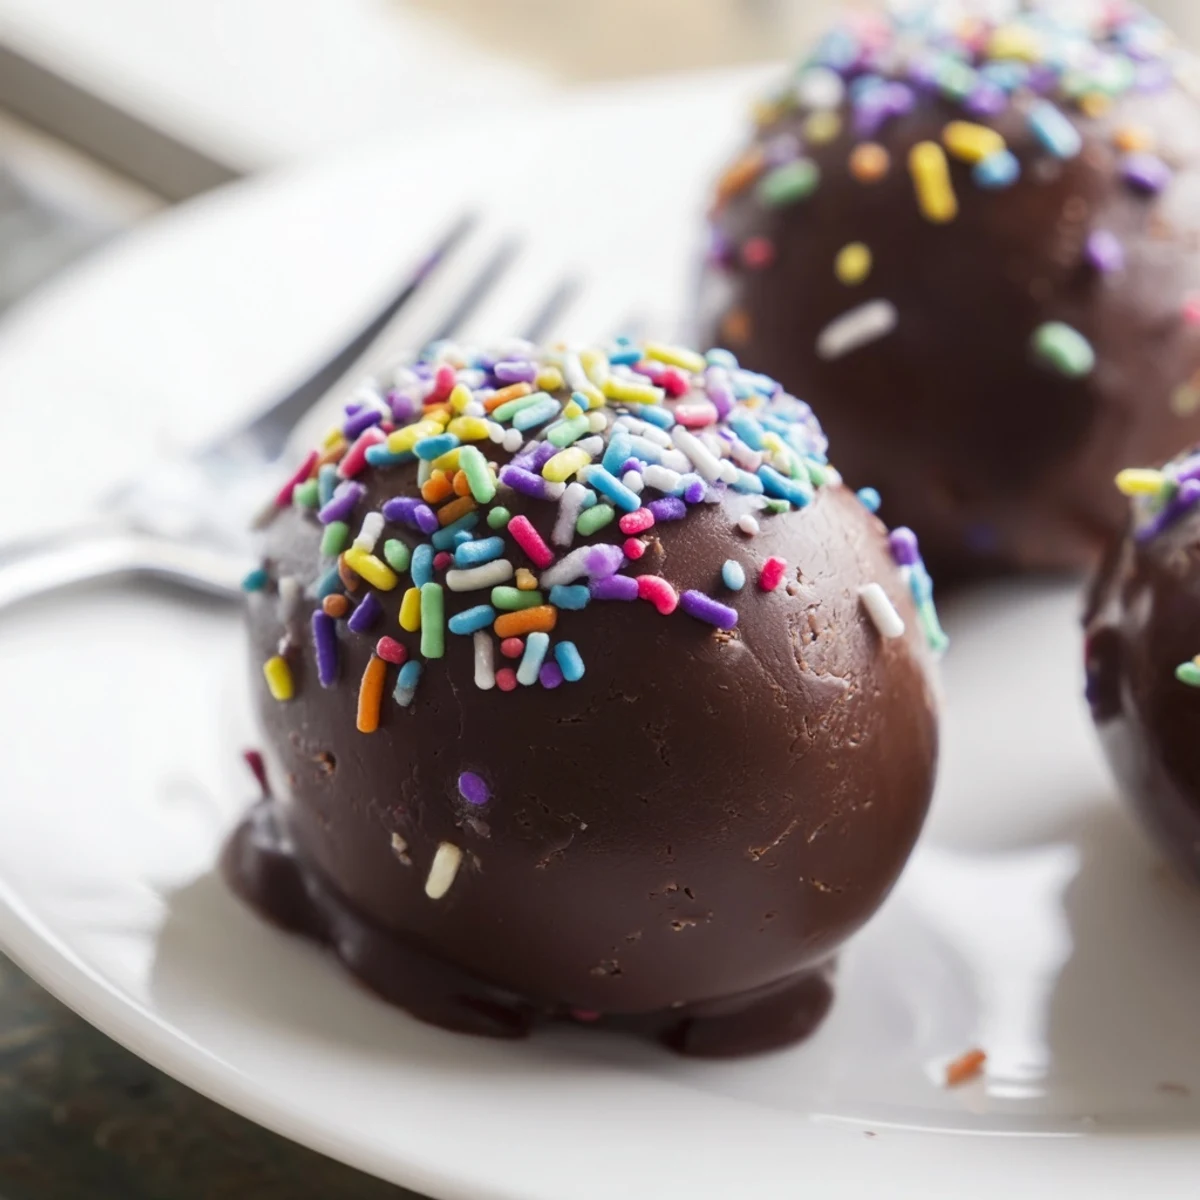
 These delightful Easter egg-shaped treats combine the classic flavors of Oreos and cream cheese into a bite-sized dessert. The no-bake preparation comes together quickly—simply crush cookies, blend with softened cream cheese, and shape into festive eggs. After chilling, dip each piece in melted semi-sweet or white chocolate for a smooth, crackling coating. Decorate with colorful sprinkles, candy melts, or edible glitter to match your celebration theme. Perfect for Easter baskets, spring parties, or as homemade gifts, these creamy chocolate treats store well in the refrigerator for up to a week. Kids love helping with the shaping and decorating steps, making this a fun family activity.
Last Easter my kitchen looked like a pastel tornado had swept through. Pink sprinkles on the floor, chocolate fingerprints on the fridge, and my daughter trying to convince me that purple eggs taste better than blue ones. That messy afternoon making these Oreo balls became one of our favorite traditions, right up there with hiding the plastic eggs in impossibly clever spots.
I brought these to a spring potluck and watched three different people ask for the recipe within ten minutes. My neighbor Linda swore she could not stop eating them and proceeded to take home half the platter. There is something about that creamy Oreo center that makes people completely abandon their portion control intentions.
Ingredients
- 36 Oreo cookies: One standard package does the trick, and I have learned that crushing them is oddly therapeutic after a long day
- 8 oz cream cheese softened: Room temperature cream cheese blends like a dream, so do not try rushing this in the microwave like I did once
- 12 oz semi sweet or white chocolate: Semi sweet gives that classic candy bar vibe while white chocolate lets the food coloring really pop
- Colored candy melts or sprinkles: This is where you can channel your inner kindergartener and go absolutely wild
Instructions
- Crush those cookies:
- Pulse the entire Oreo cookies filling and all in your food processor until they look like fine black sand. Do not worry about over crushing them.
- Make the dough:
- Add the softened cream cheese and blend until everything comes together into a thick uniform dough. It should hold its shape when you squeeze it.
- Shape your eggs:
- Scoop tablespoon sized portions and gently roll them into egg shapes. Place them on a parchment lined baking sheet and freeze for 30 minutes until firm.
- Melt the chocolate:
- Melt your chocolate in a microwave safe bowl using 20 second intervals and stirring between each. This patience prevents seizing and keeps things smooth.
- Dip and decorate:
- Drop each chilled egg into the chocolate using a fork, tap off the excess, and return to the baking sheet. Add sprinkles or drizzles before the chocolate sets.
- Set and serve:
- Chill everything for at least 15 minutes until the coating is completely firm. These can be served cold or at room temperature.
 Save to Pinterest
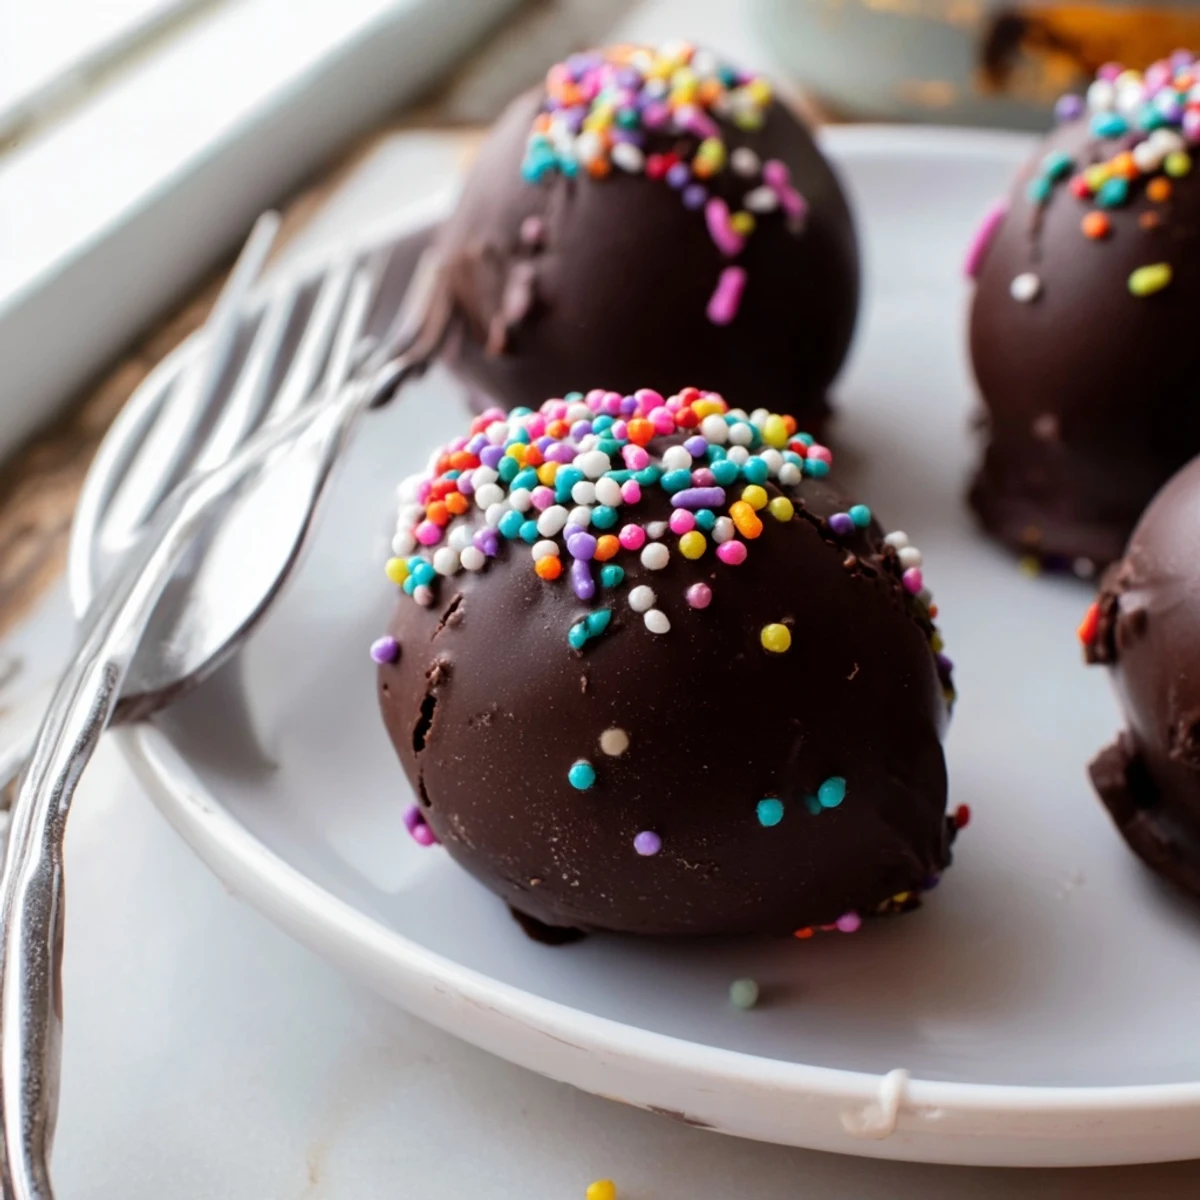
 My usually picky nephew declared these better than the Easter bunny offerings and proceeded to eat three in a row. There is genuine joy in biting through that snap of chocolate into the creamy center, like a truffle but somehow more nostalgic.
Making Them With Kids
The decorating stage is basically designed for tiny helpers who may or may not eat more sprinkles than actually end up on the eggs. I have found that having separate bowls for each color prevents the inevitable mixing that results in muddy brown everything. Some of our most uneven looking creations have been the most proudly displayed on the dessert table.
Storage Strategy
These keep beautifully in the fridge for up to a week assuming they last that long. I layer them between parchment paper in an airtight container to prevent any accidental sticking situations. The texture stays perfect and they actually taste even better after a day or two when the flavors have had time to get properly acquainted.
Flavor Twists To Try
Golden Oreos bring a vanilla forward sweetness that pairs gorgeously with dark chocolate. Mint Oreos create a surprisingly sophisticated flavor profile that adults seem to gravitate toward. You can also stir a teaspoon of extract directly into the cream cheese mixture for subtle flavor variations.
- Lemon extract with white chocolate coating screams spring
- A pinch of sea salt on top of semi sweet chocolate creates that salted caramel vibe
- Crushed candy canes make these surprisingly festive for December
 Save to Pinterest
 These little eggs have become my go to for anyone needing a smile in edible form. Sometimes the simplest recipes create the most lasting memories.
Recipe FAQs
- → How long do these chocolate treats stay fresh?
-
Store in an airtight container in the refrigerator for up to one week. The chocolate coating remains smooth and the cream cheese filling stays perfectly creamy when chilled.
- → Can I freeze these for later?
-
Yes, freeze the shaped eggs before dipping for up to 3 months. Thaw in the refrigerator overnight, then coat with chocolate. Fully coated treats can also be frozen, though the coating may develop slight condensation upon thawing.
- → What chocolate works best for coating?
-
Semi-sweet chocolate chips or chopped baking chocolate create a classic contrast. White chocolate offers a sweeter alternative. For best results, temper the chocolate or use candy melts for a glossy finish that sets firmly at room temperature.
- → Can I make these without a food processor?
-
Place Oreos in a sealed plastic bag and crush with a rolling pin or heavy skillet until fine crumbs form. Mix with softened cream cheese by hand in a bowl until completely combined and smooth.
- → Why do my egg shapes lose their form?
-
The mixture needs thorough chilling before shaping—30 minutes in the freezer helps firm the dough. Work quickly and keep unused portions chilled while forming each egg. If the mixture becomes too soft, refrigerate briefly before continuing.
- → What variations can I try?
-
Use Golden Oreos for a vanilla version, or experiment with flavored cream cheese like strawberry or chocolate. Add extracts—peppermint, almond, or orange—to customize the filling. Try different chocolate coatings including milk chocolate or dark chocolate for varied flavor profiles.
