 Save to Pinterest
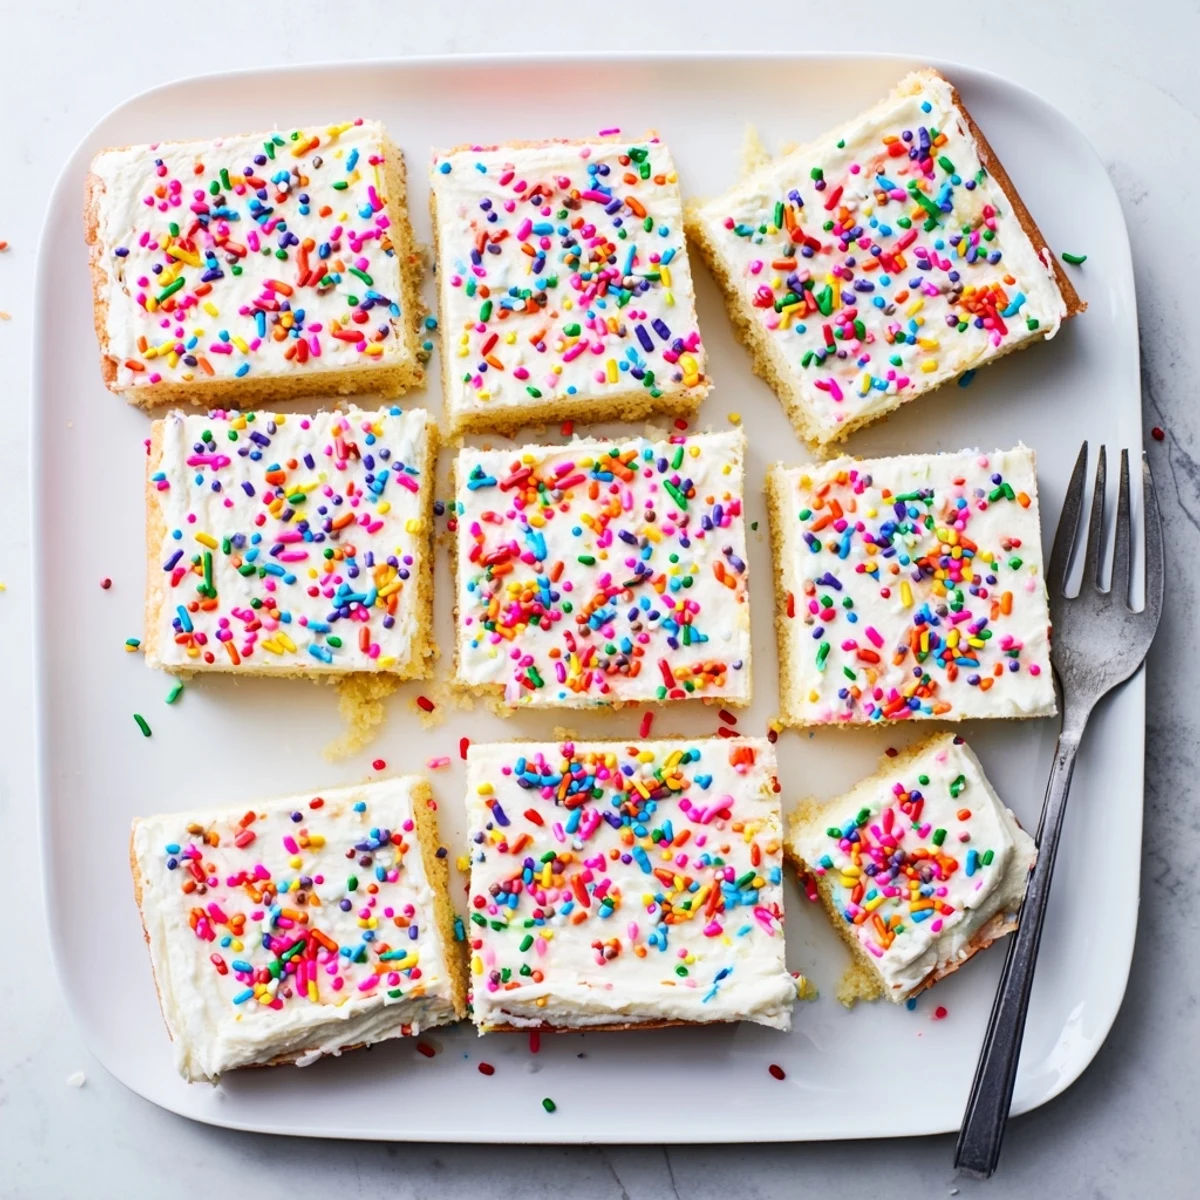
 These soft sugar cookie bars combine a tender, buttery base with smooth cream cheese frosting. The dough comes together quickly with basic pantry staples, bakes into golden squares, and cools before topping with sweet vanilla frosting. Add sprinkles for celebrations or keep them simple for everyday treats. These bars transport easily and stay fresh for days, making them perfect for potlucks, birthday parties, and holiday gatherings.
The rain was hammering against the kitchen window the afternoon I stumbled onto the idea of pressing sugar cookie dough into a pan instead of rolling it out and cutting shapes. My daughter had begged me for decorated cookies for her school bake sale, and I had exactly forty minutes before we needed to leave. Those cookie bars vanished in minutes, and I have never gone back to individual cookies since.
I brought a tray of these to a neighbor potluck last summer and watched three adults hover over the pan, cutting slightly uneven squares and pretending they were not going back for seconds. One of them asked if I had spent all day baking, and I just smiled and said absolutely.
Ingredients
- 2 1/4 cups all-purpose flour: This gives the bars their sturdy yet tender crumb, and spooning into the cup then leveling is the safest way to measure.
- 1/2 teaspoon baking powder: Just enough lift to keep them soft without turning cakey.
- 1/2 teaspoon salt: Do not skip this because it balances every bit of sweetness in both the bar and the frosting.
- 3/4 cup unsalted butter, softened: The real backbone here, so pull it out an hour ahead so it creams properly.
- 1 cup granulated sugar: Standard white sugar gives the cleanest flavor and the prettiest pale golden edge.
- 1 large egg plus 1 egg yolk: That extra yolk is my little trick for richness and chew.
- 2 teaspoons pure vanilla extract: Use the good stuff if you have it because vanilla is the dominant flavor here.
- 1/4 cup whole milk: It loosens the dough just enough to spread smoothly into the pan.
- 1/2 cup unsalted butter, softened (for frosting): This creates a buttercream that sets with a slight crust and stays silky underneath.
- 2 cups powdered sugar, sifted: Sifting is nonnegotiable unless you want to spend time chasing lumps.
- 2 tablespoons whole milk (for frosting): Add gradually until the frosting reaches a spreadable consistency.
- 1 teaspoon pure vanilla extract (for frosting): A second hit of vanilla ties the whole thing together.
- Food coloring and sprinkles (optional): These are where you get to play and make them yours.
Instructions
- Prep the oven and pan:
- Heat your oven to 350 degrees F and line a 9 by 13 inch pan with parchment, letting the paper hang over the edges like handles. This is your exit strategy for perfect bars later.
- Whisk the dry ingredients:
- In a medium bowl, whisk the flour, baking powder, and salt together until evenly blended and set aside. Take ten seconds to really whisk because pockets of baking powder taste bitter.
- Cream butter and sugar:
- Beat the softened butter and sugar in a large bowl for two to three minutes until pale and fluffy. You want it to look noticeably lighter and almost whipped.
- Add the eggs and vanilla:
- Drop in the egg, the extra yolk, and the vanilla, then beat until the mixture looks cohesive and glossy. Scrape the bowl once because that yolk loves to hide at the bottom.
- Incorporate flour and milk:
- On low speed, add the flour mixture in three additions, alternating with the milk in two, starting and ending with flour. Stop mixing the moment everything is combined because overworking the dough makes tough bars.
- Spread and bake:
- Press the dough evenly into the pan using an offset spatula or damp fingers. Bake for 18 to 22 minutes until the edges are just golden and a toothpick comes out with a few moist crumbs clinging to it.
- Cool completely:
- Let the bars cool right in the pan on a wire rack with zero rushing. Frosting warm bars is a one way ticket to a melted mess.
- Make the frosting:
- Beat the butter until creamy, then gradually add powdered sugar, milk, and vanilla, whipping until light and fluffy. Add food coloring now if you are feeling festive.
- Frost, cut, and serve:
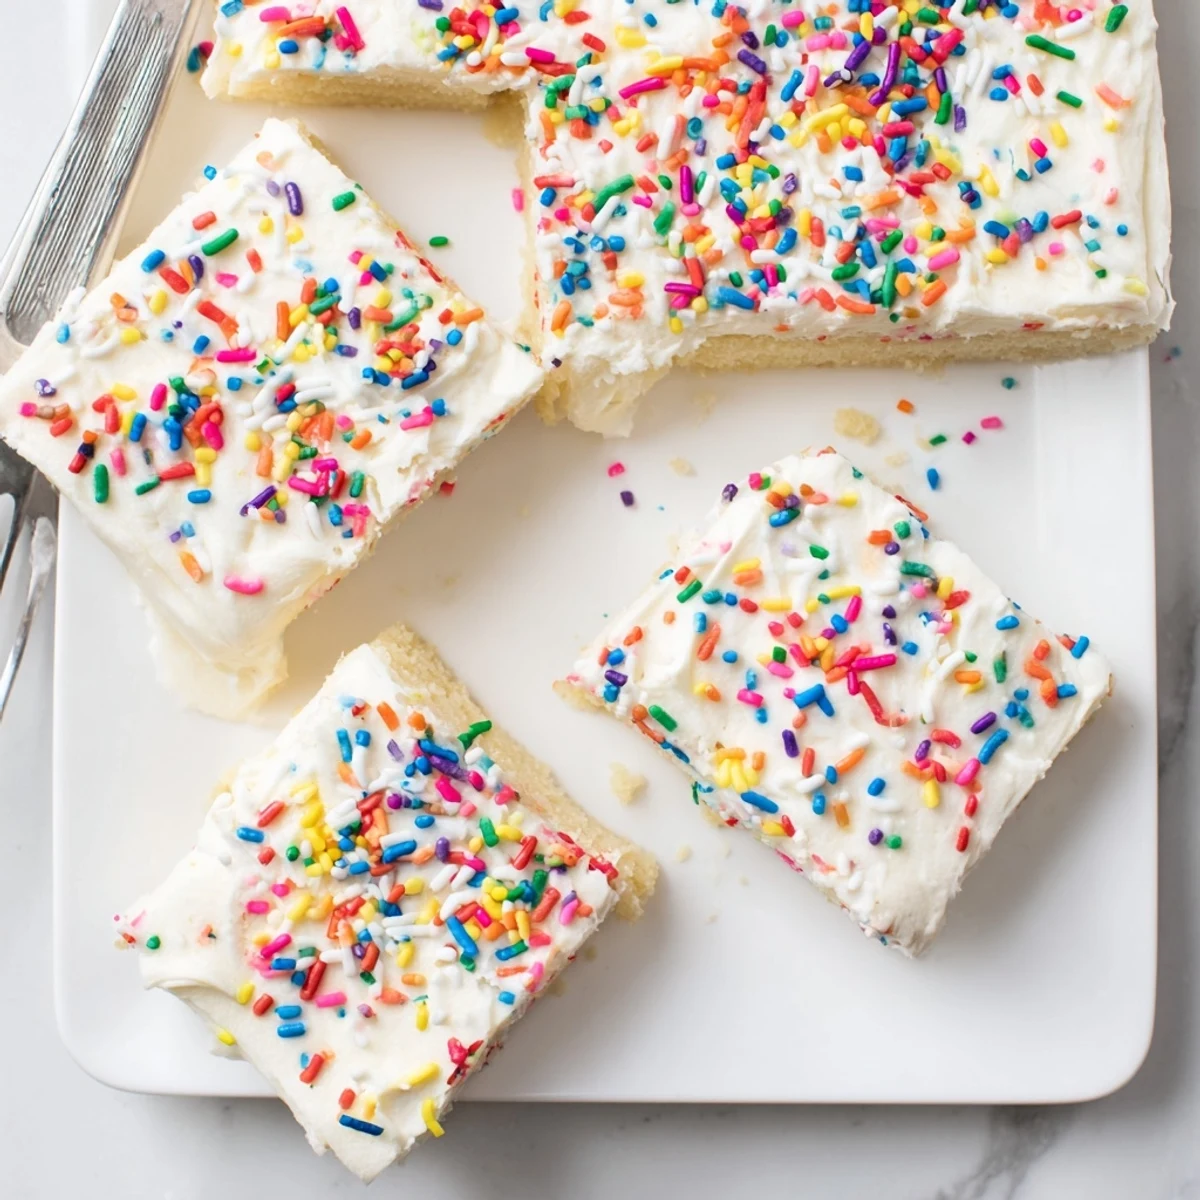
- Spread the frosting evenly over the cooled bars, shower with sprinkles, then use the parchment handles to lift the whole slab out. Cut into squares and watch them disappear.
 Save to Pinterest
 My daughter now requests these bars every single birthday, and I have to admit I love that more than any fancy layer cake I could spend hours building.
Storage and Make Ahead
These bars keep beautifully in an airtight container at room temperature for up to three days, though in my house they rarely survive that long. You can bake the cookie base a day ahead and frost the morning of your event for zero stress.
Adapting for Dietary Needs
Plant based butter and oat milk work surprisingly well in both the bars and the frosting if you need a dairy free version. The texture shifts just slightly toward tender rather than chewy, but the flavor remains rich and satisfying.
Decorating for Any Occasion
This is where the recipe becomes a canvas and honestly half the fun.
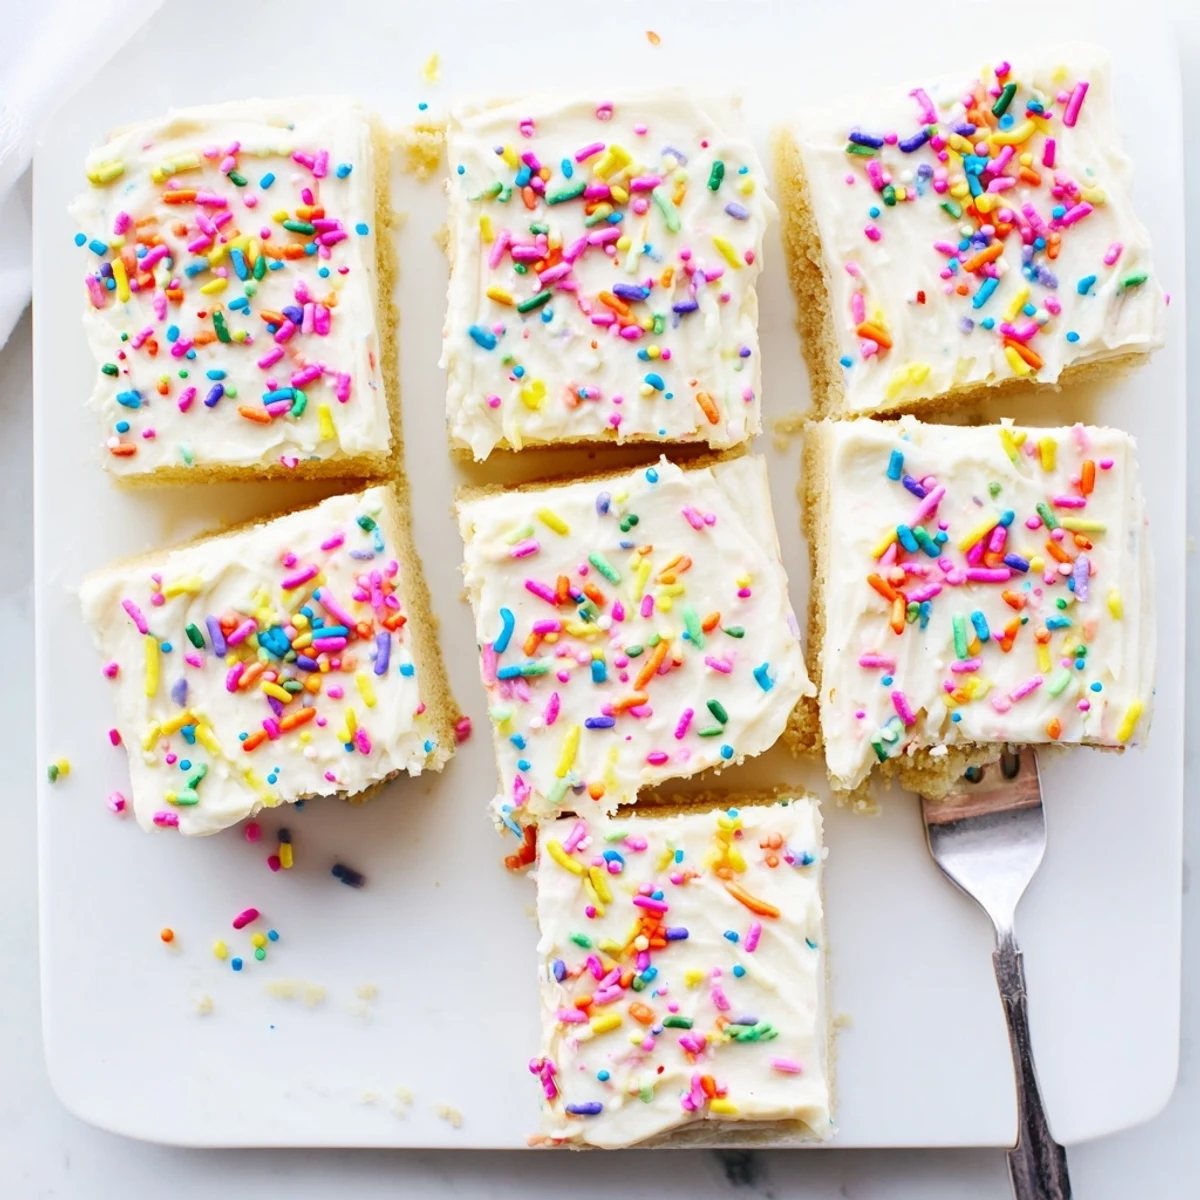
- Divide the frosting into bowls and tint each one a different color for a rainbow platter.
- Use seasonal sprinkles like tiny pumpkins in autumn or snowflakes in winter to match the mood.
- Press chopped chocolate, toffee bits, or toasted coconut into the frosting before it sets for extra crunch.
 Save to Pinterest
 Frosting a pan of sugar cookie bars while the kitchen smells like warm butter and vanilla is genuinely one of life's simplest pleasures. Share them with someone you love, or quietly keep the whole tray on the counter for yourself.
Recipe FAQs
- → How do I know when the cookie bars are done baking?
-
The bars are ready when the edges are lightly golden and a toothpick inserted in the center comes out with moist crumbs, not wet batter. This typically takes 18-22 minutes at 350°F. Avoid overbaking to keep them soft and tender.
- → Can I make these bars ahead of time?
-
Yes! Bake the bars up to 2 days in advance and store unfrosted in an airtight container. Frost on the day of serving for the freshest taste and texture. You can also freeze the unfrosted bars for up to 3 months.
- → What's the best way to cut clean squares?
-
Let the bars cool completely, then use the parchment paper overhang to lift them from the pan. Use a sharp knife wiped clean between cuts for neat edges. For extra precision, chill the frosted bars for 30 minutes before slicing.
- → Can I customize the frosting flavor?
-
Absolutely! Replace the vanilla extract with almond, lemon, or coconut extract. Try adding citrus zest, melted chocolate, or fruit puree for different variations. The base frosting recipe works with almost any flavor addition.
- → How should I store leftover bars?
-
Keep bars in an airtight container at room temperature for up to 3 days. For longer storage, refrigerate for up to a week, though they may become slightly denser. Bring to room temperature before serving for the best texture.
- → Can I make these dairy-free?
-
Yes! Substitute the butter with vegan butter sticks and use plant-based milk. The texture remains nearly identical, and no other adjustments are needed. Ensure your powdered sugar is certified vegan if that's a concern.
