 Save to Pinterest
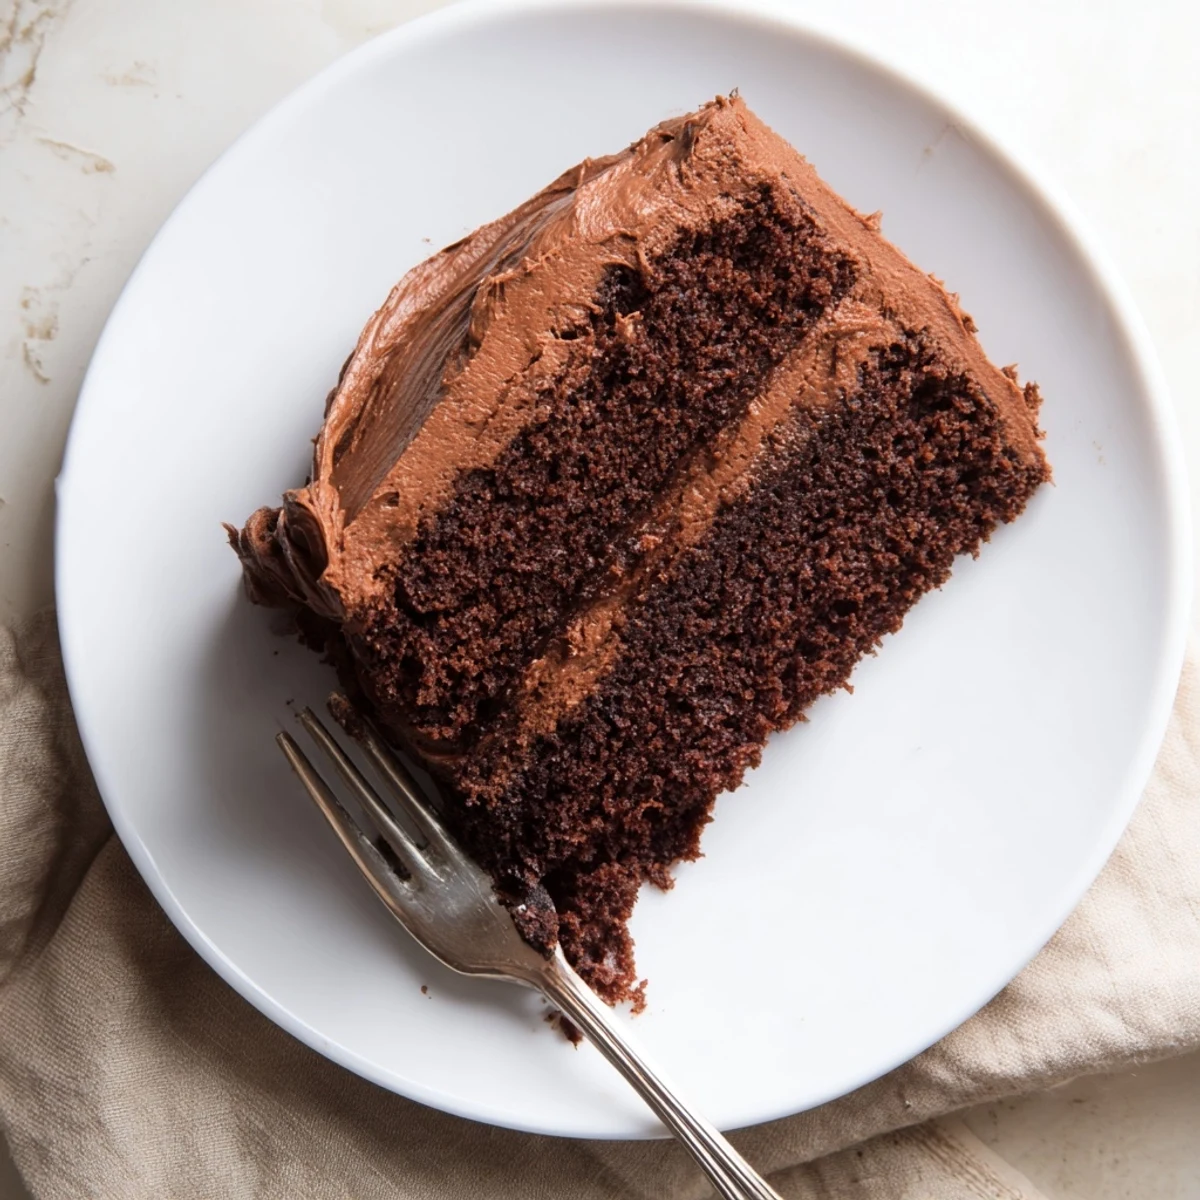
 This beloved chocolate layer cake delivers intense chocolate flavor with an incredibly moist, tender crumb. The two-layer masterpiece features a rich cocoa-based sponge that gets its signature texture from a unique boiling water technique. Crowned with silky chocolate buttercream frosting that perfectly balances sweetness with deep cocoa notes, this cake celebrates the iconic dessert from Matilda. The swooping, swirled frosting creates that classic look everyone recognizes, making it ideal for birthdays, celebrations, or whenever chocolate cravings strike.
The smell of chocolate cake baking has this way of stopping everyone in their tracks and pulling them toward the kitchen. I first made this cake after my youngest begged me to recreate that enormous chocolate cake from Matilda, and honestly, it has become the cake they request for every single birthday now. There is something almost magical about how a simple list of pantry staples transforms into something that feels like a celebration.
Last summer, I made three of these cakes in one week for various family gatherings, and my brother actually asked if I could start selling them. The way the kitchen fills with that deep chocolate aroma while it bakes feels like giving your whole house a warm hug. My favorite part might be how the frosting swoops and swirls like the movie cake, making it look impressive even if you have never decorated anything before.
Ingredients
- 225 g all-purpose flour: The foundation that gives this cake its structure while keeping it tender
- 400 g granulated sugar: Provides sweetness and helps create that beautifully moist texture we love
- 85 g unsweetened cocoa powder: Deep chocolate flavor that makes this cake intensely satisfying
- 1½ tsp baking powder: Works with baking soda to give the cake its perfect rise
- 1½ tsp baking soda: Ensures the cake stays light despite all those rich ingredients
- 1 tsp salt: Enhances the chocolate flavor and balances the sweetness
- 2 large eggs: Bind everything together and add richness to the crumb
- 240 ml whole milk: Creates a tender crumb and adds subtle creaminess
- 120 ml vegetable oil: Keeps the cake incredibly moist and prevents it from drying out
- 2 tsp pure vanilla extract: Rounds out the chocolate flavor with warm floral notes
- 240 ml boiling water: The secret ingredient that blooms the cocoa and creates that legendary moist texture
- 225 g unsalted butter: Room temperature butter creates that silky smooth frosting we all dream about
- 75 g unsweetened cocoa powder: Gives the frosting its intense chocolate character
- 425 g powdered sugar: Sweetens the frosting while creating that spreadable consistency
- 60 ml whole milk: Adjusts the frosting texture until it is perfectly spreadable
- 2 tsp pure vanilla extract: Brightens the rich chocolate frosting beautifully
- Pinch of salt: Keeps the frosting from becoming cloyingly sweet
Instructions
- Preheat your oven:
- Heat to 175°C and prepare two 23 cm round pans with grease and parchment paper so nothing sticks.
- Whisk the dry ingredients:
- Combine flour, sugar, cocoa powder, baking powder, baking soda, and salt in a large bowl until well blended.
- Add the wet ingredients:
- Pour in eggs, milk, oil, and vanilla, then beat on medium speed until everything comes together smoothly.
- Stir in the boiling water:
- Slowly mix in the hot water until the batter becomes thin and glossy, which is exactly what you want.
- Bake the layers:
- Divide batter evenly between pans and bake for 30 to 35 minutes until a toothpick comes out clean.
- Cool completely:
- Let the cakes rest in pans for 10 minutes before turning them onto wire racks to cool entirely.
- Make the frosting:
- Beat butter until creamy, sift in cocoa powder, then gradually add powdered sugar and milk until smooth.
- Assemble the cake:
- Place one layer on your plate, frost the top, add the second layer, and cover everything with remaining frosting using swooping motions.
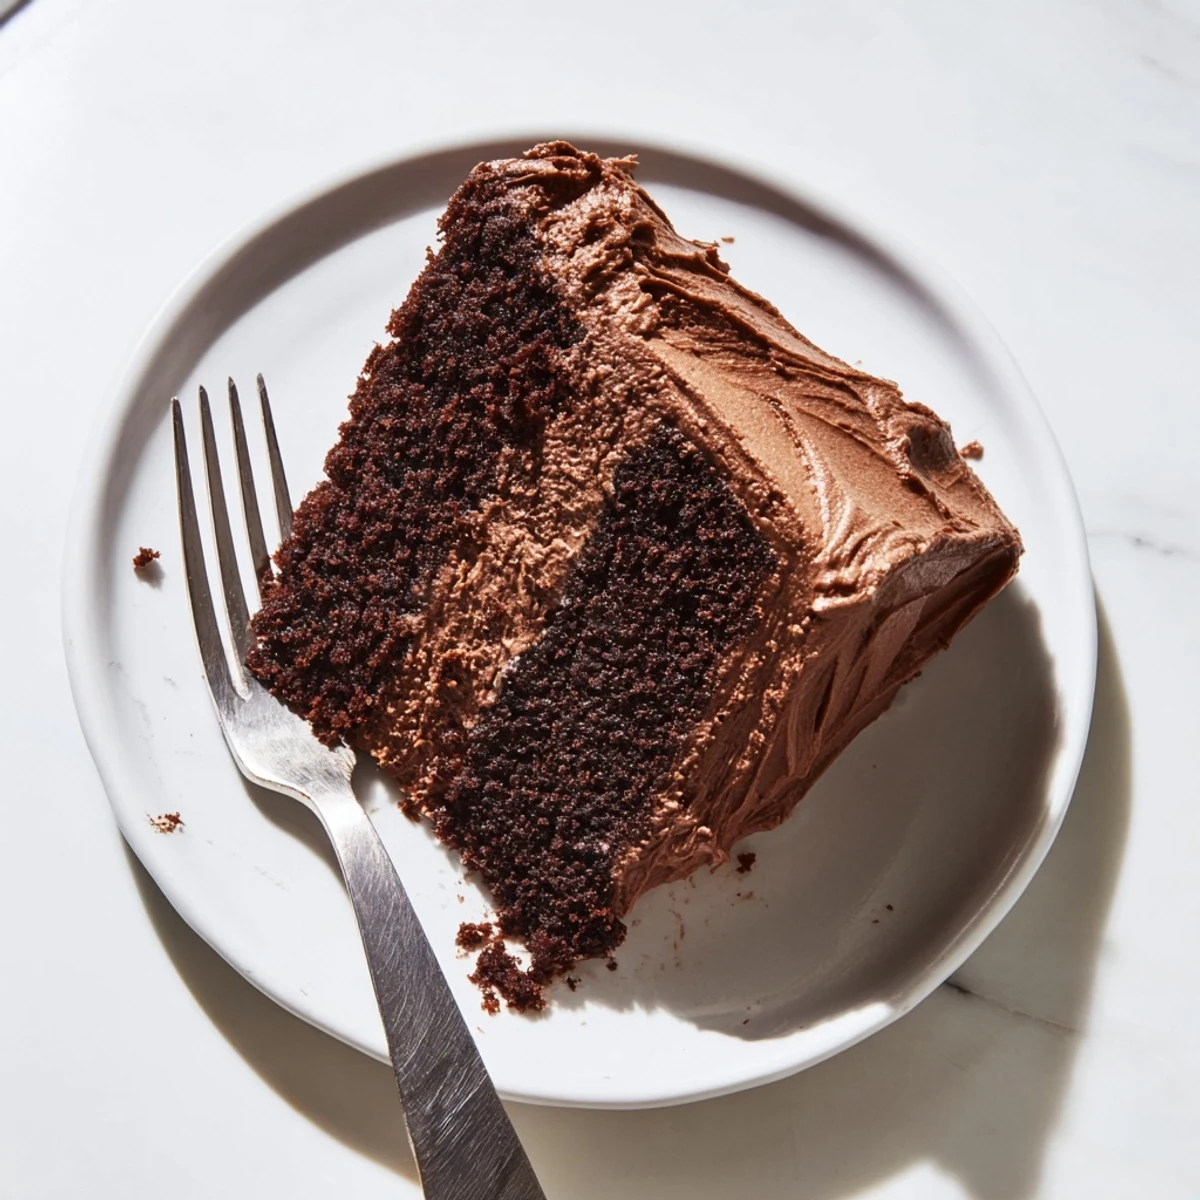 Save to Pinterest
 This cake has become our go to for celebrating everything from good report cards to bad days that need chocolate therapy. Something about watching people take that first bite and seeing their eyes light up makes all the measuring and mixing worth it.
Making It Your Own
I have discovered that swapping half the milk for sour cream adds an incredible tanginess that cuts through all that rich chocolate. Sometimes I will add a teaspoon of espresso powder to deepen the chocolate flavor even more, especially when baking for coffee lovers in the family.
Storage and Serving
This cake actually tastes better on day two, which makes it perfect for making ahead of parties or gatherings. Keep it covered at room temperature for up to three days, though in our house it rarely lasts longer than 24 hours anyway.
Troubleshooting Like a Pro
If your frosting feels too stiff, add milk one teaspoon at a time until it reaches spreading consistency. When the cake layers dome too much in the oven, use a serrated knife to level them before frosting for that professional bakery look.
- Let the cakes cool completely before frosting or the butter will melt and slide right off
- Chill the frosted cake for 30 minutes before slicing to get those picture perfect clean cuts
- Run your knife under hot water and wipe it clean between slices for the most beautiful presentation
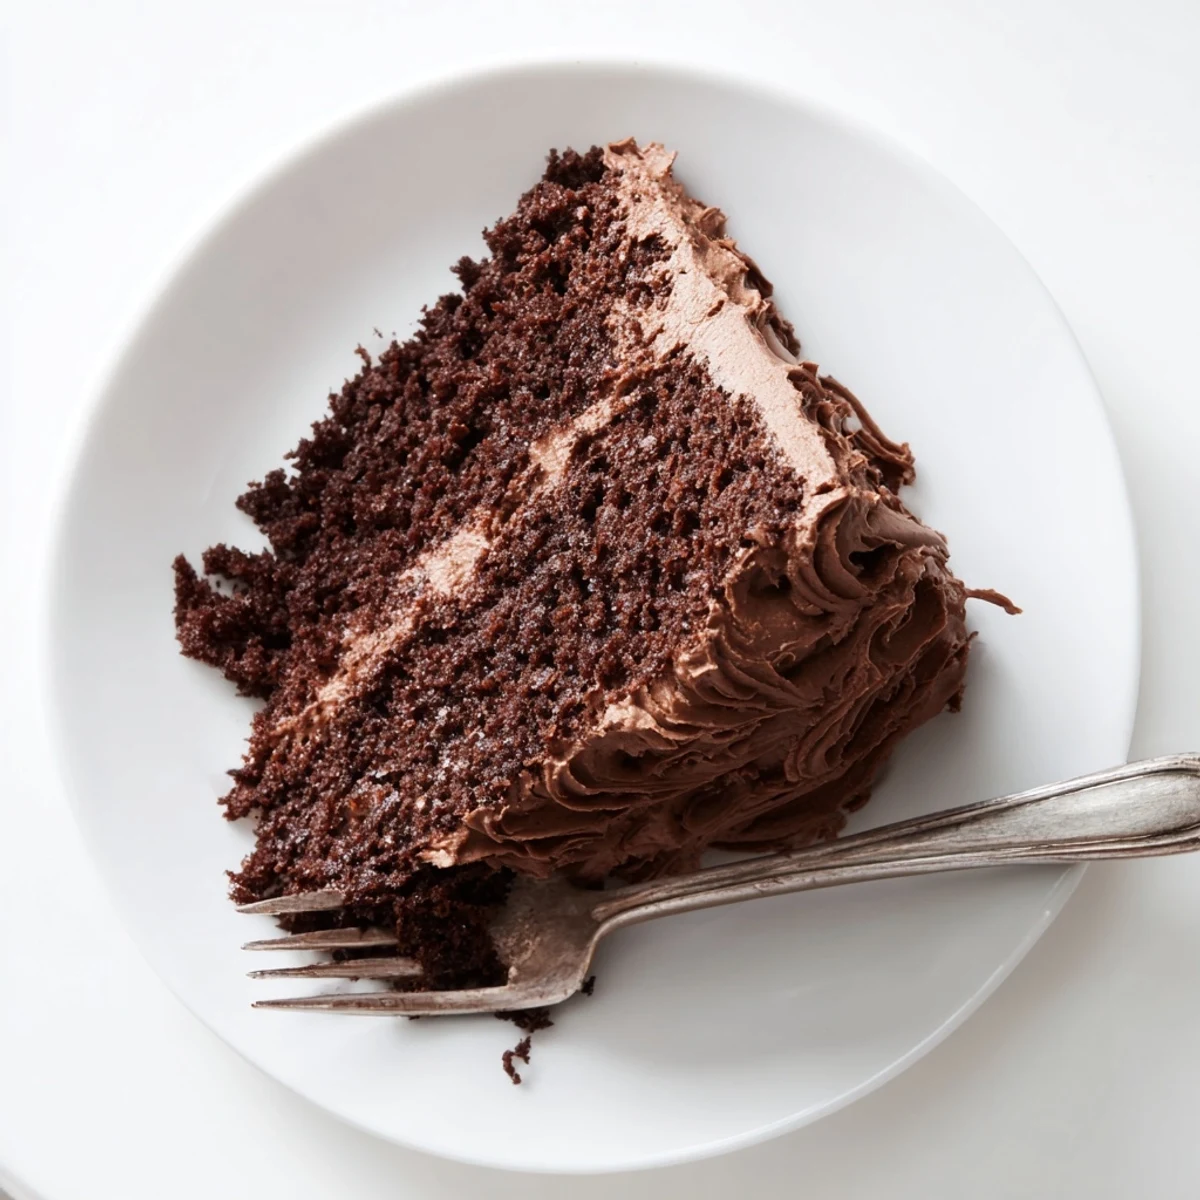 Save to Pinterest
 There is something deeply satisfying about making a cake that brings so much joy to the people you love. Enjoy every bite of this chocolate celebration.
Recipe FAQs
- → What makes this chocolate cake so moist?
-
The boiling water added to the batter creates steam during baking, resulting in an exceptionally moist crumb that stays fresh for days. This technique also helps bloom the cocoa powder for deeper chocolate flavor.
- → Can I make this cake ahead of time?
-
Absolutely. The cake layers can be baked up to two days in advance and stored tightly wrapped at room temperature. The frosted cake keeps well in the refrigerator for up to five days.
- → What type of cocoa powder works best?
-
Unsweetened natural cocoa powder provides the classic chocolate flavor. For even deeper intensity, you can substitute half with Dutch-processed cocoa, though the leavening may need slight adjustment.
- → How do I achieve the signature frosting swirls?
-
Use an offset spatula and a light touch. Create swooping motions around the sides and top of the cake, building up peaks and valleys. Practice helps—don't worry about perfection, the rustic look adds charm.
- → Can this be made as a single layer cake?
-
Yes. Simply halve the ingredients and bake in one 23 cm pan for 30-35 minutes. The frosting amount can also be reduced, though having extra allows for generous decoration.
- → What pairs well with this chocolate cake?
-
Cold milk cuts through the richness beautifully, while robust coffee enhances the chocolate notes. For special occasions, serve with vanilla bean ice cream or fresh berries.
