 Save to Pinterest
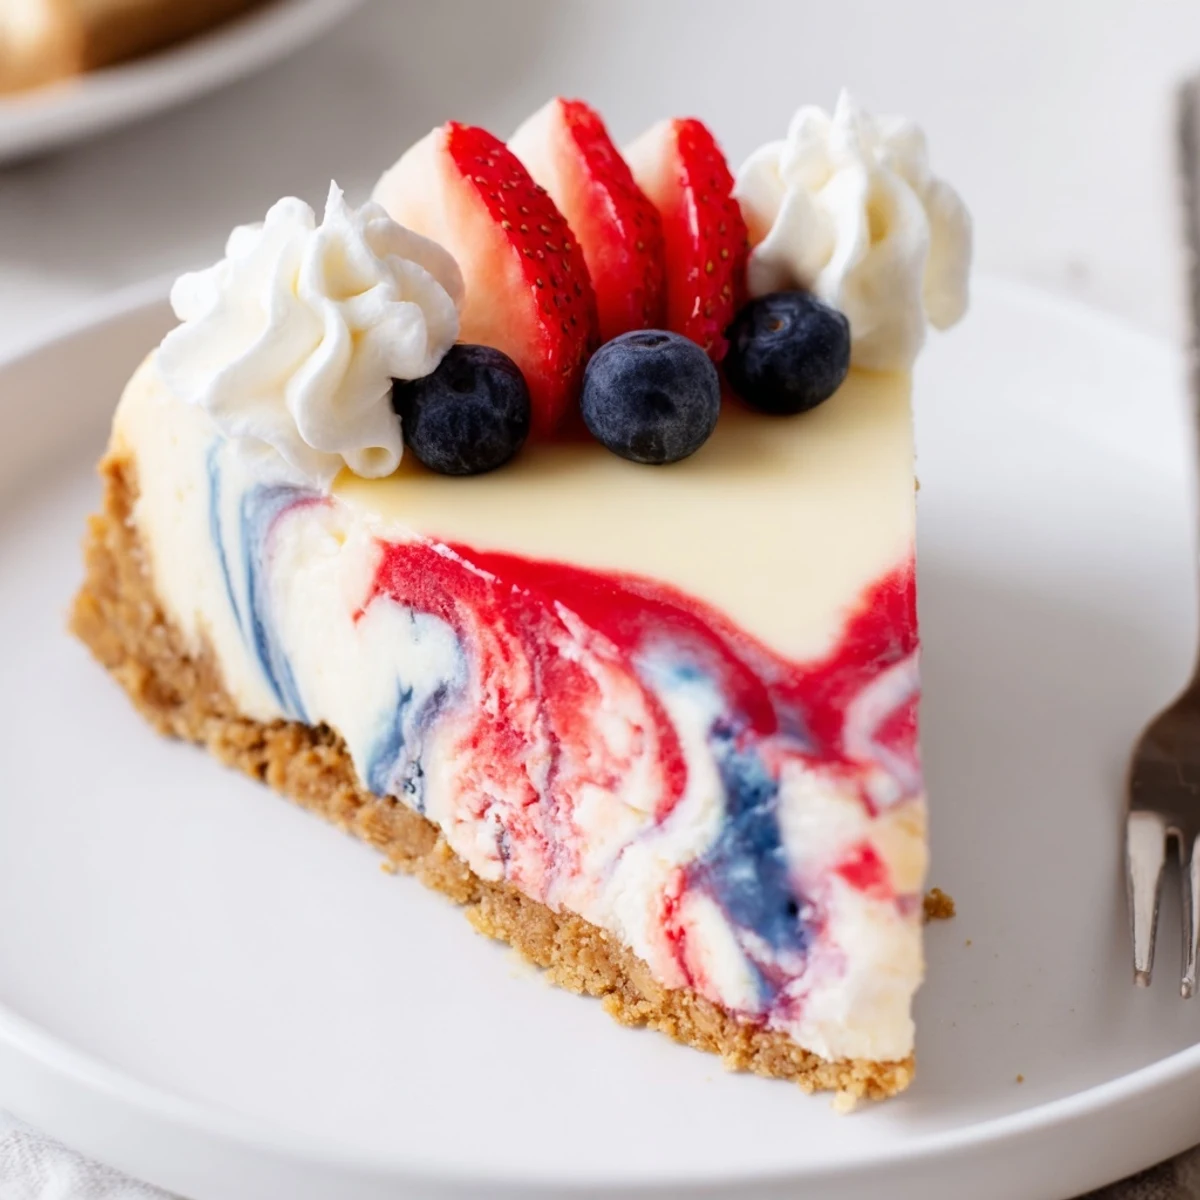
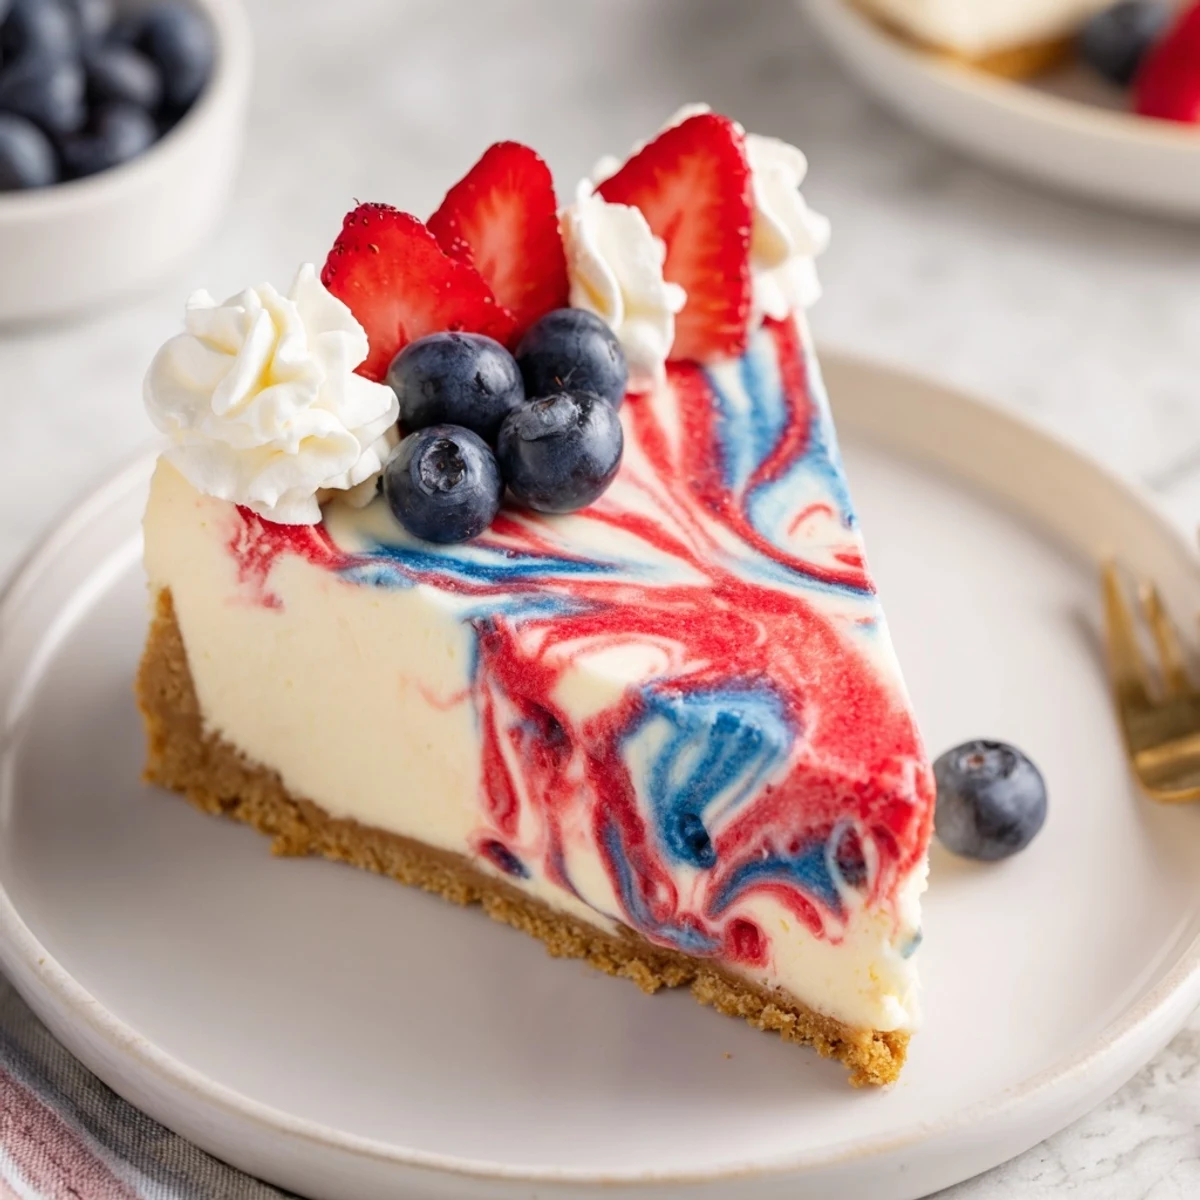
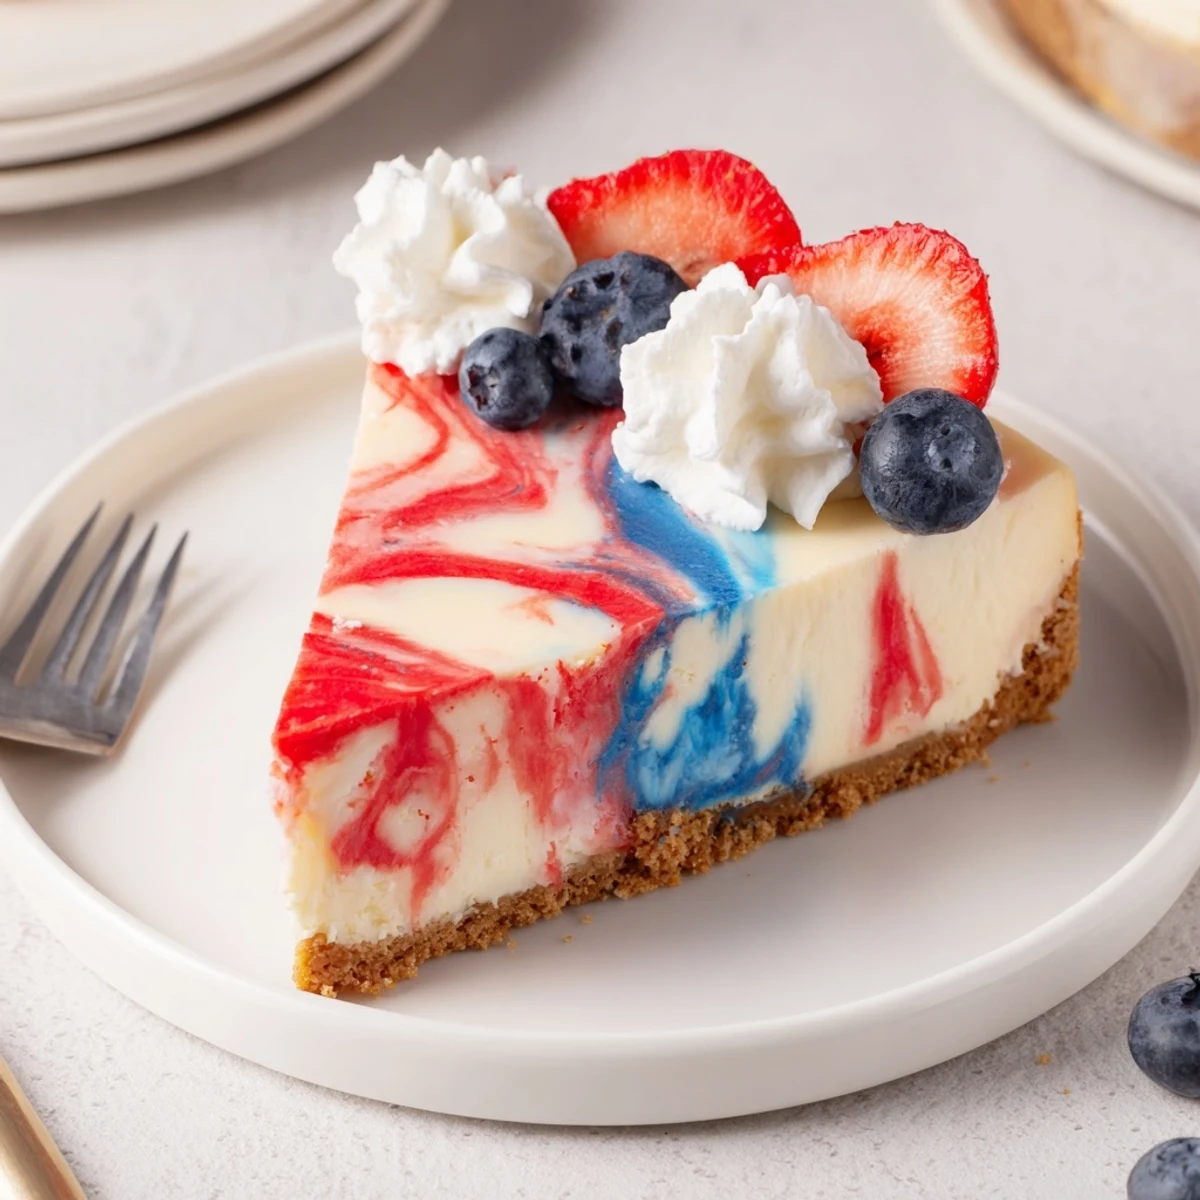
 Press a buttery graham crust into a 9-inch springform and parbake. Beat softened cream cheese with sugar and vanilla, add eggs one at a time, then fold in sour cream and flour until smooth. Divide batter into three portions; leave one plain and tint two with gel colors. Dollop batters alternately on the cooled crust and swirl gently for a marbled effect. Bake until the center is just set but still slightly jiggly, cool in the oven with the door ajar, then chill at least three hours. Use gel dyes for brighter swirls and avoid overmixing to keep distinct color bands; finish with whipped cream and berries if desired.
Red and blue swirls always spark a little buzz in my kitchen, especially when I’m setting out to make something as playful as this patriotic cheesecake. The sound of graham crackers crunching in the food processor brings back visions of summer gatherings, the kind where someone inevitably dips a finger in the cheesecake batter when they think you’re not looking. Smearing food coloring into creamy pools felt almost rebellious the first time, like painting outside the lines at a grown-up art party. Something about those vivid streaks makes the finished dessert feel equal parts celebration and spectacle.
Once, I made this cheesecake for a backyard Fourth of July picnic and accidentally over-swirl the batter, turning the colors into a pastel tie-dye—not quite the effect I planned, but nobody minded as fireworks sparkled and laughter bounced through the night air.
Ingredients
- Graham cracker crumbs: Finely crushed for the perfect sturdy base—press firmly for crispness and avoid a soggy crust.
- Granulated sugar: Just enough in both crust and filling to sweeten without overpowering the creamy tang.
- Unsalted butter (melted): Rich flavor and binds the crust together; warming it slightly helps everything mix smoothly.
- Pinch of salt: Balances the sweetness and makes all the flavors pop, so don’t skip it.
- Cream cheese (softened): The silky heart of the cheesecake—make sure it’s at room temp to avoid lumps in the batter.
- Vanilla extract: That little hint of warmth rounds out all the dairy’s richness.
- Eggs: Added one at a time so the filling stays creamy, not dense; beat gently for the most tender custard.
- Sour cream: Adds tang and luxurious texture; I once swapped in Greek yogurt, but sour cream’s my favorite for true smoothness.
- All-purpose flour: Just enough to set the texture without making things cakey—be sure to level with a knife for accuracy.
- Red & blue gel food coloring: Gel is a must for bold swirls—start with just a dab and add more as needed to reach vibrant shades.
Instructions
- Prep the pan:
- Grease your springform pan and tuck a circle of parchment at the bottom, so the cheesecake lifts out perfectly later.
- Make the crust:
- Mix the graham cracker crumbs, melted butter, sugar, and salt with your hands until sandy, then press firmly into the pan—it should feel like damp beach sand beneath your fingertips. Bake for 10 minutes as your kitchen fills with a sweet, toasty aroma, then let it cool.
- Beat the filling:
- Whip the cream cheese until fluffy, then blend in sugar and vanilla until glossy. Crack the eggs in one at a time, mixing just until combined, then gently fold in the sour cream and flour for a lusciously smooth texture.
- Divide and color:
- Spoon batter into three bowls; keep one plain, then tint the others with red and blue gel until vibrant. A little food coloring goes a long way—watch the colors come alive with a quick swirl.
- Swirl and pour:
- Working quickly, alternate scoopfuls of each color over the cooled crust. Gently swirl the colors with a skewer or knife—a loose figure eight does the trick—until the pattern looks delightfully marbled, but stop before the colors muddy together.
- Bake slowly:
- Slide the pan into your preheated oven and bake until the center jiggles slightly when nudged. Turn the oven off, crack the door, and let the cheesecake rest in the gentle heat; patience here helps prevent cracks.
- Chill and finish:
- Once cooled, move the cheesecake to the fridge for at least three hours—this waiting game ensures clean slices and the perfect creamy bite.
 Save to Pinterest
 I’ll never forget the time my niece leaned over the counter, eyes wide, whispering that she thought the cheesecake looked “like a firework landed on a plate” just before she devoured her second slice—I couldn’t have planned the magic if I tried.
Swirling Secrets for Showstopper Cheesecake
It turns out the trick to perfect marbling is less swirl than you think—just a few gentle figure eights with a skewer, and the batter transforms into art. Overdoing it blends the colors into grayish hues, so I set a rule: as soon as it looks good, oven time. Letting each color drop in thick ribbons, rather than thin streams, keeps the pattern bold and defined.
Choosing the Right Tools
A springform pan is my must-have, making it easy to pop out each impressive layer without stress. Mixing bowls in a range of sizes come in handy for swiftly dividing the batter, and a sturdy rubber spatula makes scraping every last bit a breeze.
Making It Ahead: Chilling and Serving Tips
This cheesecake has taught me that chilling overnight isn’t just for convenience—it truly unlocks the best texture and lets the flavors mingle quietly in the fridge. To keep the vibrant swirls pristine, I always run a thin knife under hot water before each slice for a sharp, clean cut.
- Don’t forget to let the cheesecake cool in the oven first—it prevents the dreaded surface crack.
- A sprinkle of fresh berries just before serving brings extra festive flair without extra fuss.
- Three hours of chilling is the bare minimum; overnight makes it unbeatable.
 Save to Pinterest
 Baking this cheesecake always adds a bit of color and surprise to my dessert table—I hope your swirls are as bright and joyful as the memories you make sharing it.
