 Save to Pinterest
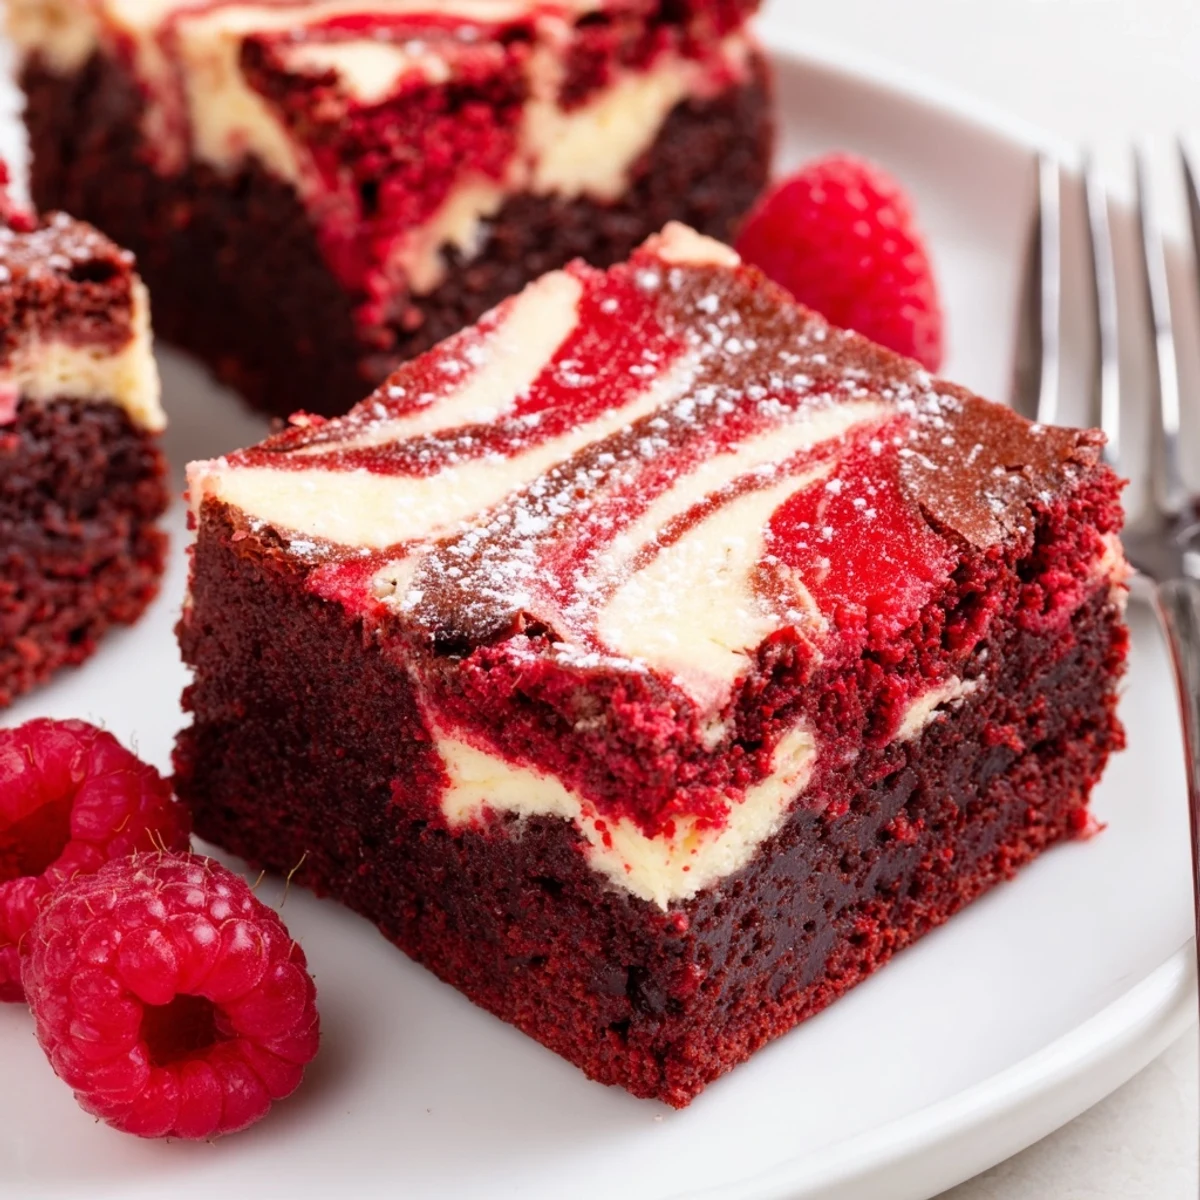
 In this layered dessert, a fudgy red velvet brownie base meets a silky, tangy cheesecake topping for a striking marbled finish. Combine melted butter and sugar, whisk in eggs, vanilla and red color, then fold in flour and cocoa. Spread most of the batter in an 8-inch pan, add a smooth cream cheese mixture, dollop remaining batter and swirl. Bake 33–37 minutes until mostly set, cool completely, then chill at least 1 hour for clean slices and best texture.
The first time I heard cheesecake and brownies in one dessert, I was skeptical but too intrigued not to try. The kitchen was especially quiet that afternoon, interrupted only by the gentle clink of my whisk against the mixing bowl and the sweet scent slowly filling the air. There is something theatrical about swirling deep red brownie batter into cool cheesecake. It felt more like playing with edible paint than following a recipe—messy, bold, and just a little daring.
I once baked these for a friend's birthday party, and by the time the candles were blown out, not a crumb was left. People kept sneaking into the kitchen, drawn by the marbled pattern and the hint of cream cheese in the air. I still laugh remembering how someone tried to negotiate for a second piece before they finished their first.
Ingredients
- Unsalted butter: Melting the butter gives the brownies fudgy richness and keeps the batter silky; I found microwaving in short bursts prevents scorched spots.
- Granulated sugar: Use fresh sugar that clumps slightly; it helps form a glossy crackle top.
- Large eggs: Room-temperature eggs incorporate easier for that iconic chew—just run them under warm water if rushed.
- Vanilla extract: Even a small splash deepens the flavor, so use real vanilla if you have it.
- Red food coloring: Gel color gives the most vivid hue, but liquid works too—just adjust to get a dramatic red streak.
- All-purpose flour: Sift it in gently for lighter brownies and fewer lumps in the swirl.
- Unsweetened cocoa powder: Adds backbone to the red velvet flavor and makes the marbling more dramatic.
- Salt: That tiny pinch balances out all the sweetness—don’t skip it!
- Cream cheese: Let it soften at room temperature so it blends in without lumps and creates the silkiest layer.
- Granulated sugar (for cheesecake): Just enough for gentle sweetness that lets the tang stand out.
- Large egg (for cheesecake): This gives structure and ensures a custardy, creamy bite.
- Vanilla extract (for cheesecake): A touch lifts the whole layer and rounds out any sharp edges.
Instructions
- Prep the Pan:
- Line a square baking pan with parchment paper leaving some overhang, so later you can simply lift out the brownies with just a tug on the paper.
- Mix the Red Velvet Base:
- Whisk melted butter and sugar together until glossy, then beat in eggs, vanilla, and a torrent of red food coloring—watch the batter transform under your spatula.
- Add Dry Ingredients:
- Sift in flour, cocoa powder, and salt, folding ever so gently just until you have a thick, deeply red batter—overmixing at this stage turns brownies cakey.
- Spread and Reserve:
- Scoop about three-quarters of the batter into the pan, smoothing it out, and save the rest for swirling later—it’s harder to resist snacking than splitting the batter.
- Cheesecake Layer:
- Beat cream cheese and sugar until creamy with barely a lump, blend in egg and vanilla, and then pour this luscious mixture over the red velvet, smoothing very carefully so as not to disturb the base.
- Swirl With Style:
- Dollop the reserved brownie batter on top, then drag a knife through to create marbled patterns—don’t obsess over symmetry, uneven swirls are beautiful.
- Bake and Check:
- Bake for 33 to 37 minutes until the edges are just firm and a toothpick comes out with moist crumbs—not dry—because that’s where the magic happens.
- Cool and Chill:
- Let it cool completely in the pan, then chill in the fridge for at least an hour before slicing—this wait will reward you with the cleanest, richest pieces.
 Save to Pinterest
 The first time these brownies made it out of my kitchen, they started as a ‘thank you’ tray for a neighbor and ended with a group gathered in the hallway trading kitchen stories. In that moment, sharing a square became as sweet as any topping I could add.
Swirl Your Own Signature
No two marbled brownies ever look alike, and honestly that’s part of the fun. I’ve learned to go slowly when swirling for bold streaks or use quick flicks for more delicate patterns. Sometimes I slip in a toothpick message or a simple heart swirl for celebrations.
Serving Moments That Wow
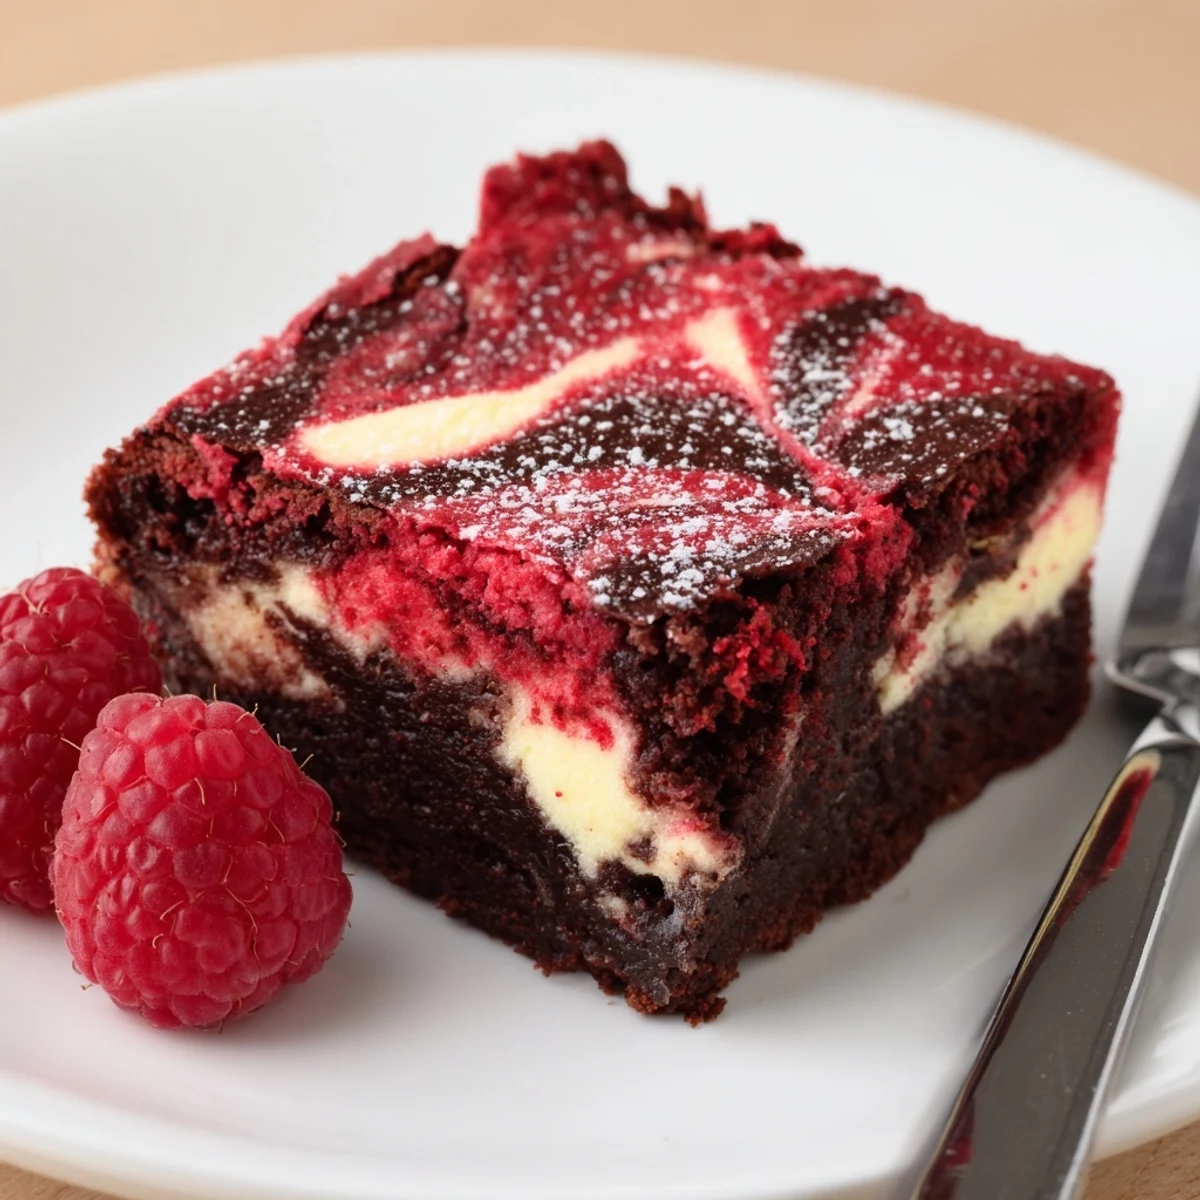
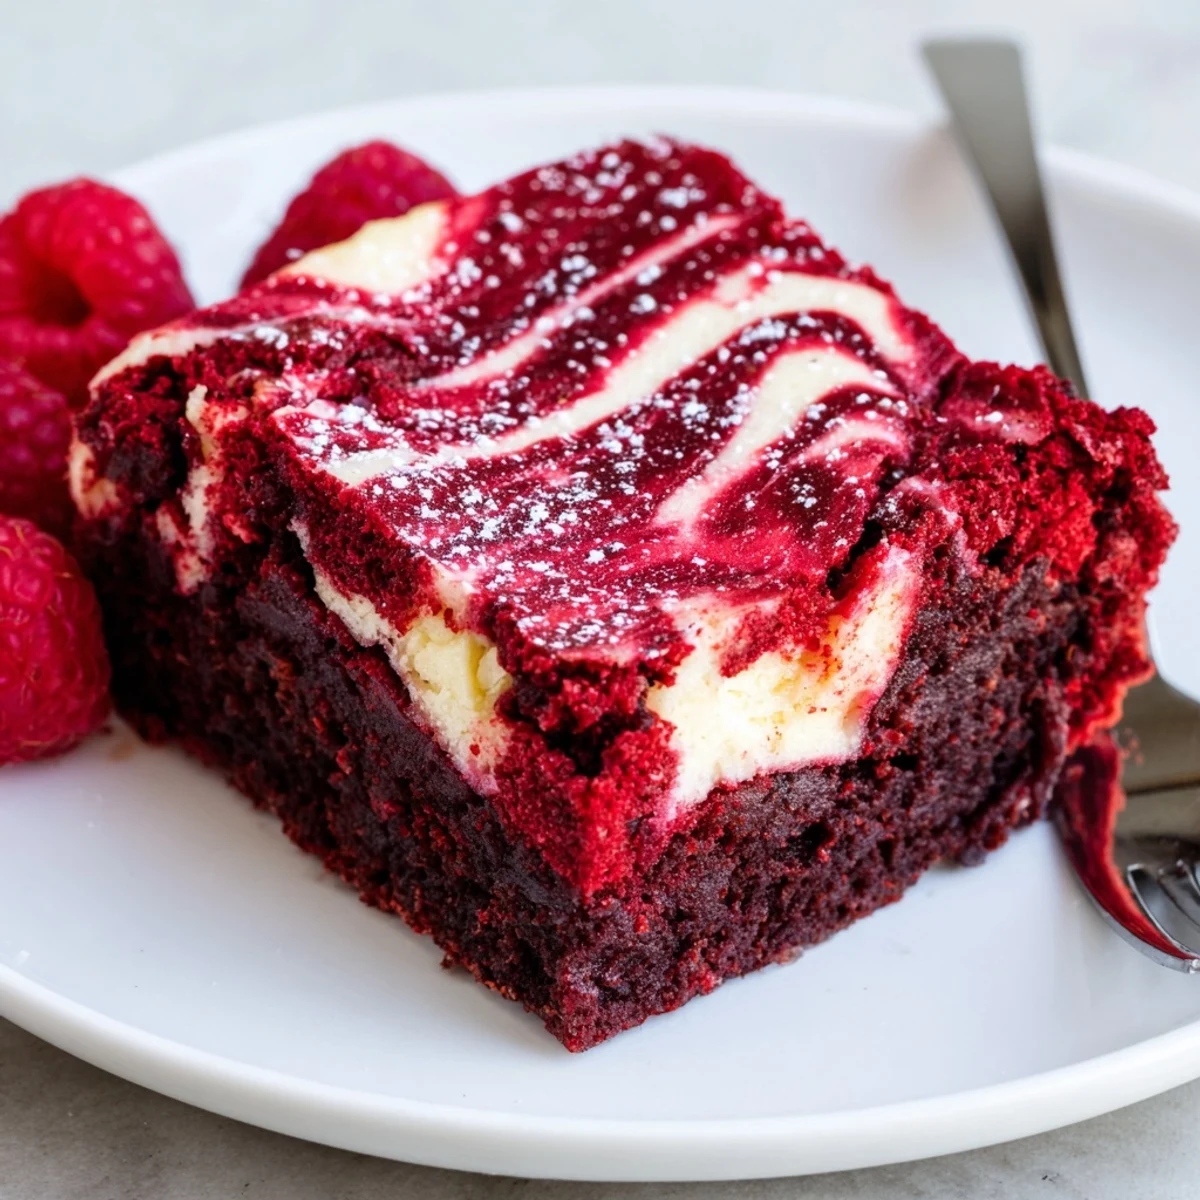
These brownies seem elegant enough for holidays but unpretentious enough for picnics. Slicing into chilled bars gives satisfyingly clean lines—serve them with fresh raspberries or a tiny scoop of vanilla ice cream for pure bliss. They even hold up beautifully at potlucks, keeping their bold color and creamy bite for hours.
Kitchen Hacks I Swear By
I always set out all ingredients before starting, which saves me mid-recipe scrambles for eggs or flour. Lining my pan with parchment was a game-changer—no more breaking apart the first slice just to pry it out. And if you want them extra fancy, a sprinkle of chocolate chips on the brownie layer before baking adds bursts of melty goodness.
- Let the brownies chill overnight if you want even cleaner edges.
- Use a hot, clean knife and wipe between cuts for picture-perfect bars.
- If swirling intimidates you, just aim for a single big swoop and call it rustic.
 Save to Pinterest
 Here’s to making dessert a little more playful—and infinitely more shareable—one batch of red velvet cheesecake brownies at a time. May your swirls be bold and your sharing generous.
Recipe FAQs
- → How do I know when the center is done?
-
The center should be mostly set with a few moist crumbs and a slight wobble. A toothpick inserted should come out with a few damp crumbs rather than wet batter.
- → Can I use gel food coloring instead of liquid?
-
Yes. Gel coloring is more concentrated so start with a smaller amount and add until you reach the desired hue without thinning the batter.
- → What can I substitute for cream cheese?
-
For a similar texture, use full-fat mascarpone or a blend of cream cheese and ricotta. Avoid very watery soft cheeses to prevent a loose cheesecake layer.
- → How should I store the bars?
-
Store chilled in an airtight container for up to 4 days. Bring to just below room temperature for softer texture, or serve cold for a firmer bite.
- → Can these be frozen?
-
Yes. Freeze cooled, sliced bars in a single layer on a tray, then transfer to a sealed container with parchment between layers. Thaw overnight in the fridge before serving.
- → Any tips for a clean marbled finish?
-
Reserve a portion of the red velvet batter to dollop on top, then use a knife or skewer to make gentle swirls—avoid overmixing to keep distinct marbling.
