 Save to Pinterest
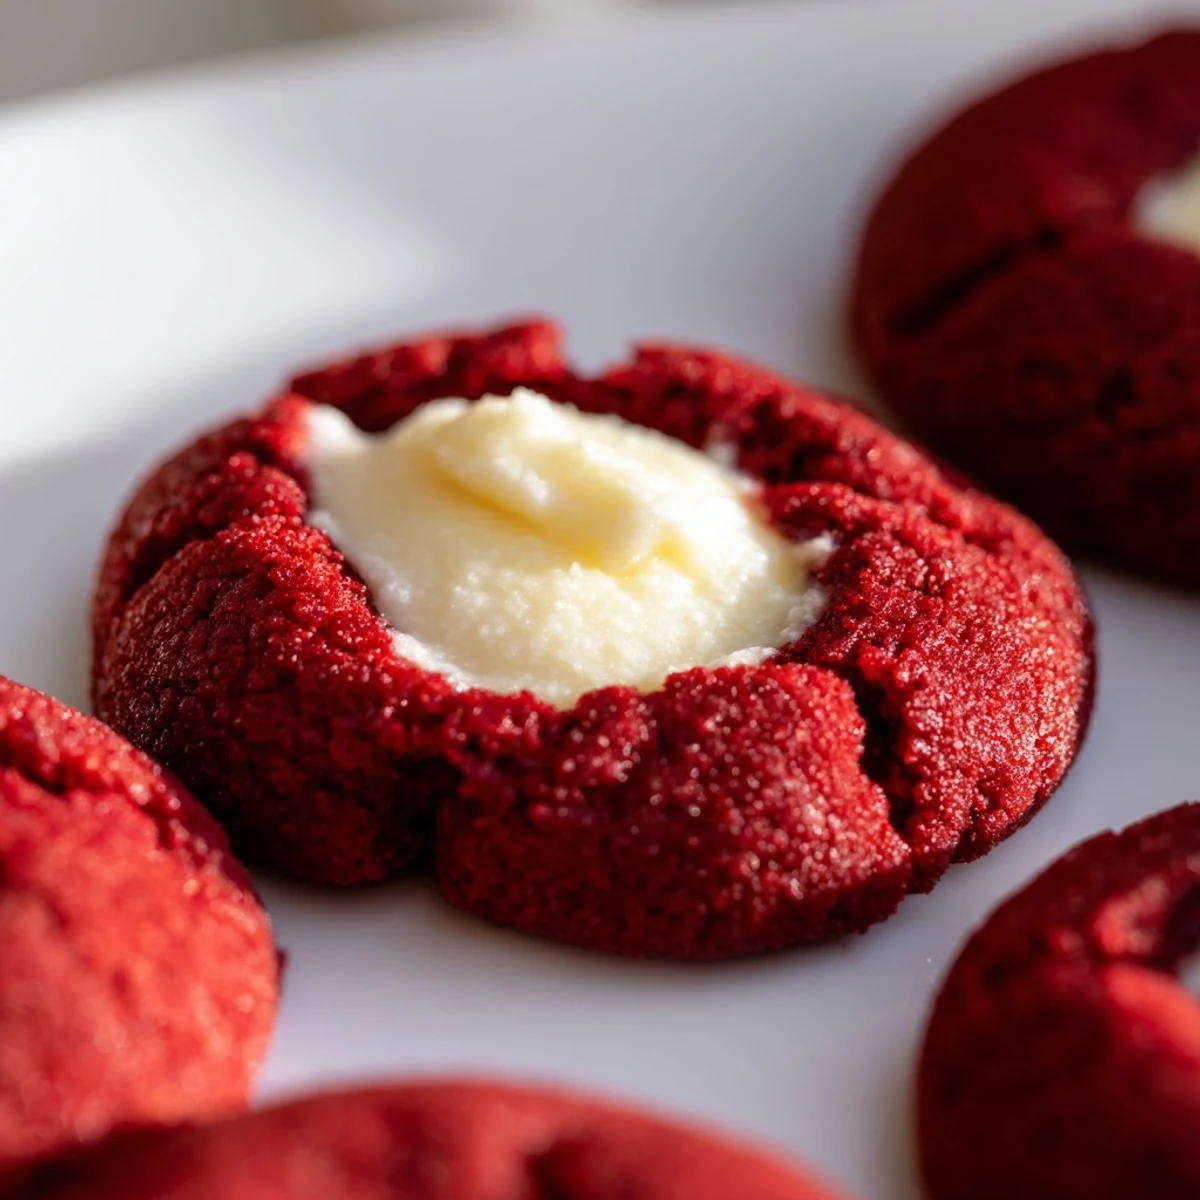
 These stunning red velvet thumbprint cookies combine the classic cocoa-forward flavor of red velvet with a tangy cream cheese filling that creates the perfect sweet-tangy contrast. The tender, melt-in-your-mouth cookie base gets its vibrant hue and subtle chocolate notes from cocoa powder and food coloring, while the thumbprint indentation creates a perfect well for the luscious cream cheese center.
The preparation comes together in just 20 minutes of active time, making these ideal for holiday cookie platters, Valentine's Day treats, or whenever you want to impress guests with something that looks professionally made but comes from your home kitchen. The cream cheese filling can easily be swapped for white chocolate ganache if you prefer an extra chocolatey finish.
The first time I made these, my kitchen counter looked like a crime scene with red food coloring everywhere, but one bite of that tangy cream cheese center made every red splatter worth it.
I brought a batch to my office cookie exchange last December, and within ten minutes, three different people had texted me for the recipe. Thats when I knew these werent just ordinary cookies.
Ingredients
- All-purpose flour: Provides the structure for that signature tender red velvet crumb
- Unsweetened cocoa powder: Deepens the flavor without overpowering the delicate vanilla notes
- Baking soda: Gives these cookies just enough lift to stay soft and pillowy
- Salt: Balances the sweetness and makes chocolate flavors sing
- Unsalted butter: Creates that melt in your mouth texture we all love in red velvet
- Granulated sugar: Sweetens while helping edges crisp slightly while centers stay soft
- Egg yolk: Adds richness and helps create that fudgy texture
- Whole milk: Brings moisture and helps dissolve the sugar evenly
- Vanilla extract: Essential for that classic red velvet flavor profile
- Red food coloring: Gives these their signature festive hue that everyone recognizes
- Cream cheese: The star filling that adds tangy creaminess to contrast the sweet cookie
- Powdered sugar: Sweetens the filling smoothly without grittiness
Instructions
- Prep your oven and pans:
- Preheat oven to 350°F and line baking sheets with parchment paper so nothing sticks
- Mix the dry ingredients:
- Whisk flour, cocoa powder, baking soda, and salt in a medium bowl until well combined
- Cream the butter and sugar:
- Beat butter and sugar until fluffy and pale, about 2 minutes, to create air pockets for tenderness
- Add wet ingredients:
- Mix in egg yolk, milk, vanilla, and red food coloring until everything is incorporated
- Combine everything:
- Gradually fold in dry ingredients until just mixed, being careful not to overwork the dough
- Make the filling:
- Whisk cream cheese, powdered sugar, and vanilla in a small bowl until completely smooth
- Shape the cookies:
- Roll dough into 1 inch balls and place 2 inches apart on prepared baking sheets
- Create the thumbprints:
- Gently press your thumb or a teaspoon into each ball to form a deep well for the filling
- Fill and bake:
- Spoon cream cheese filling into each indentation and bake 11 to 13 minutes until edges are set
- Cool completely:
- Let cookies rest on baking sheets for 5 minutes before moving to a wire rack to finish cooling
 Save to Pinterest
 My daughter now requests these for every school party and family gathering, and shes started helping me press the thumbprints, though she usually ends up with more red food coloring on her hands than in the dough.
Making Them Ahead
You can freeze the shaped, unfilled cookie dough balls for up to three months. Just thaw them in the refrigerator overnight before filling and baking.
Filling Variations
White chocolate ganache makes these even more decadent if you want to skip the tanginess. I once used Nutella in a pinch and nobody complained.
Storage Secrets
These cookies actually taste better after chilling in the fridge overnight, as the flavors meld and the cream cheese filling firms up beautifully.
- Keep them refrigerated since cream cheese needs to stay cold
- Place wax paper between layers if stacking them
- Let chilled cookies sit at room temperature for 10 minutes before serving
 Save to Pinterest
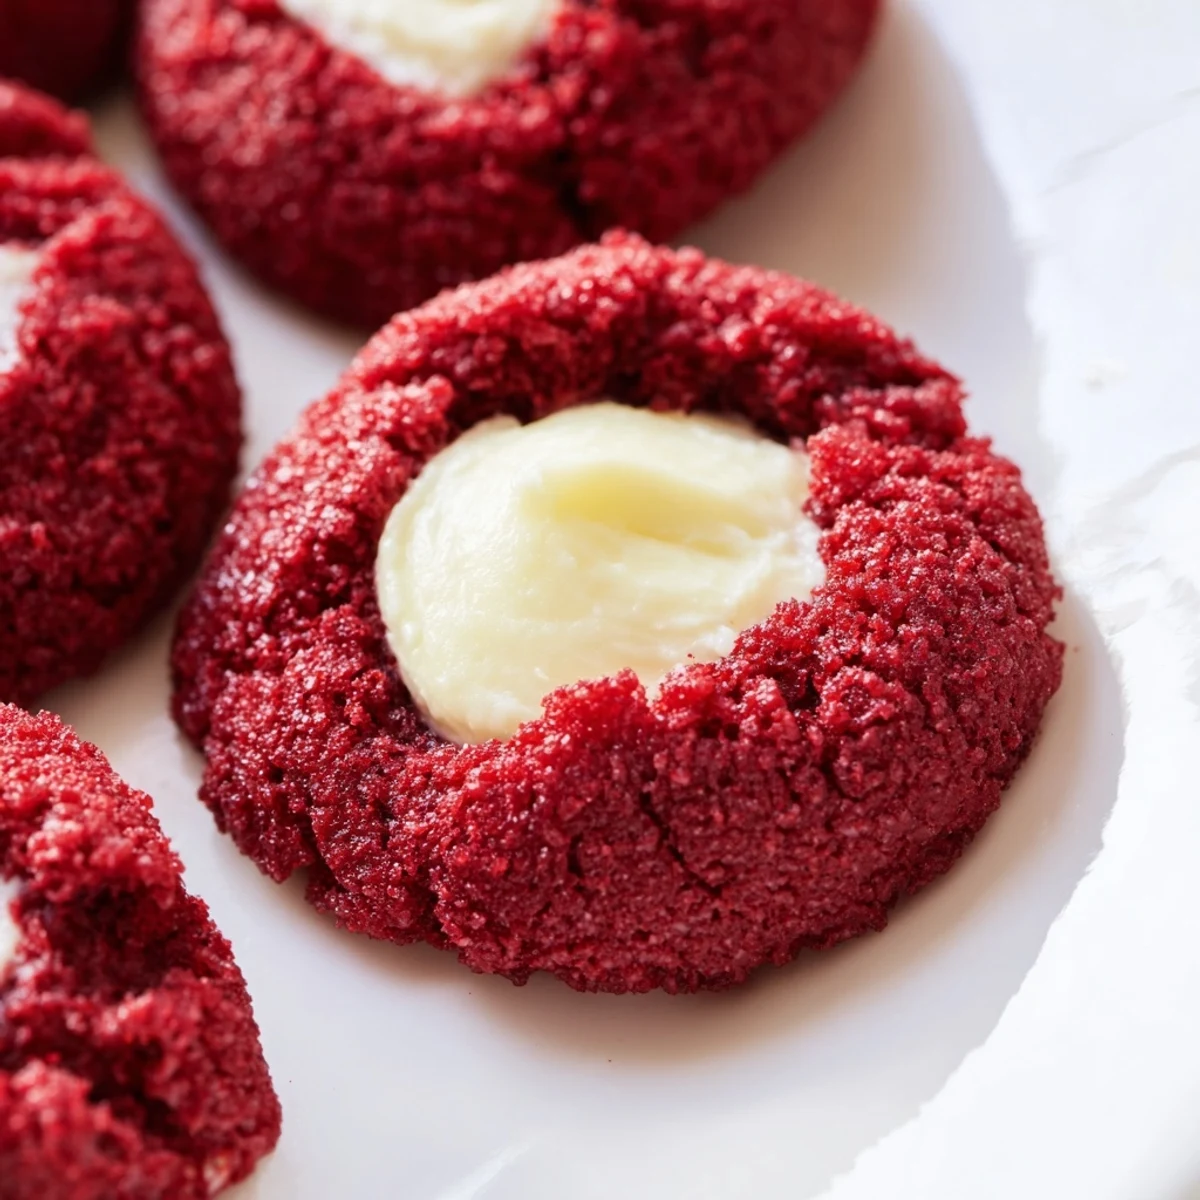
 Theres something magical about breaking into that ruby red shell and finding the creamy surprise inside. These cookies have become my go to for bringing a little unexpected joy to ordinary days.
Recipe FAQs
- → Why are my thumbprint cookies spreading too much?
-
Warm dough causes excessive spreading. Chill your rolled dough balls for 15-20 minutes before pressing the indentations and baking. Also ensure your butter was softened to room temperature rather than melted.
- → Can I make the dough ahead of time?
-
Absolutely. Prepare the dough, roll into balls, and refrigerate for up to 24 hours before baking. You can also freeze the dough balls for up to 3 months—thaw overnight in the refrigerator before proceeding with filling and baking.
- → What's the best way to get consistent indentations?
-
Use the rounded back of a measuring teaspoon (½ tsp size works perfectly) dipped in flour to prevent sticking. Press straight down gently but firmly, then rotate slightly to create an even well. Don't press too deep or the filling might leak during baking.
- → Can I use natural red food coloring instead of artificial?
-
Beet juice or pomegranate juice can work, though you'll need more liquid and the color may be more rust-toned than bright red. Start with 1 tablespoon and add more as needed, reducing the milk slightly to compensate for the extra liquid.
- → How do I know when the cookies are done baking?
-
The edges should look set and slightly firm, while the centers may still appear slightly soft. The cookies will continue cooking on the hot baking sheet during the 5-minute cooling period. Overbaking leads to dry cookies—pull them out when the edges lose their glossy appearance.
- → Can I double this batch for larger gatherings?
-
Yes, the recipe doubles easily. You'll need to bake in batches or have additional baking sheets ready. The dough can also be frozen in portions for fresh baking later—just roll the balls and freeze on a tray before transferring to a freezer bag.
