 Save to Pinterest
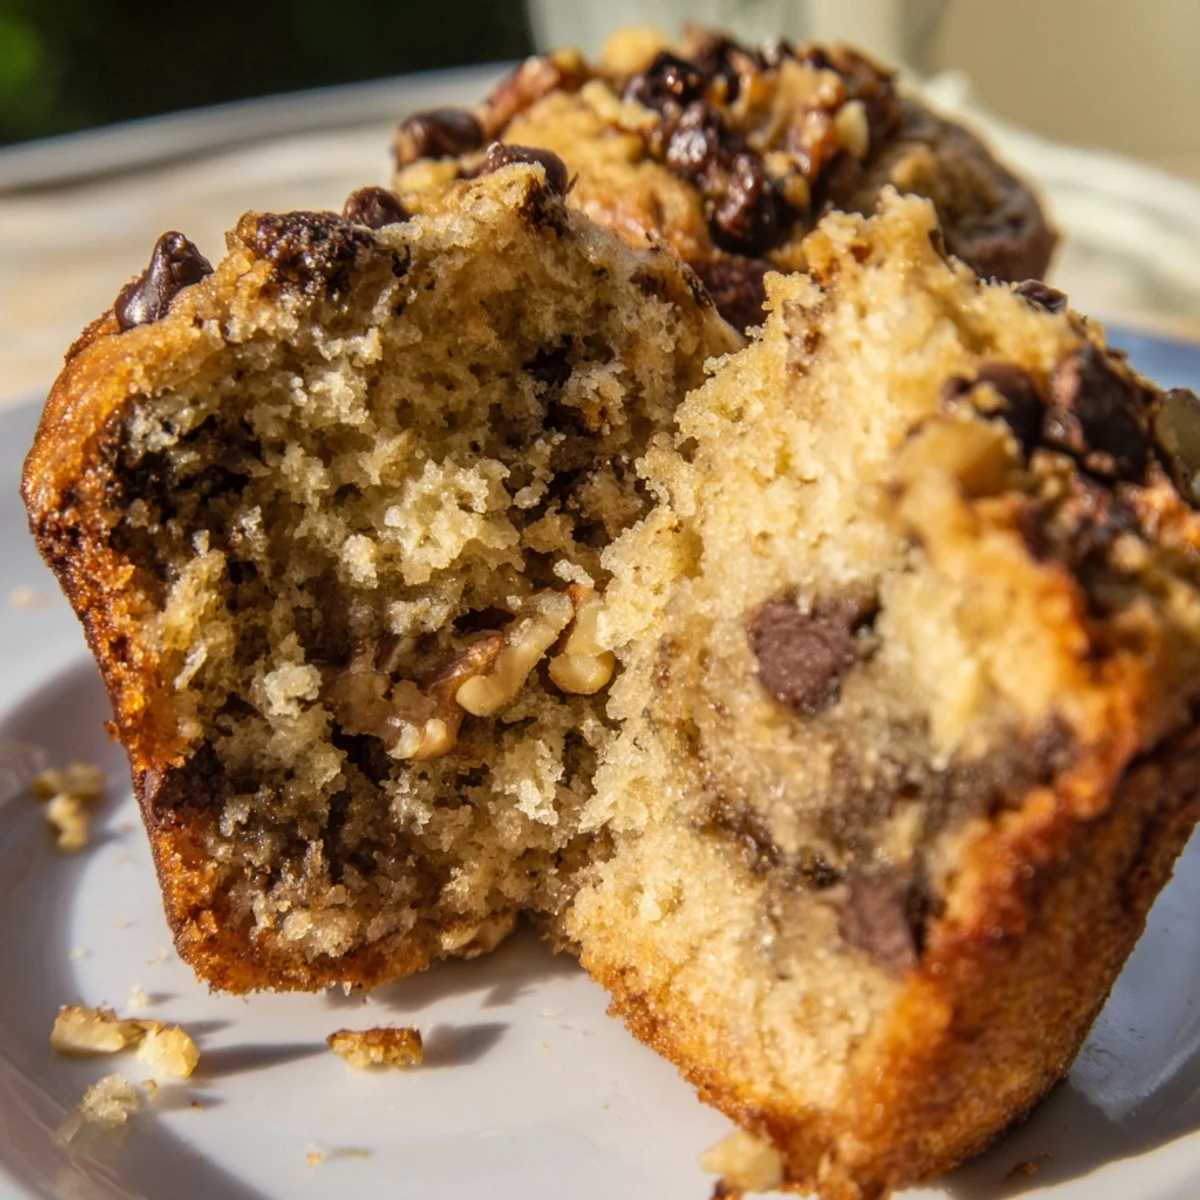
 Enjoy moist and fluffy muffins featuring ripe bananas, semisweet chocolate chips, and crunchy walnuts. Perfect for breakfast or a snack, these treats combine classic banana bread flavors with added texture and sweetness.
There's something about banana bread that pulls people into the kitchen, and these muffins are the reason my weekends started smelling like cinnamon and melting chocolate by 8 AM. I stumbled into this recipe during a phase where I had too many browning bananas on the counter and not enough patience to bake a full loaf. Dividing the batter into muffins turned out to be the best accident—they baked faster, stayed moister, and somehow tasted even better the next morning with coffee.
I made these for a neighbor who'd just moved in, and she told me later that the smell from her oven was so good she actually thought she'd made them herself until she opened the tin. That's the kind of magic these muffins have—they make people feel like they're tasting something someone spent all morning on, even though you probably had them cooling by the time you finished your first coffee.
Ingredients
- All-purpose flour (1 1/2 cups): Use the spoon-and-level method to avoid packing it down, which is the quiet mistake that makes muffins dense.
- Baking soda (1 teaspoon): This is your rising agent—it reacts with the acidity in the bananas to create that tender crumb.
- Salt (1/2 teaspoon): Balances sweetness and brings out the chocolate flavor in a way you won't consciously notice but absolutely will miss if it's not there.
- Ground cinnamon (1 teaspoon, optional): Not really optional if you want that warm, bakery-quality depth—it whispers rather than shouts.
- Ripe bananas (3 medium, mashed): Look for ones with plenty of brown spots; they're sweeter and more flavorful, and mashing them by hand gives you time to appreciate how soft they've become.
- Unsalted butter (1/2 cup, melted): Cooling it slightly before mixing prevents the eggs from scrambling when they hit the wet ingredients.
- Granulated sugar (2/3 cup): Adds sweetness and helps create a tender structure by interfering with gluten development.
- Eggs (2 large): These bind everything and add richness—they're why these muffins aren't just banana cake baked in tins.
- Pure vanilla extract (1 teaspoon): Real vanilla tastes like home; the imitation kind tastes like nostalgia for a home you've never had.
- Semisweet chocolate chips (1 cup): Fold them in gently so they stay whole and create pockets of melted chocolate throughout.
- Chopped walnuts (3/4 cup): Toast them lightly before chopping if you want the nuttiness to really sing, though raw works just fine.
Instructions
- Preheat and prepare:
- Get your oven to 350°F and line your muffin tin with paper liners or a light spray of nonstick coating. This step takes two minutes and saves you from muffin-shaped regrets later.
- Combine the dry team:
- Whisk the flour, baking soda, salt, and cinnamon in a medium bowl until they're evenly distributed. You want the baking soda mixed throughout so every muffin rises consistently.
- Build the wet base:
- Mash your bananas in a large bowl—don't aim for smoothness, a few small lumps are fine and actually add texture. Pour in the melted butter, sugar, eggs, and vanilla, then whisk until the mixture looks homogeneous and the sugar has mostly dissolved.
- Gently fold it together:
- Pour the dry ingredients into the wet mixture and fold with a rubber spatula using broad, deliberate strokes. Stop as soon as you don't see dry flour streaks; overmixing here is the one way to make these muffins tough.
- Add the good stuff:
- Fold in the chocolate chips and walnuts with the same gentle hand—you're protecting the structure you just built.
- Fill the cups:
- Divide the batter evenly among your muffin cups, filling each about three-quarters full. Uneven distribution means some muffins will bake faster than others, so take a breath and do this slowly.
- Bake until golden:
- Slide the tin into the oven for 18 to 22 minutes—the exact time depends on your oven's personality. A toothpick inserted into a muffin should come out clean or with a few moist crumbs clinging to it; slightly underbaked is better than overdone here.
- Cool and transfer:
- Leave them in the tin for 5 minutes so they set enough to move safely, then turn them out onto a wire rack. The steam still rising from them is when they smell most like fresh air and possibility.
 Save to Pinterest
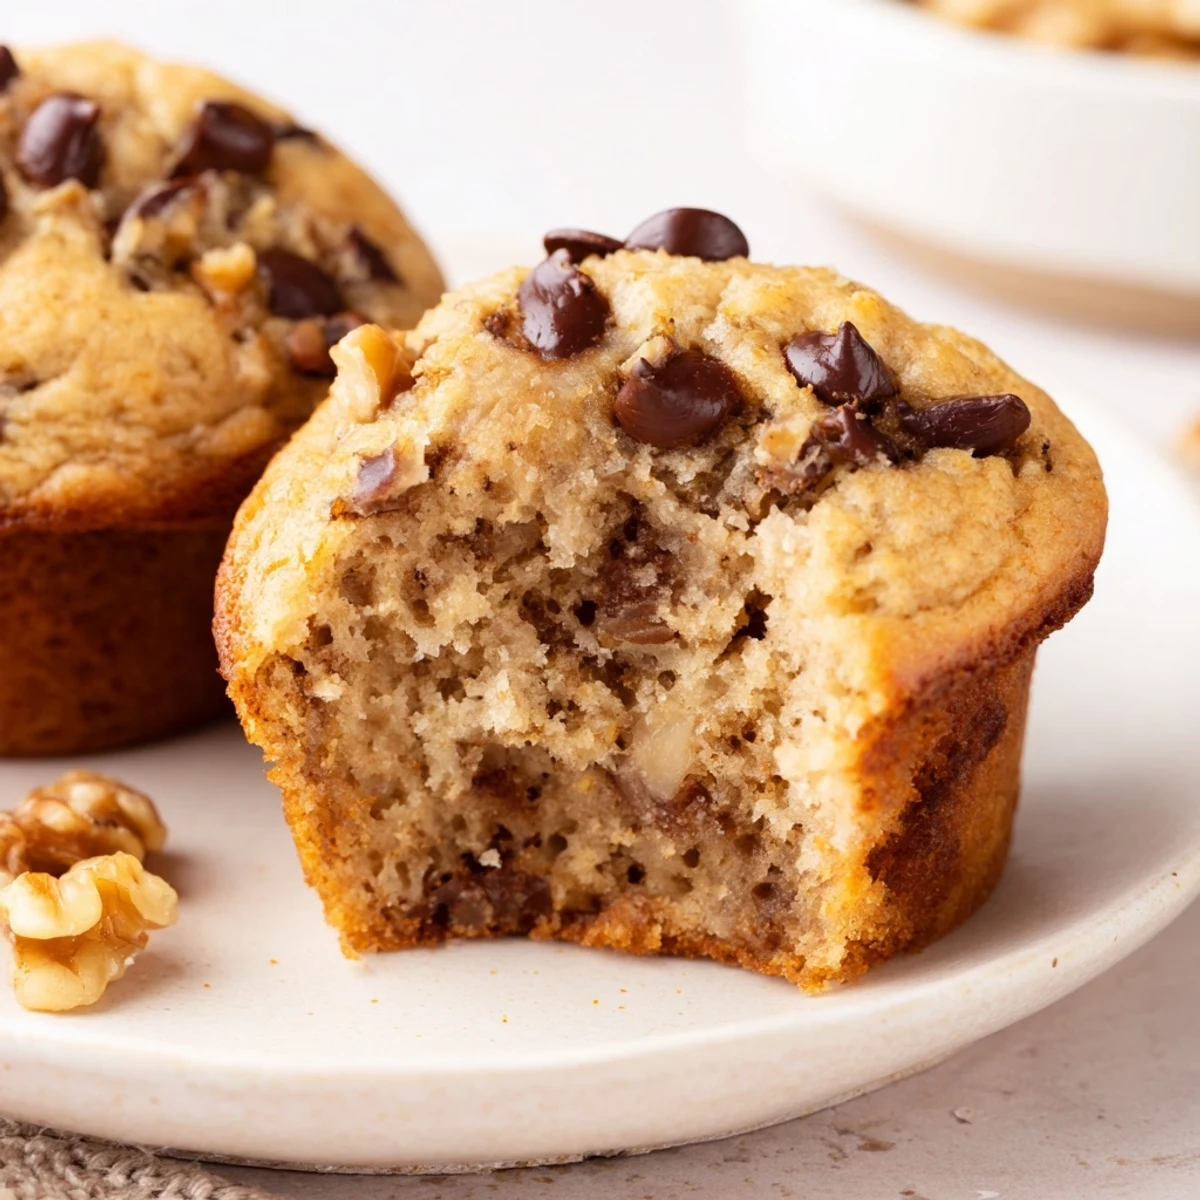
 My daughter once told me that eating these muffins warm from the rack was the closest thing to a hug she could hold in her hands. That's when I realized this recipe isn't really about technique or ratios—it's about the fact that baking something with your own hands and feeding it to the people you love is one of the truest acts of care.
Storage and Make-Ahead Magic
These muffins stay soft and flavorful at room temperature for three days if you keep them in a covered container, which feels impossible given how good they smell. You can also freeze them for up to two months—wrap them individually in parchment and then aluminum foil so they don't get freezer burn, and they'll thaw back to almost-fresh within an hour. I've learned that the second-day muffin, slightly firmer than the fresh one, is actually when the chocolate flavor develops most fully.
Ways to Make Them Your Own
This recipe is flexible enough to handle swaps without losing its soul, which is part of why it lives in my rotation. Pecans work beautifully in place of walnuts and have a slightly more delicate flavor, while a quarter cup of plain yogurt or sour cream folded into the wet ingredients adds moisture and a subtle tang that plays against the sweetness. Mini chocolate chips are my go-to because they distribute more evenly, so every bite has chocolate rather than leaving you with a chip-free muffin halfway through the tin.
The Small Details That Matter Most
The difference between muffins that taste homemade and ones that taste like they came from a box often lives in the smallest choices—using real vanilla instead of imitation, choosing actual semisweet chocolate over chocolate-flavored chips, and letting your bananas get properly brown. Temperature matters too; a slightly cooled melted butter won't scramble your eggs, and a properly preheated oven ensures the muffins rise before the outside sets. These aren't rules meant to make baking feel rigid; they're the collected wisdom of all the batches I've made and tasted and learned from.
- Save the really brown bananas specifically for this recipe—they're liquid gold in disguise.
- Don't skip the vanilla; it's the invisible thread that ties everything together and makes people wonder what your secret is.
- Cool these muffins on a wire rack so the steam escapes from the bottom and they stay tender instead of getting soggy.
 Save to Pinterest
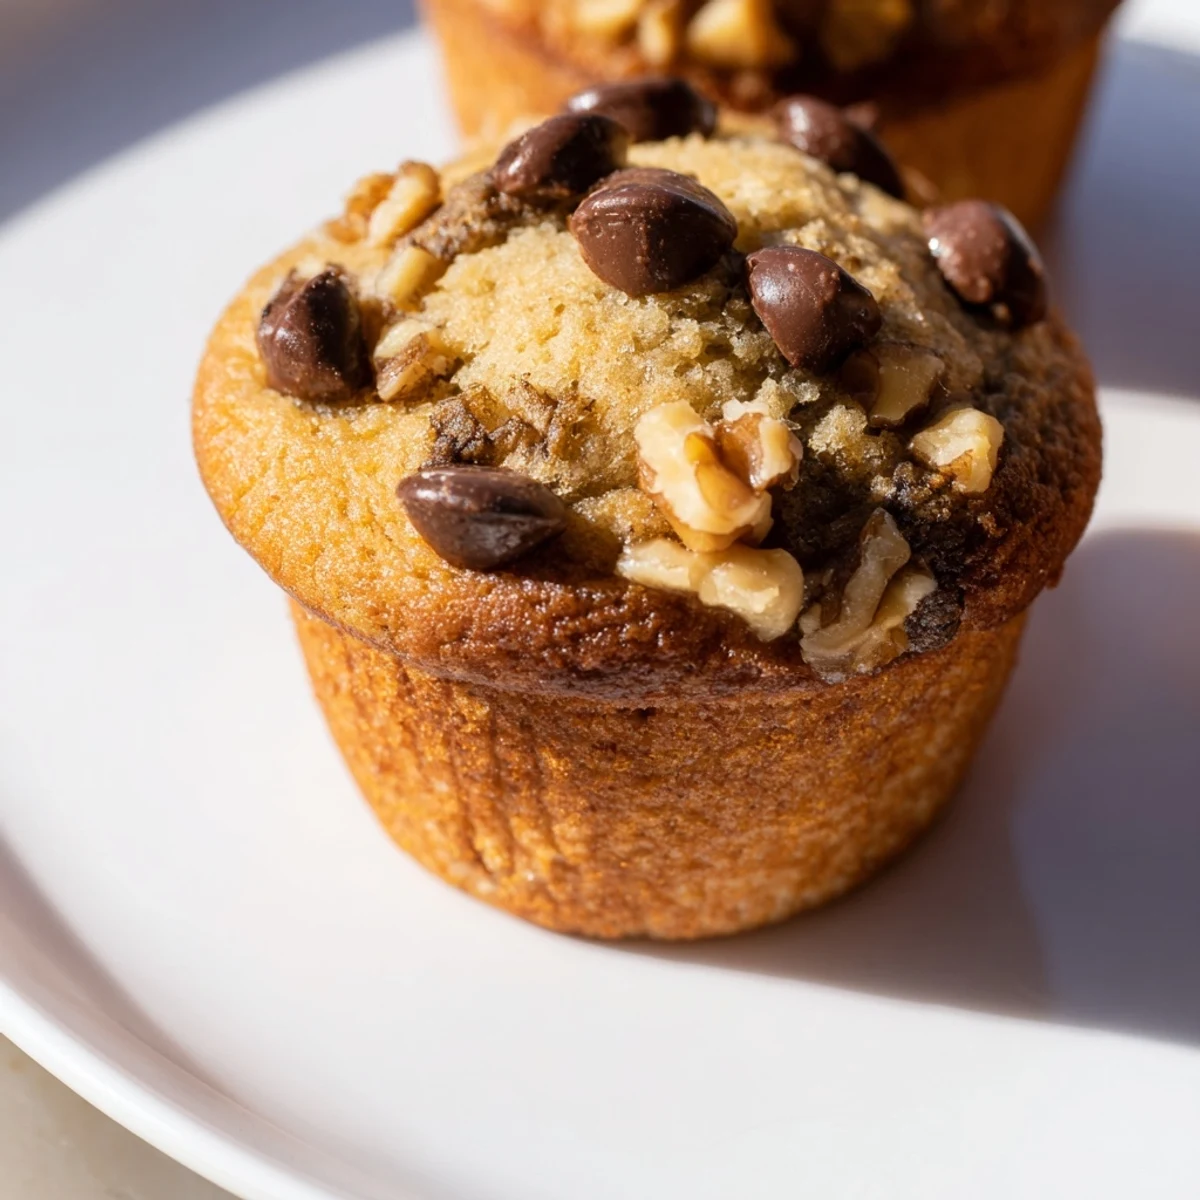
 These muffins have become the recipe I make when I'm not sure what else to offer—when a neighbor needs a welcome gift, when someone's had a rough week, when the weekend needs a quiet, warm moment. That's the kind of recipe worth keeping.
Recipe FAQs
- → Can I use frozen bananas?
-
Yes, thaw and drain excess liquid before mashing for best results.
- → How should I store these muffins?
-
Store in an airtight container at room temperature for up to 3 days or freeze for longer freshness.
- → Can I substitute the walnuts?
-
Pecans work well as a substitute, or omit nuts for a nut-free version.
- → How do I know when they are done baking?
-
Insert a toothpick into the center; it should come out clean or with a few moist crumbs.
- → Can I add yogurt to the batter?
-
Yes, adding 1/4 cup plain yogurt or sour cream enhances moisture.
