 Save to Pinterest
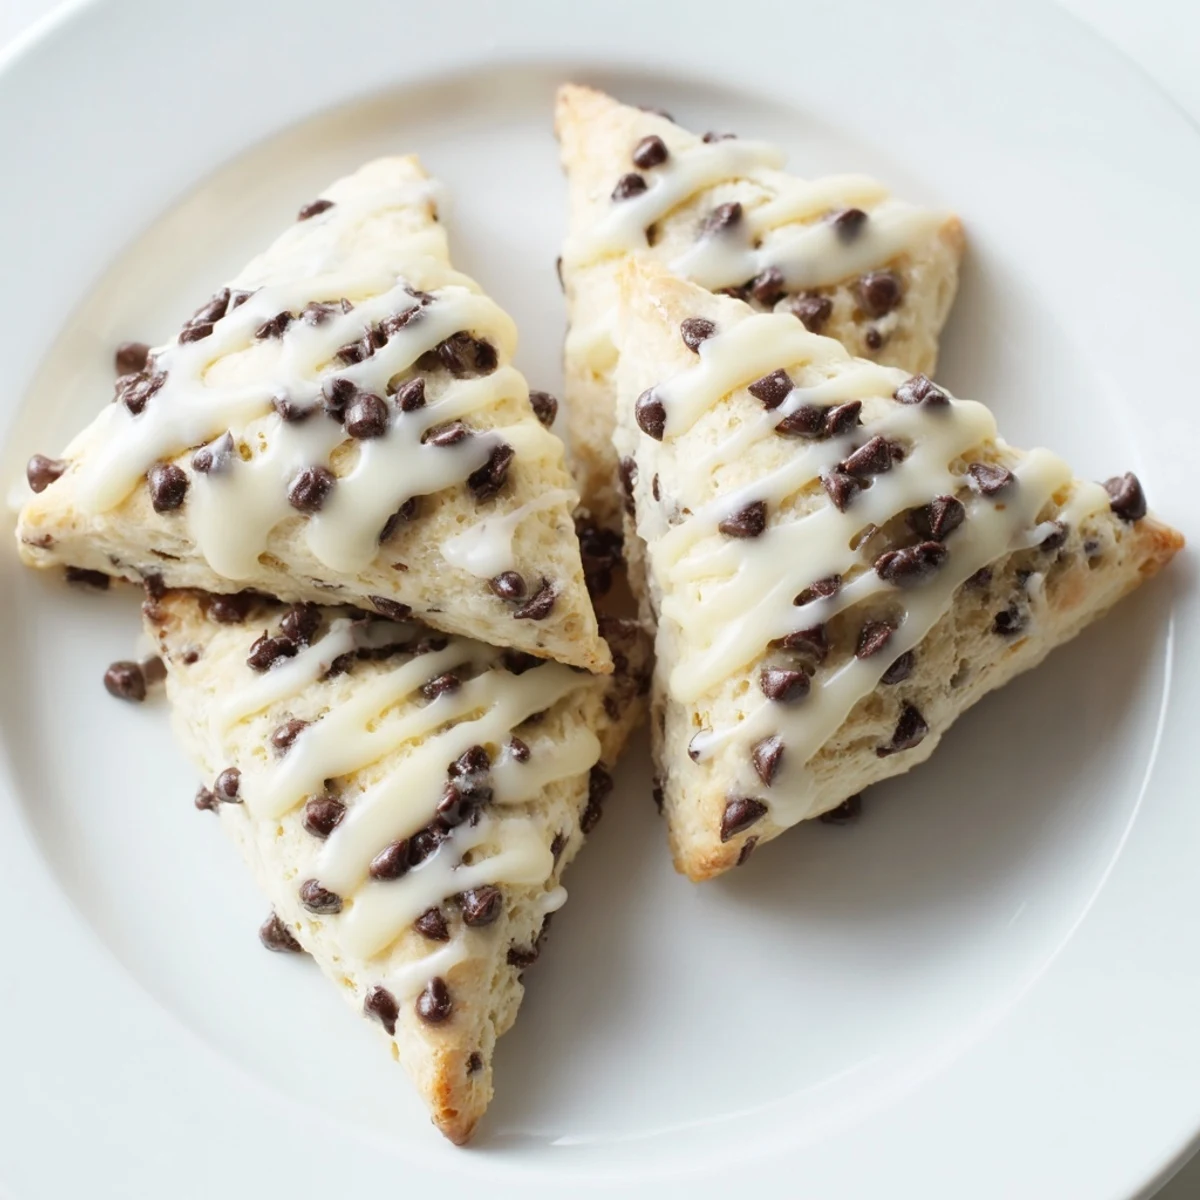
 Enjoy tender, buttery scones bursting with semisweet chocolate chips and a smooth vanilla glaze. Made in under 40 minutes, these lightly golden scones blend flour, cold butter, cream, and vanilla, resulting in a delicate, crumbly texture. Baking at 400°F creates a warm, inviting aroma. The finish is a sweet vanilla glaze that balances richness with a subtle sweetness. Ideal served fresh alongside coffee or tea, these scones bring comfort and indulgence to mornings or snacks.
Years ago, my friend Sarah brought over a basket of chocolate chip scones from a bakery in town, and I was absolutely hooked—that perfect balance of tender crumb and melting chocolate made me determined to figure out how to make them at home. After a few too-dry attempts and one particularly crumbly disaster, I finally nailed the technique: keeping everything cold and stopping the mixer before it turns into a dough. Now these scones are my go-to when I want something that feels fancy but comes together in less than an hour.
I made these for my parents on a lazy Sunday morning last spring, and my dad literally asked if I'd bought them from a bakery—then went back for seconds before my mom could even finish hers. Watching him dunk one in his coffee and close his eyes like he'd just had a revelation made every slightly-too-brown batch from my learning process worth it.
Ingredients
- All-purpose flour: Use the 2 cups measure, not scooping straight from the bag, which packs it down and makes the scones dense and heavy.
- Granulated sugar: Don't skip or reduce this—it adds subtle sweetness and helps the scones brown beautifully.
- Baking powder: This is what gives scones their tender, fluffy crumb, so make sure yours is fresh.
- Salt: Just a pinch, but it makes the chocolate taste richer and cuts any sweetness.
- Cold unsalted butter: Keep it cold straight from the fridge and cube it right before using—this creates the layers that make scones special.
- Heavy cream: The magic ingredient that makes these scones incredibly tender and moist without being wet.
- Egg: Binds everything together and helps them bake up golden.
- Vanilla extract: A small amount but it rounds out all the flavors.
- Semisweet chocolate chips: These are the whole reason we're here, so use ones you actually love eating straight from the bag.
- Powdered sugar and milk for glaze: The final touch that makes them look like they're from a proper bakery.
Instructions
- Set your oven and prep your workspace:
- Preheat to 400°F and line a baking sheet with parchment paper so your scones slide right off without sticking. This small step saves so much grief later.
- Mix the dry team:
- Whisk together flour, sugar, baking powder, and salt in a large bowl until everything is evenly distributed. You want no hidden pockets of baking powder that would make one scone rise more than the others.
- Cut in the cold butter:
- Add the cubed butter and work it in with a pastry blender or your fingertips until it looks like coarse breadcrumbs—this step is honestly where the magic happens. You're creating little pockets of butter that will create those tender layers when they bake.
- Combine the wet ingredients:
- In a separate bowl, whisk the heavy cream, egg, and vanilla until blended. This is your binder, so don't skip the whisking.
- Bring them together gently:
- Pour the wet mixture into the dry ingredients and stir until just barely combined—and I mean just barely, like you're being careful not to disturb something fragile. Overmixing turns these into tough little hockey pucks instead of tender scones.
- Fold in the chocolate:
- Add the chocolate chips and fold them in with as few motions as possible, letting them distribute naturally through the dough. A few spots with more chocolate than others is actually perfect.
- Shape your scones:
- Turn the dough onto a lightly floured surface and gently pat it into a 7-inch circle about 1 inch thick—don't overwork it. Cut into 8 wedges like you're slicing a pie and transfer them to your prepared baking sheet.
- Brush with cream for golden color:
- Give the tops a light brush of heavy cream, which will help them bake up gorgeously golden and adds a subtle richness. A pastry brush works best, but a folded paper towel in a pinch will do.
- Bake until just set:
- Bake for 16 to 18 minutes—set a timer because even a couple minutes too long and you've lost that tender crumb. They'll be golden on top and set in the center when they're done.
- Cool briefly and glaze:
- Let them rest on a wire rack for about 10 minutes so they set enough to handle but are still warm enough for the glaze to soak in slightly. While they're cooling, whisk together powdered sugar, milk, and vanilla until it's smooth but pourable, then drizzle it over each scone.
 Save to Pinterest
 The best moment with these scones came when my neighbor smelled them baking through our shared wall and showed up at my door with that hopeful look—I sent her home with two warm ones and an extra cup of coffee. That's when I realized these scones do more than taste good; they make people genuinely happy.
The Small Details That Matter
There's a reason bakery scones taste so much better than homemade ones sometimes, and it usually comes down to technique rather than ingredients. The key is understanding that scones are basically glorified biscuits with chocolate, and biscuits are all about keeping everything as cold as possible and handling the dough as little as possible. Once you get that rhythm down, every batch gets easier and more consistent.
Making Them Your Own
While chocolate chips are the star here, I've had great success mixing in other things depending on my mood—a pinch of cinnamon or espresso powder if I want depth, a handful of dried cranberries mixed with the chocolate, or even white chocolate chips if I'm feeling fancy. The formula stays the same; you're just swapping what goes into that tender base. Just remember that adding more mix-ins means you might need slightly less of something else to keep the ratio balanced.
Storage and Serving
These scones are definitely best within a few hours of baking when they still have that tender warmth, but they're remarkably good the next day too—just give them a gentle warm-up in a 300°F oven for a few minutes to restore some of that just-baked feeling. They'll keep in an airtight container for about two days, though honestly they rarely last that long in my house.
- Serve them warm with a cup of strong coffee or a pot of good black tea for the full experience.
- If you're making these for guests, you can prep the dough the night before, chill it, and bake it fresh in the morning.
- A dollop of whipped cream or even a thin spread of butter takes them from great to absolutely unforgettable.
 Save to Pinterest
 Once you make these once, you'll understand why they're such a beloved classic—there's something deeply satisfying about pulling warm, golden scones from your own oven. They're proof that sometimes the simplest things, made with a little care and cold butter, are genuinely the best.
Recipe FAQs
- → What type of chocolate works best in these scones?
-
Semisweet chocolate chips provide a balanced sweetness and melt evenly, complementing the buttery dough perfectly.
- → How can I achieve a flaky texture in these scones?
-
Use cold, cubed butter and handle the dough gently to maintain small butter pockets, ensuring a tender, flaky result.
- → What is the purpose of the vanilla glaze?
-
The glaze adds a smooth, sweet finish with subtle vanilla notes that enhance the rich chocolate and buttery scones.
- → Can I prepare the dough ahead of time?
-
Yes, refrigerate the formed dough for up to 24 hours before baking to deepen flavors and ease slicing.
- → What should I serve these scones with?
-
These scones pair wonderfully with a cup of coffee or black tea for a balanced and satisfying treat.
