 Save to Pinterest
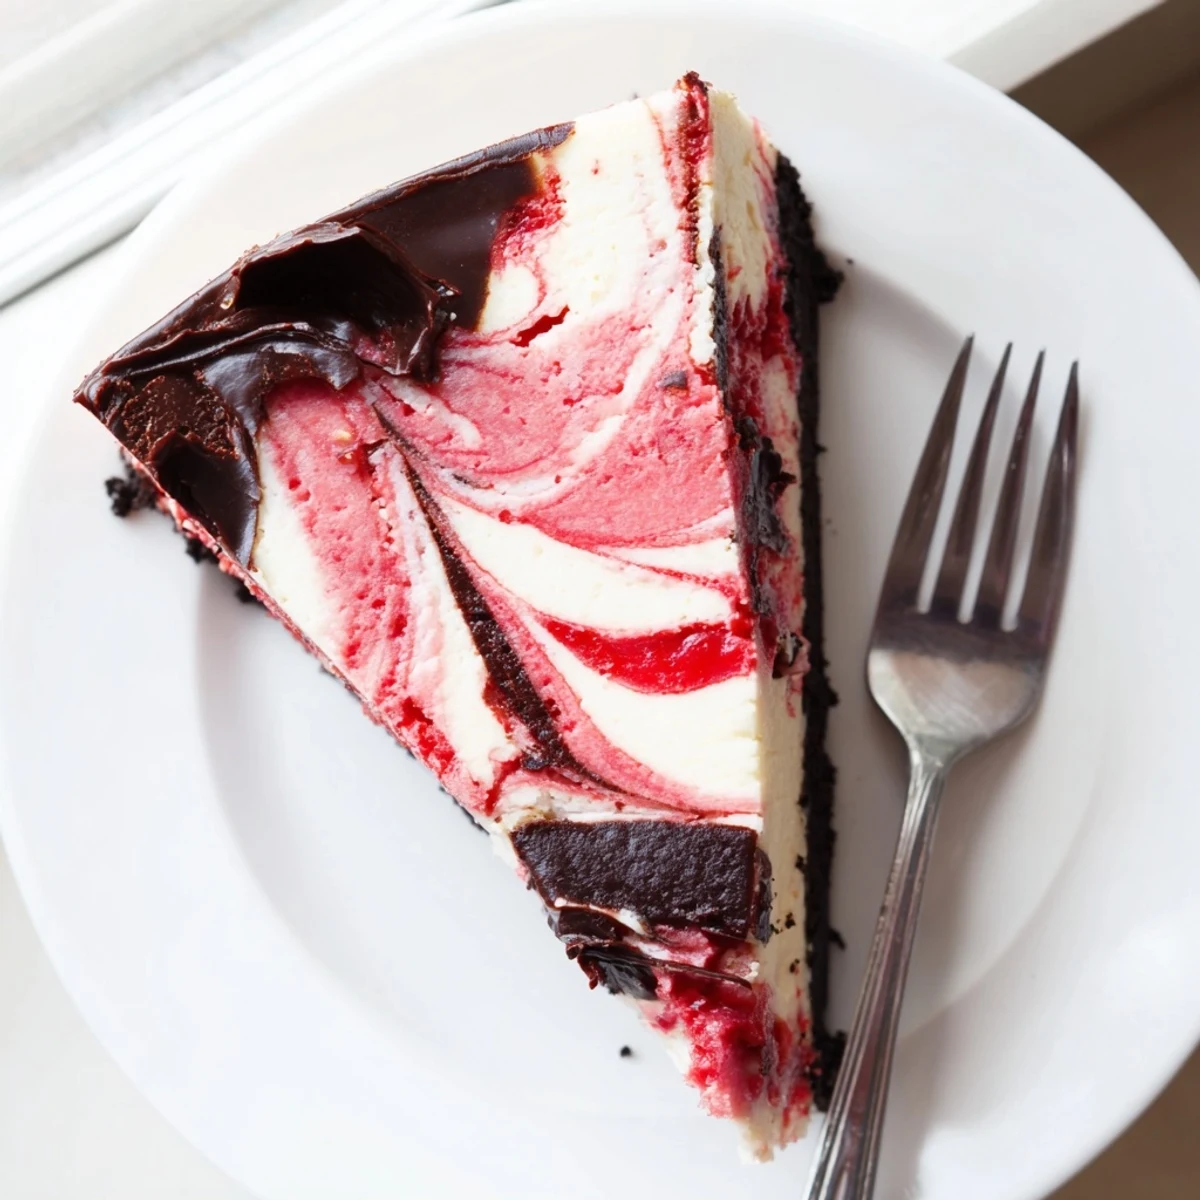
 This stunning dessert combines the best of both worlds—a rich chocolate cheesecake base with ribbons of sweet-tart strawberry puree swirled throughout. The chocolate graham cracker crust provides the perfect foundation, while the creamy filling balances dark chocolate intensity with fresh strawberry brightness. Ideal for special occasions, this impressive centerpiece requires some patience for chilling but delivers restaurant-worthy results. The contrast between the smooth, velvety chocolate filling and the bright, fruity swirls creates both visual appeal and complex flavor layers.
The first time I attempted this cheesecake, I may have gotten overconfident with the swirling technique. My husband walked into the kitchen to find me leaning halfway over the counter, tongue slightly poking out in concentration, creating what I called artistic strawberry rivers through chocolate oceans. We both laughed when it came out looking more like a tie-dye experiment gone wrong, but honestly? That messy masterpiece tasted like heaven.
I made this for my sisters birthday last summer, and the moment I carried it out onto the patio, the whole table went quiet. The strawberry swirl had turned this beautiful deep pink against the dark chocolate, catching the golden hour light streaming through the trees. My nephew asked if I bought it from a bakery, and that confusion was probably the biggest compliment Ive ever received.
Ingredients
- Chocolate graham crackers or digestive biscuits: Chocolate biscuits add that extra depth of cocoa flavor that regular graham crackers just cant match
- Unsalted butter: Melt it completely and let it cool slightly so it binds the crumbs without making them soggy
- Cream cheese: Leave it out for at least 2 hours, room temperature cream cheese prevents those dreaded lumps
- Dark chocolate: Use something between 60 to 70 percent cocoa for that sophisticated bittersweet edge
- Fresh strawberries: Pick berries that are deeply fragrant and give slightly when pressed, they will puree into something incredible
- Sour cream: This secret ingredient adds tang and keeps the cheesecake impossibly creamy
- Cornstarch: Mix with cold water until completely smooth before adding or you will end up with tiny gelatinous lumps
Instructions
- Build the chocolate foundation:
- Preheat your oven to 175°C and press that crumb mixture firmly into the pan, really press it down with the bottom of a measuring cup so it holds together when sliced.
- Create the strawberry magic:
- Cook those berries down until they are completely soft and falling apart, then blend until absolutely silky smooth before letting it cool completely.
- Make the dreamy filling:
- Beat your cream cheese until it is seriously fluffy, scrape down the bowl more often than you think you need to.
- Divide and conquer:
- Fold that melted chocolate into half your filling gently, you want ribbons of darkness running through the batter.
- Layer it up:
- Spread the chocolate filling first, then carefully dollop the plain vanilla filling on top.
- The swirl moment:
- Drop spoonfuls of strawberry puree all over the surface and drag a knife through in circular motions, do not overthink it.
- The slow bake:
- Bake until the edges are set but the center still has that gentle wobble, it will finish cooking with residual heat.
- The patience phase:
- Turn off the oven, crack the door, and let it cool there for an hour before facing the fridge.
 Save to Pinterest
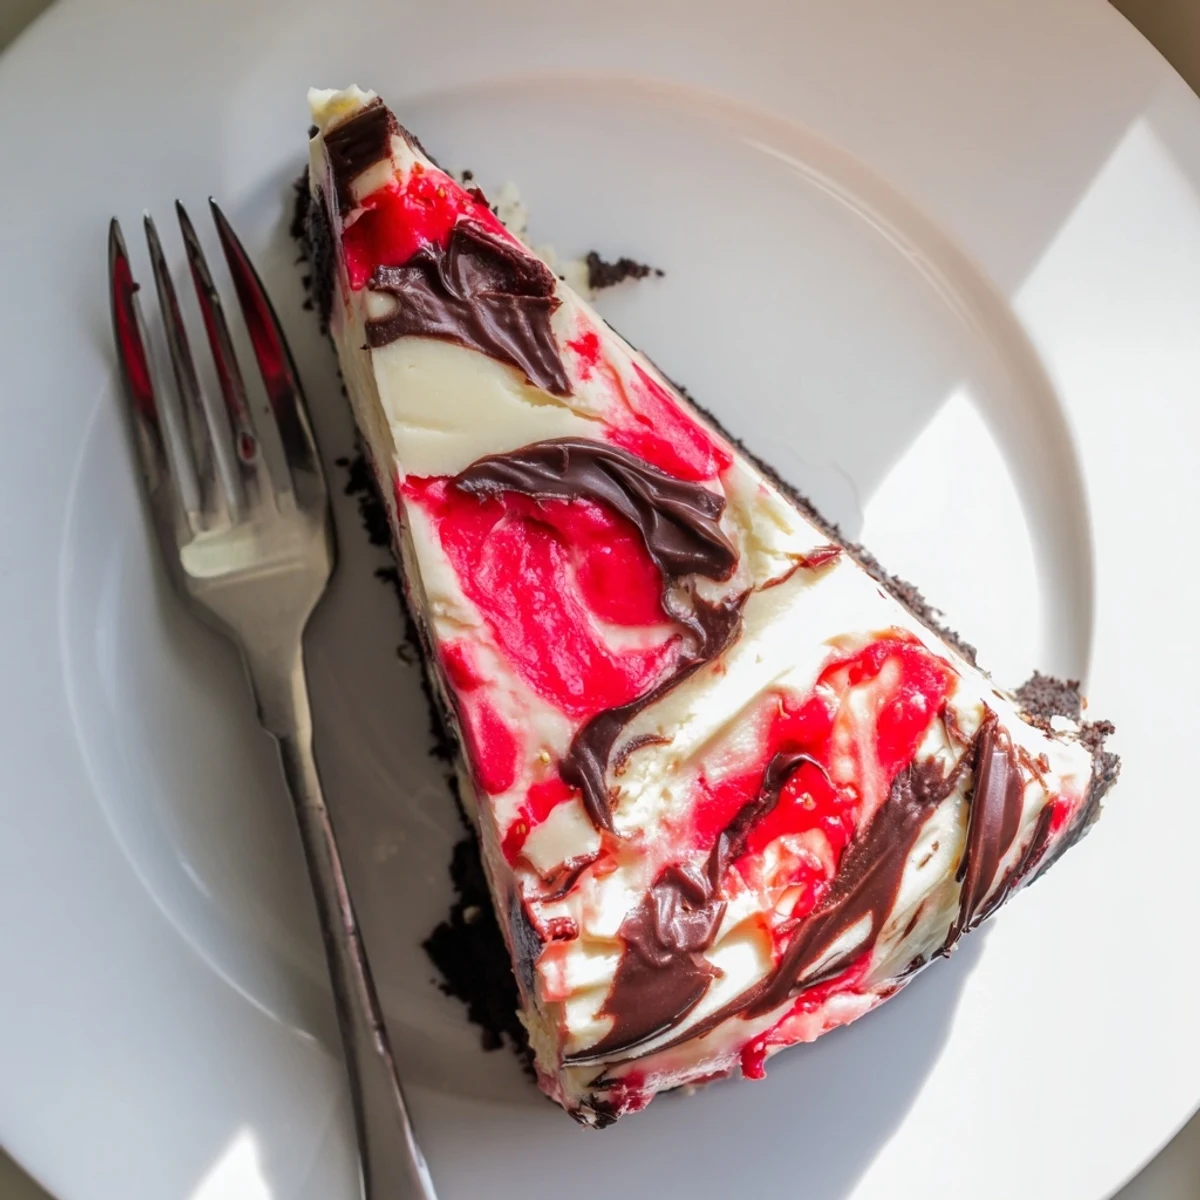
 This became our anniversary tradition after that first birthday success. Now every year, we make it together, taking turns with the swirling part, and somehow it always ends up looking different but tasting like celebration.
Making It Ahead
Cheesecakes are actually better when given time to mature. I always make mine the day before serving, which lets the flavors deepen and the texture become impossibly smooth.
Swirl Like A Pro
Work quickly once you start swirling, if the strawberry puree sits on top too long it will start sinking. Think of it like painting, confident smooth movements create the most beautiful patterns.
Serving Suggestions
This cheesecake needs nothing but maybe a dusting of cocoa powder or a few fresh strawberries on top. I have learned that heavy garnishes compete with the delicate balance you have already achieved.
- Let slices sit at room temperature for 15 minutes before serving
- Use a hot knife, wiping it clean between each cut for those perfect restaurant style slices
- Store any leftovers loosely covered, plastic wrap can stick to that beautiful swirl
 Save to Pinterest
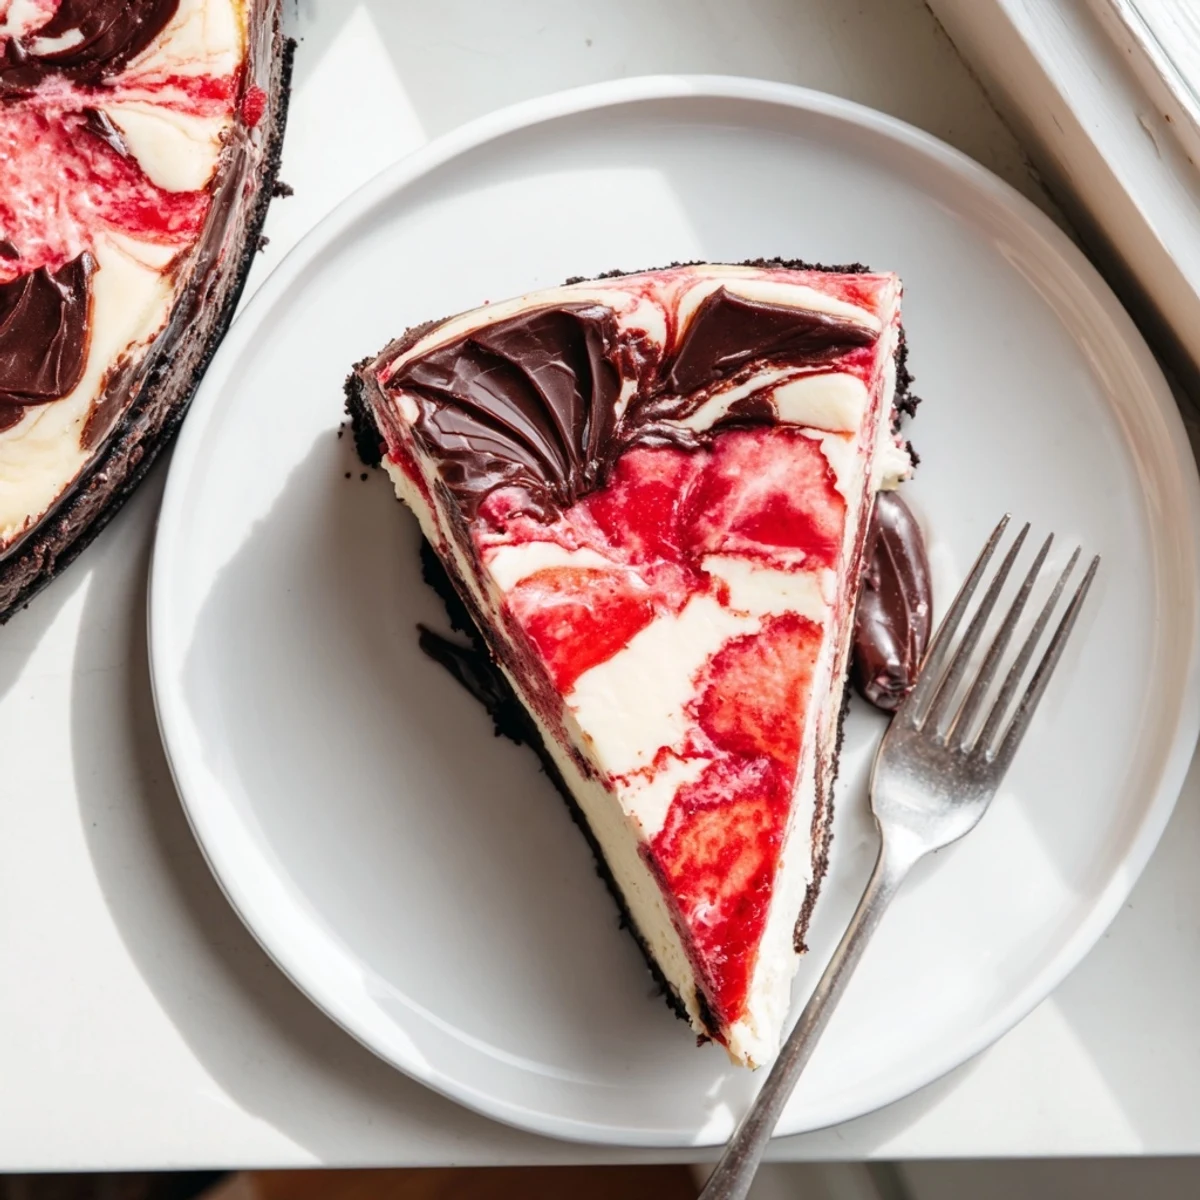
 There is something deeply satisfying about cutting into that first slice and seeing the layers revealed. Hope this recipe becomes part of your celebrations too.
Recipe FAQs
- → How long should the cheesecake chill before serving?
-
Refrigerate for at least 4 hours, though overnight chilling produces the best texture and flavor. This allows the filling to set completely and the flavors to meld together beautifully.
- → Can I use frozen strawberries for the swirl?
-
Yes, frozen strawberries work perfectly for the puree. Simply thaw them before cooking, and they'll create a delicious swirl. You may need to adjust the sugar slightly depending on their natural sweetness.
- → How do I prevent cracks in the cheesecake?
-
Avoid overmixing the batter once eggs are added, and don't open the oven door during baking. The cooling method—turning off the oven and letting it cool gradually with the door slightly open—also helps prevent cracks.
- → Can I make this gluten-free?
-
Absolutely. Simply swap the chocolate graham crackers for gluten-free chocolate cookies or almond flour crust. The filling remains naturally gluten-free, making this an easy adaptation.
- → How should I store leftovers?
-
Keep refrigerated in an airtight container or well-wrapped with plastic for up to 5 days. The cheesecake actually tastes better on day two as the flavors continue to develop and the texture becomes even creamier.
- → What's the best way to achieve clean swirls?
-
Ensure both the strawberry puree and cheesecake batter are at similar temperatures—room temperature or slightly cool. Drop the puree in small spoonfuls, then use a skewer or knife to gently drag through in a circular motion, being careful not to over-swirl.
