 Save to Pinterest
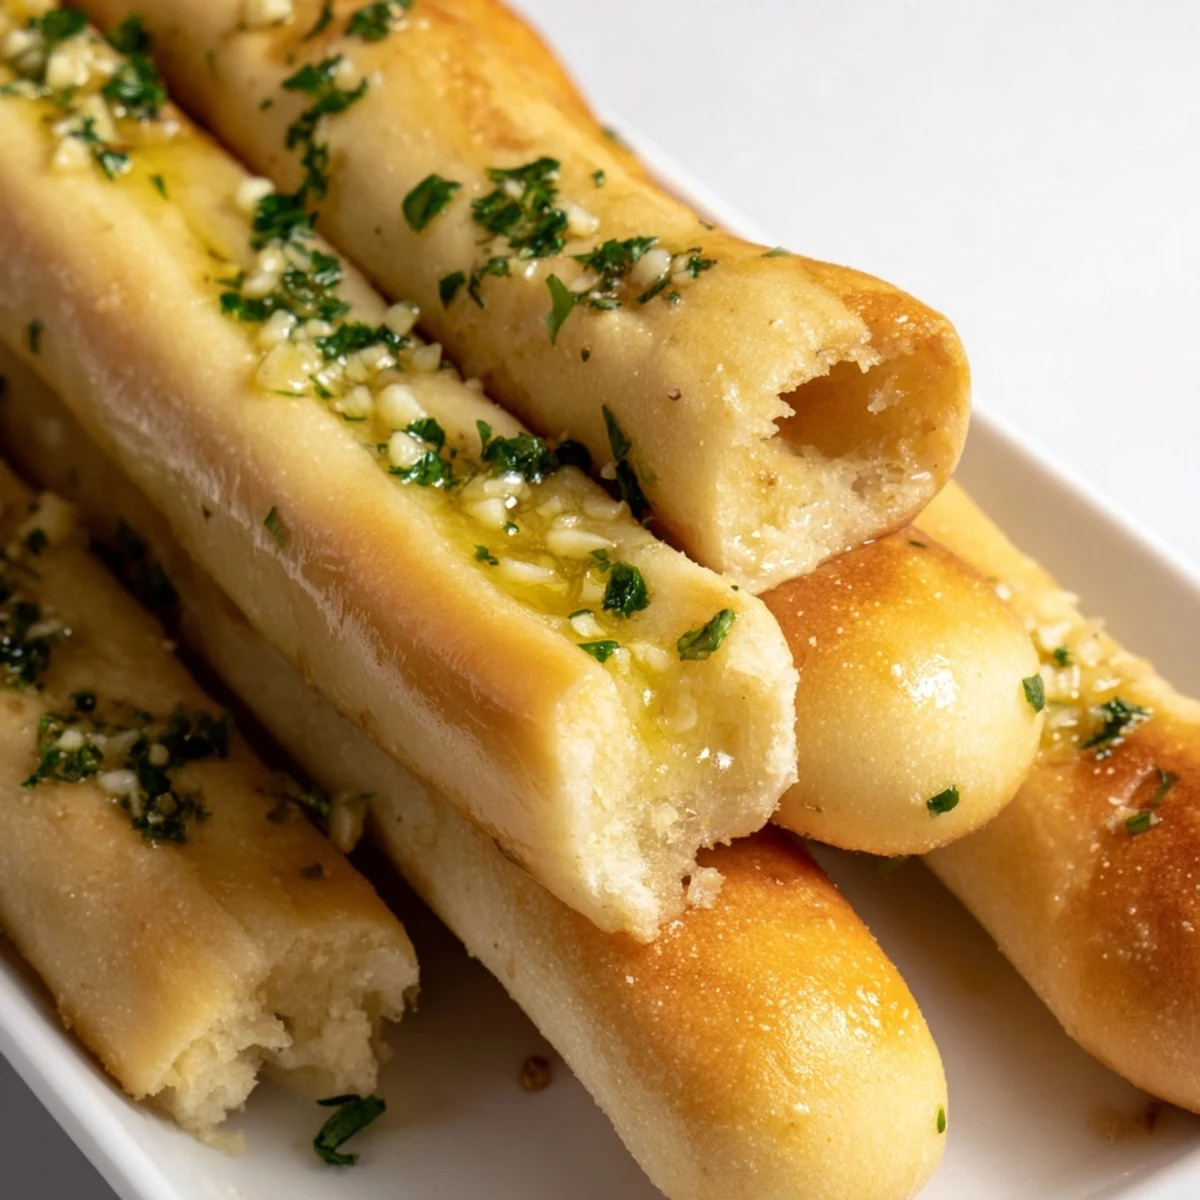
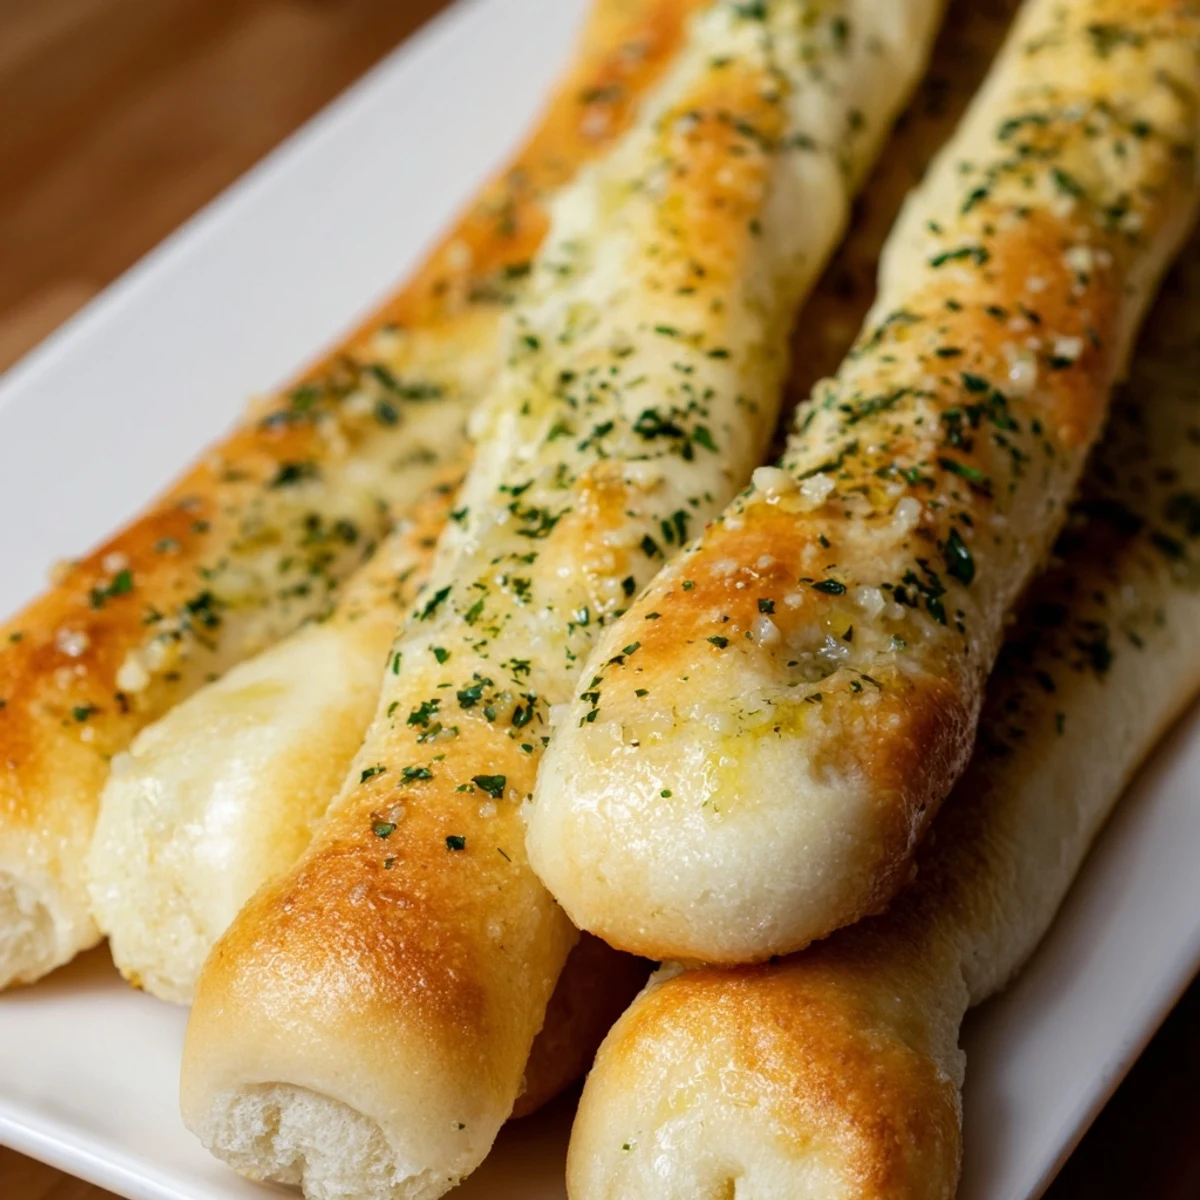
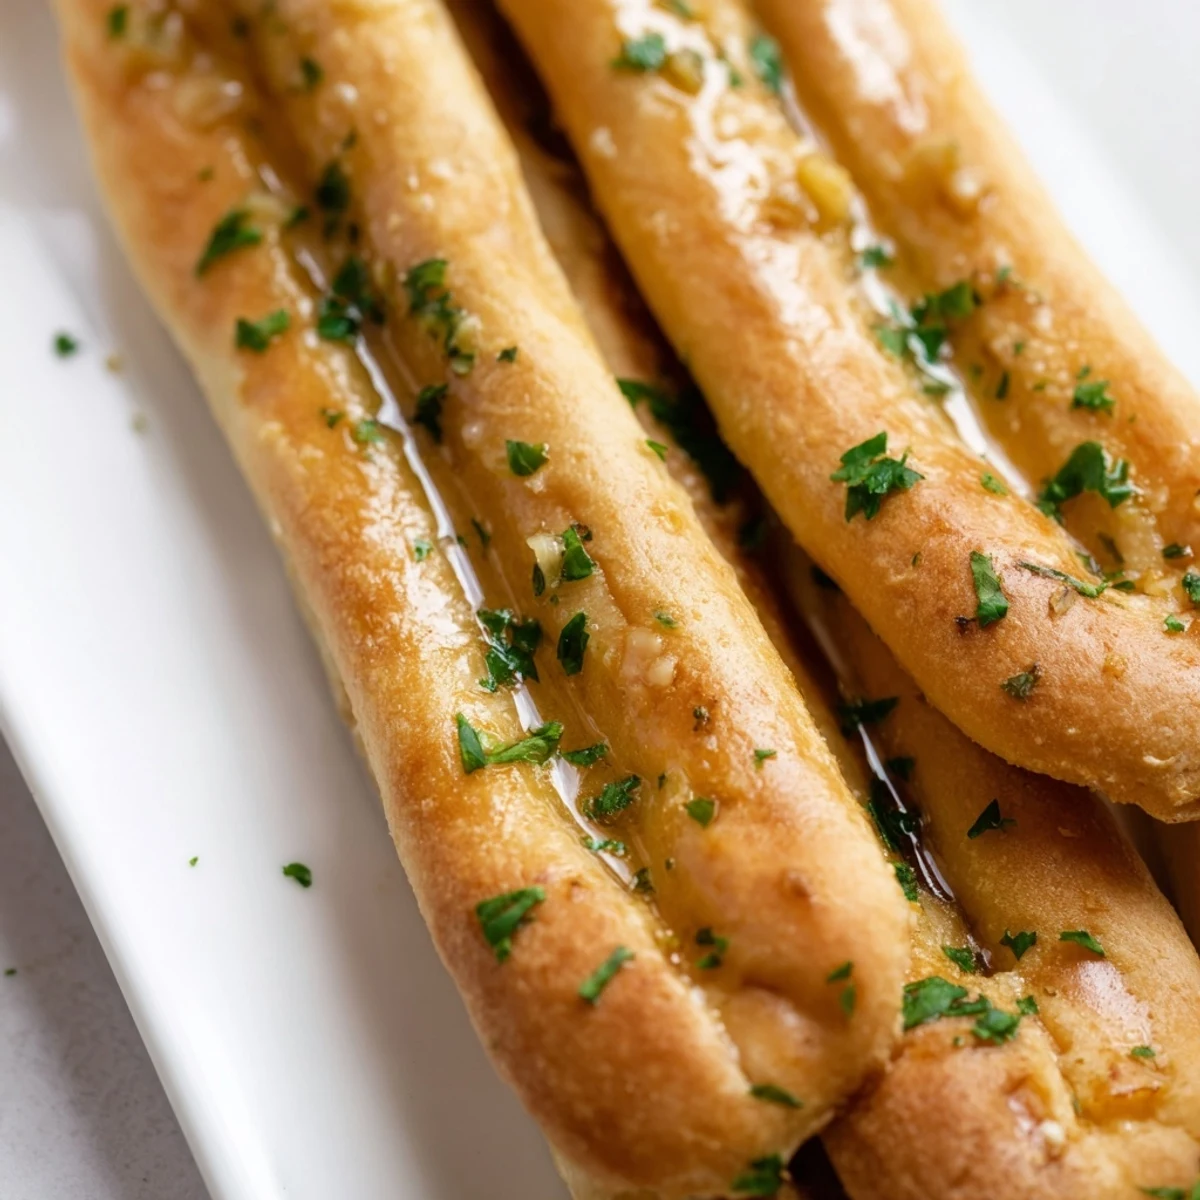
 These homemade breadsticks feature a soft, pillowy interior with a golden exterior, generously brushed with melted butter infused with fresh garlic and parsley. The dough comes together quickly and requires just one rise before baking to golden perfection. Brush them immediately with the garlic butter while hot for maximum absorption and flavor.
There is something deeply unfair about how fast a plate of garlic breadsticks vanishes compared to how long they take to make, and my sister never lets me forget the time she counted exactly eleven seconds between me pulling them from the oven and her teenage son asking for more. The smell alone is enough to make neighbors knock, a warm yeasty cloud laced with melted butter and raw garlic that drifts through open windows without permission.
Last winter my friend Maria brought over a pot of her grandmothers minestrone, and I threw together these breadsticks on a whim to go alongside it. We sat at the kitchen counter tearing warm pieces off the tray between spoonfuls of soup, barely talking, just nodding at each other with full mouths.
Ingredients
- All purpose flour (2 cups, 250 g): Stick with plain all purpose rather than bread flour here because you want that tender, pillowy crumb, not a chewy baguette texture.
- Warm water (1 cup, 120 ml, about 110 degrees F): Test it on your wrist like you would a babys bottle, lukewarm and comfortable, because water that is too hot will kill your yeast instantly.
- Instant yeast (1 and 1/2 tsp, 5 g): Instant yeast skips the blooming anxiety, though I still proof it anyway because watching those bubbles form is oddly reassuring.
- Sugar (1 tsp, 5 g): Just enough to wake up the yeast, you will not taste any sweetness in the final bread.
- Salt (3/4 tsp, 4 g): Measure this carefully because under salted breadsticks taste flat and sad, and over salted ones taste like the ocean had a bad day.
- Unsalted butter, softened (2 tbsp, 28 g): For the dough itself, cut into small pieces so it incorporates evenly without fighting you.
- Unsalted butter, melted (3 tbsp, 42 g): This is for the garlic brush, and you want real butter here, not a substitute, because this is the whole point.
- Garlic, finely minced (2 cloves): Mince it finer than you think you need to because nobody wants to bite into a sharp chunk of raw garlic hiding in butter.
- Fresh parsley, finely chopped (1 tbsp, optional): It adds a bright green freshness that makes these look as good as they smell, though basil or oregano work beautifully too.
Instructions
- Wake up the yeast:
- Pour warm water into a large bowl, stir in the sugar and yeast, and let it sit for about five minutes until the surface looks foamy and alive. If nothing happens after ten minutes, your yeast is dead and you need to start over, which has happened to me more times than I care to admit.
- Build the dough:
- Add the flour, salt, and softened butter pieces into the yeasted water, mixing with your hands or a wooden spoon until a shaggy dough comes together. It will look messy at first but trust the process and keep going.
- Knead until proud:
- Turn the dough onto a lightly floured counter and knead for seven to eight minutes by hand, or five minutes with a mixer, pushing and folding until it transforms into a smooth, elastic ball that springs back when you poke it. This is the part where you earn your breadsticks.
- Let it rise:
- Place the dough in a lightly greased bowl, cover it with a kitchen towel, and tuck it somewhere warm for about an hour until it has doubled in size. I use my turned off oven with the light on during winter, a trick my mother taught me.
- Shape the breadsticks:
- Punch down the puffy dough gently, divide it into twelve equal pieces, and roll each one between your palms and the counter into a rope about seven to eight inches long. Space them out on a parchment lined baking sheet so they have room to puff.
- Second rest:
- Cover the shaped breadsticks loosely with a towel and walk away for another twenty to thirty minutes while they relax and plump up slightly. This second rise is what gives you that soft, airy interior.
- Bake:
- Preheat your oven to 400 degrees F (200 degrees C) and bake the breadsticks for twelve to fifteen minutes until the tops are lightly golden and your kitchen smells like a bakery. Keep an eye on them after minute eleven because they go from perfect to overdone quickly.
- Garlic butter finish:
- While they bake, stir together the melted butter, minced garlic, salt, and parsley in a small bowl, and the moment the breadsticks come out of the oven, brush them generously while they are still screaming hot so the butter melts right in. Serve them warm or watch them disappear before they even cool.
 Save to Pinterest
 One Easter Sunday I made a triple batch for a family gathering and my uncle Gene, who never compliments food, pulled me aside in the hallway and whispered that those were the best breadsticks he had ever had in his entire life, and then he ate six more.
Making Them Your Own
Sprinkle grated Parmesan over the breadsticks right before they go into the oven for a crispy, cheesy cap that takes them from side dish to center stage. You can also swap the parsley for chopped fresh basil if you are serving these alongside something tomato heavy, because basil and tomato were practically invented for each other.
What to Serve With Breadsticks
These are naturals alongside a big bowl of minestrone, a Caesar salad, or simply a ramekin of warm marinara for dragging through. Honestly though, I have eaten an entire tray standing at the counter with nothing but a glass of red wine and felt zero regret about it.
Storing and Reheating Leftovers
If you somehow have leftovers, wrap them tightly in foil and reheat in a 350 degree F oven for about five minutes to bring back that just baked softness.
- Microwaving works in a pinch but makes them slightly chewy rather than crusty.
- You can freeze unbaked shaped breadsticks on a tray, then transfer to a bag for up to a month.
- Frozen breadsticks just need an extra ten minutes of bake time with no thawing required.
 Save to Pinterest
 Some recipes are about sustenance and some are about the way they pull people into the kitchen before you even finish making them, and these garlic breadsticks are absolutely the second kind. Bake a batch this weekend and watch your kitchen become the most popular room in the house.
Recipe FAQs
- → How do I know when the dough has risen enough?
-
The dough is ready when it has doubled in size. You can test by gently pressing two fingers into the dough—if the indentation remains, it's properly risen.
- → Can I make these ahead of time?
-
Yes! Prepare the dough through the first rise, then refrigerate overnight. Let come to room temperature before shaping and baking.
- → What herbs work best in the garlic butter?
-
Fresh parsley is classic, but basil, oregano, or Italian seasoning blend work beautifully. Use what you enjoy most.
- → Why brush with butter immediately after baking?
-
Hot bread absorbs butter better, ensuring the garlic flavor penetrates the surface. This creates that signature restaurant-style finish.
- → Can I freeze these breadsticks?
-
Absolutely! Bake fully, cool completely, then freeze in an airtight bag for up to 3 months. Reheat in a 350°F oven for 5-7 minutes.
- → What's the best way to get even-sized breadsticks?
-
Weigh your dough and divide by 12 for perfectly equal portions. Or use a kitchen scale to ensure each piece is about 1.5 oz.
