 Save to Pinterest
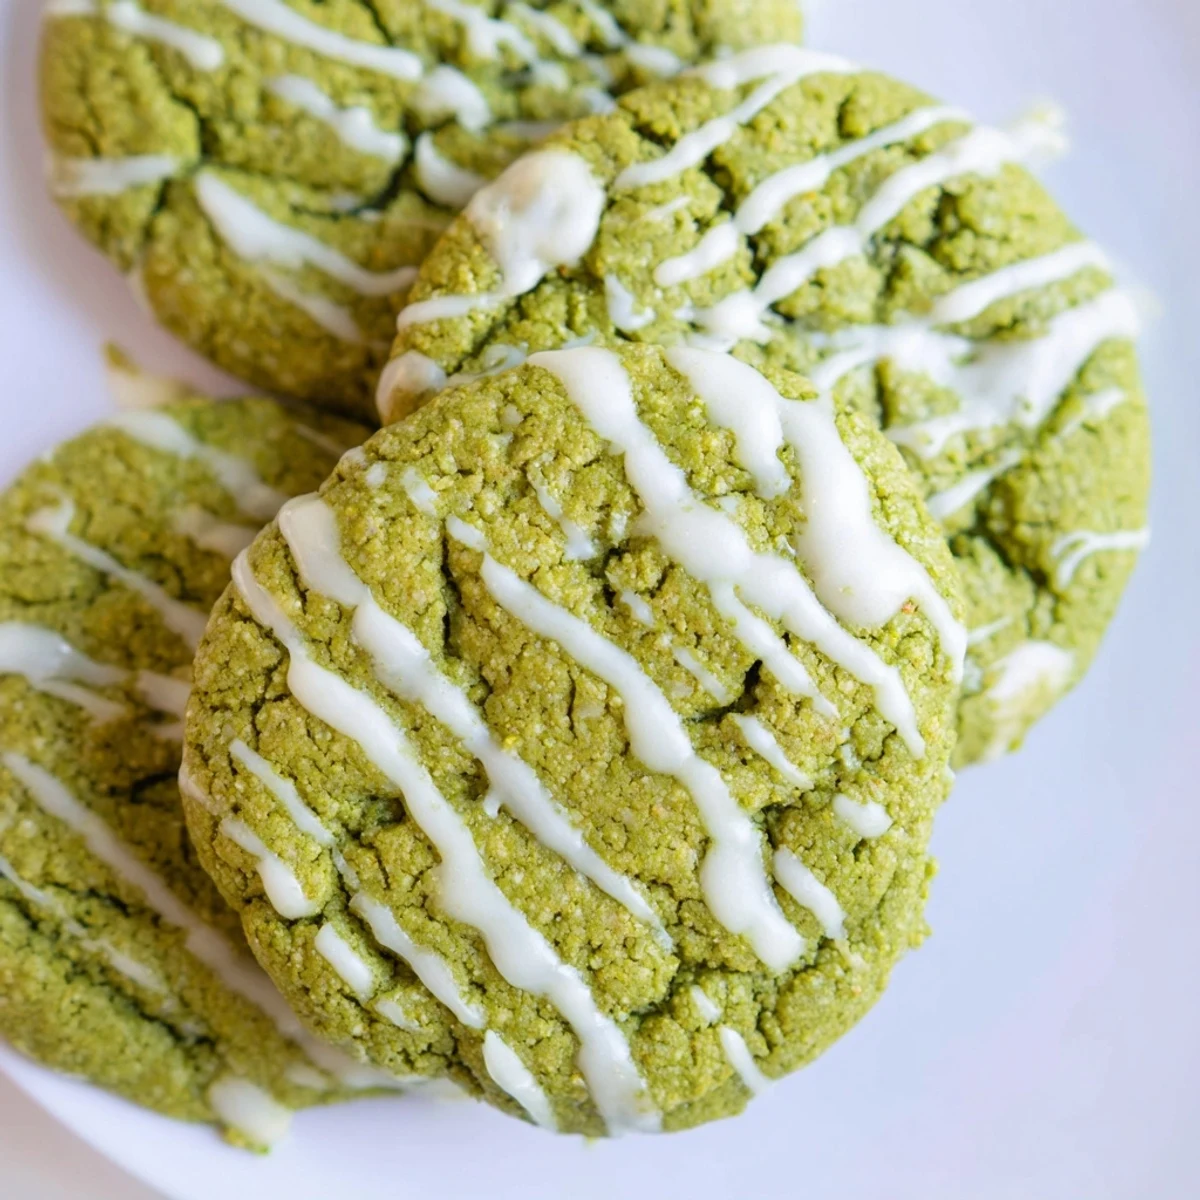
 These vibrant green velvet cookies combine the soft, tender texture of classic red velvet with a festive twist. The dough features unsweetened cocoa powder for depth, white vinegar for tenderness, and gel food coloring for that signature bright green hue. After baking to soft, set edges, each cookie receives a generous drizzle of melted white chocolate, creating a beautiful contrast and extra sweetness.
The preparation comes together quickly—cream butter and sugars until fluffy, add eggs and vanilla, then incorporate the dry ingredients until just combined. The white vinegar might seem unusual, but it's essential for achieving that characteristic velvet crumb. For the drizzle, simply melt white chocolate with a touch of coconut oil for a smooth, pourable consistency that sets beautifully on the cooled cookies.
These treats are ideal for holiday gatherings, St. Patrick's Day celebrations, or anytime you want to add a pop of color to your dessert table. Store them in an airtight container, and they'll stay fresh for up to five days—though they rarely last that long!
The first time I made these, my sister walked into the kitchen and asked if I was baking with grass clippings. That startlingly vibrant green dough will make you pause, but trust me—the flavor is all rich chocolate and vanilla, with the color being pure holiday magic.
Last Christmas, I made three batches because they disappeared faster than I could package them. My neighbor texted me the next day asking for the recipe, and when I brought over a fresh dozen, she admitted to eating two while standing at her kitchen counter waiting for coffee to brew.
Ingredients
- All-purpose flour: The backbone of the cookie, providing structure for that tender crumb
- Unsweetened cocoa powder: Essential for the classic red velvet flavor base without overpowering sweetness
- Baking powder and soda: Work together to give these cookies their signature lift and softness
- Unsalted butter: Room temperature butter creates the perfect texture when creamed with sugar
- Granulated and brown sugar: The combination creates crisp edges and a soft, chewy center
- Eggs: Bind everything together while adding richness and structure
- Whole milk: Adds moisture for that cake-like tenderness we love
- White vinegar: Reacts with the cocoa to enhance that classic red velvet flavor profile
- Green food coloring: Gel coloring gives the most vibrant hue without thinning the batter
- White chocolate: Creates the perfect sweet contrast to the slightly tangy cookie base
- Coconut oil: Makes the drizzle silky smooth and easier to work with
Instructions
- Preheat your oven:
- Set it to 350°F and line two baking sheets with parchment paper so your cookies release easily
- Whisk the dry ingredients:
- Combine flour, cocoa powder, baking powder, baking soda, and salt in a medium bowl until well blended
- Cream the butter and sugars:
- Beat them together for 2-3 minutes until light and fluffy, creating tiny air pockets for softness
- Add the eggs:
- Beat in one egg at a time, making sure each is fully incorporated before adding the next
- Mix in wet ingredients:
- Pour in milk, vanilla, vinegar, and food coloring, mixing until you have a uniform, strikingly green batter
- Combine everything:
- Gradually fold in the dry ingredients just until no flour streaks remain, being careful not to overmix
- Scoop the dough:
- Drop rounded tablespoons onto your prepared sheets, leaving about two inches between each cookie
- Bake to perfection:
- Slide into the oven for 10-12 minutes until edges are set but centers still look slightly soft
- Cool completely:
- Let them rest on the baking sheets for 5 minutes before moving to a wire rack until fully cool
- Prepare the drizzle:
- Melt white chocolate with coconut oil in 20-second bursts, stirring until smooth and glossy
- Finish with flair:
- Drizzle the white chocolate back and forth over each cooled cookie and let it set before serving
 Save to Pinterest
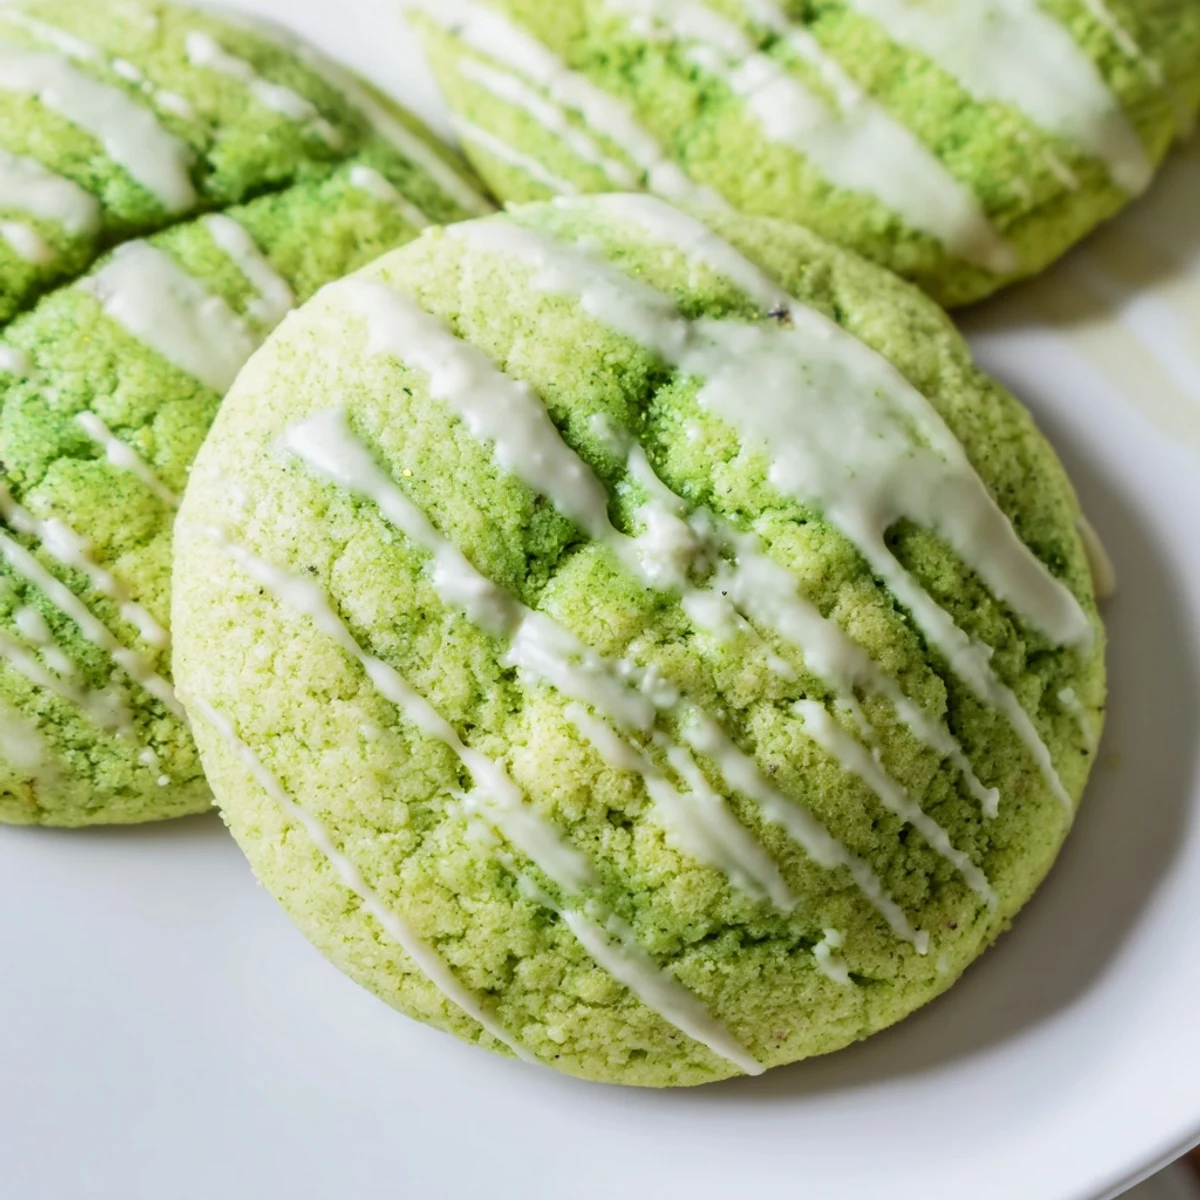
 These became my go-to contribution for cookie exchanges after I watched my normally reserved uncle help himself to four at our family gathering, quietly slipping the last one into a napkin for his car ride home.
Getting The Perfect Green Color
I have learned that liquid food coloring can throw off the texture, so stick with gel or paste coloring. Start with one tablespoon, then add more in small increments until you reach your desired shade of vibrant green.
Making The Drizzle Easier
If you are struggling with getting the perfect drizzle, try warming the white chocolate slightly before beginning. The consistency should flow easily but not be so thin that it runs right off the cookies.
Storage And Make Ahead Tips
These cookies actually improve slightly after a day as the flavors meld together. Store them in layers with parchment paper between so the drizzle does not stick to the bottoms of other cookies.
- Freeze undrizzled cookies for up to three months and add the chocolate later
- Keep the drizzle components separate if you need to transport these somewhere
- Room temperature storage works best for maintaining that soft texture
 Save to Pinterest
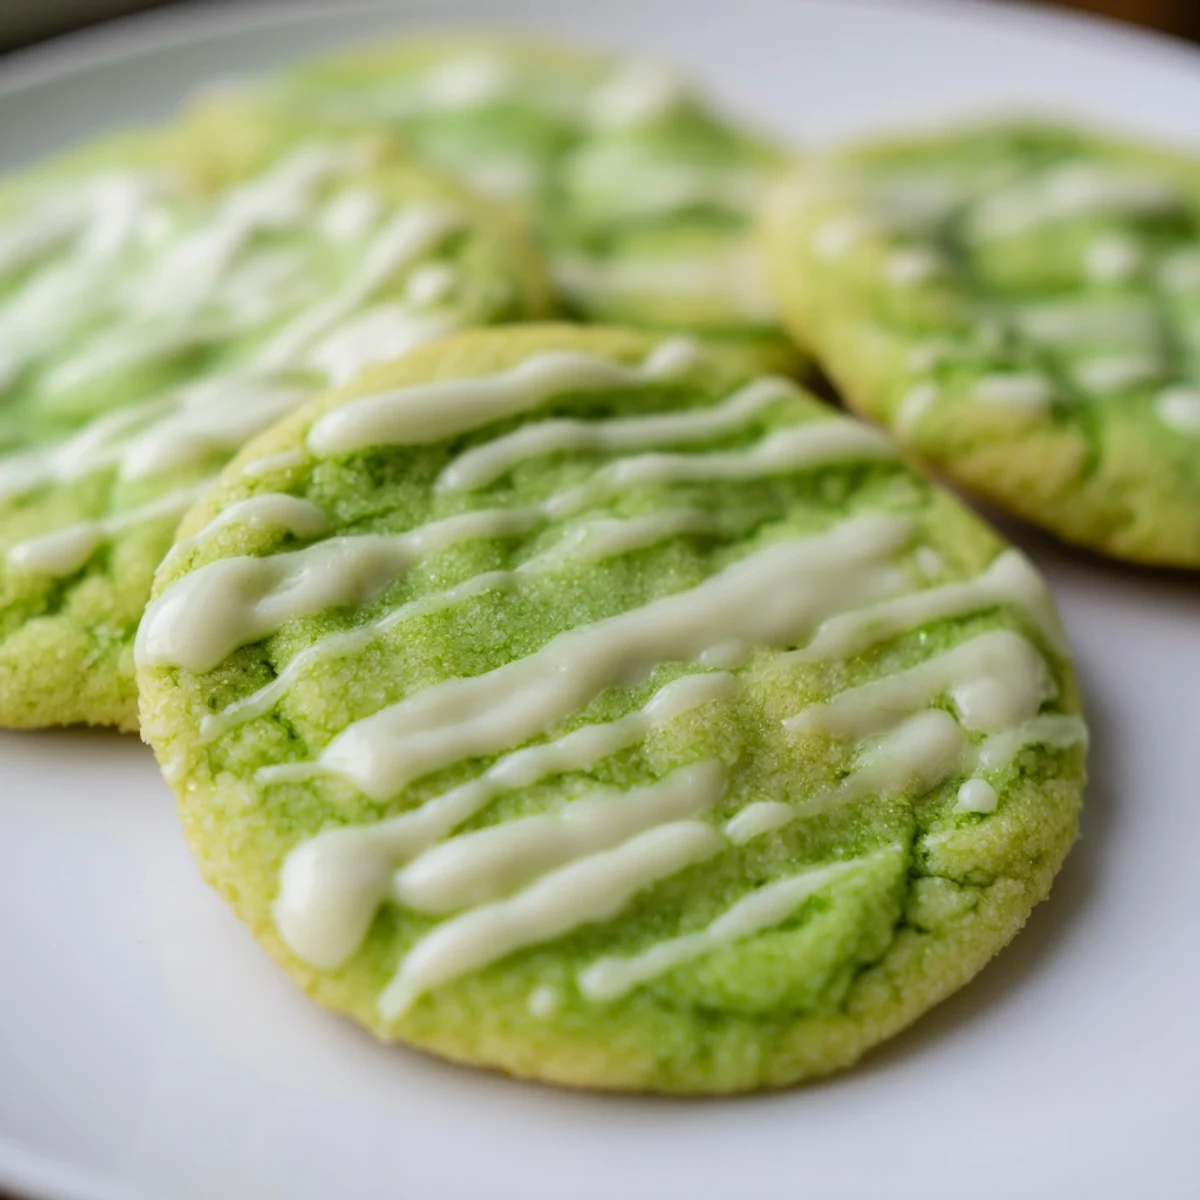
 There is something joyful about cutting into a tray of these green cookies and watching everyone is face light up before they even take a bite.
Recipe FAQs
- → Why is there cocoa powder in green cookies?
-
Unsweetened cocoa powder is traditional in velvet-style baked goods. It adds subtle depth without overpowering the vanilla flavor or affecting the vibrant green color when combined with food coloring.
- → Can I use liquid food coloring instead of gel?
-
Gel food coloring is recommended because it provides vibrant color without adding excess liquid to the dough. Liquid coloring works but may require adjusting the flour amount slightly to maintain proper dough consistency.
- → How do I know when the cookies are done baking?
-
The cookies are ready when the edges look set and slightly firm, but the centers still appear soft. They will continue cooking on the hot baking sheet during the 5-minute cooling period, resulting in perfectly tender textures.
- → What's the purpose of white vinegar in the dough?
-
White vinegar reacts with the baking soda to create lift, while also tenderizing the gluten in the flour. This combination produces the signature soft, velvety crumb that makes these treats so special.
- → Can I make the dough ahead of time?
-
Yes, scoop the dough onto baking sheets and freeze until solid, then transfer to an airtight container. Bake from frozen, adding 1-2 minutes to the baking time. The dough keeps well for up to 3 months in the freezer.
- → What if my white chocolate seizes when melting?
-
White chocolate can seize if overheated or if moisture gets into it. Microwave in 20-second bursts, stirring between each. If it does seize, whisk in a teaspoon of coconut oil or vegetable oil to smooth it out again.
