 Save to Pinterest
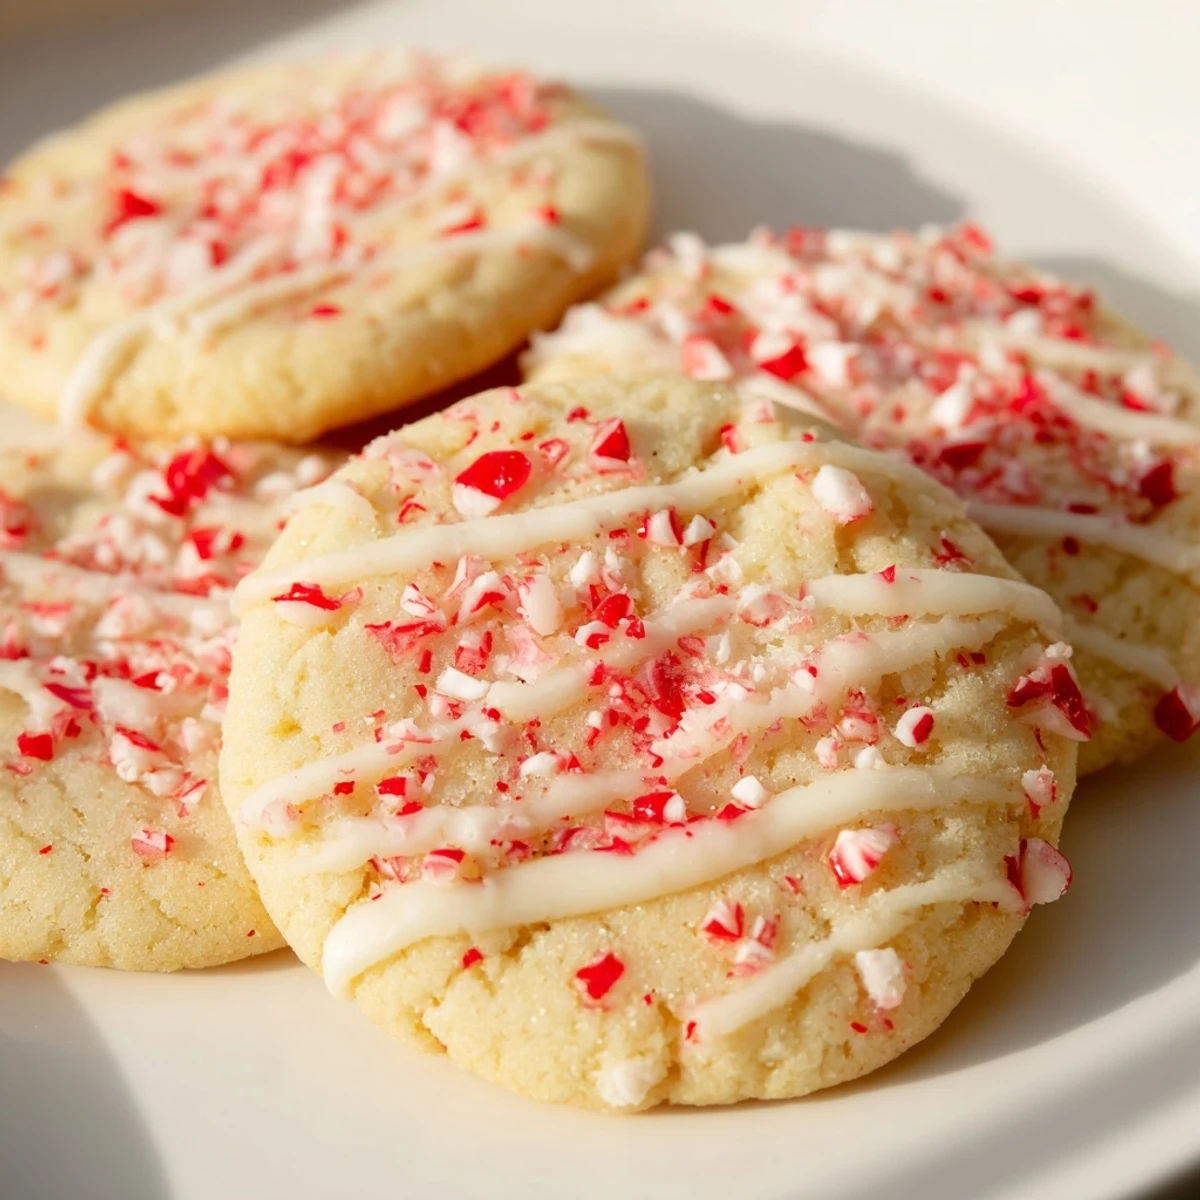
 These buttery peppermint cookies combine classic flavors with a festive twist, featuring crushed candy canes that add a refreshing crunch. Made with simple ingredients like all-purpose flour, butter, sugar, and peppermint extract, the dough chills before baking to ensure perfect texture. Lightly golden edges and a subtle vanilla undertone balance the cool peppermint taste. An optional white chocolate drizzle adds extra sweetness and flair, making them ideal for holiday gatherings or cozy winter treats.
Every December, I find myself in the kitchen making these peppermint candy cane cookies—they've become the tradition that signals the holidays are truly here. There's something magical about the way the crushed candy canes sparkle on top, turning simple butter cookies into something that feels festive without trying too hard. I still remember the first time I made them, how my kitchen filled with that bright peppermint aroma, and I knew immediately this recipe would become a keeper.
I'll never forget the year I made these for an unexpected holiday potluck. I'd thrown together a batch that morning, and the moment someone bit into one, the whole room went quiet—then everyone wanted the recipe. That's when I realized these cookies had become my signature, the thing people actually remember me for.
Ingredients
- All-purpose flour (2 1/4 cups): The foundation of every good cookie—I always measure by spooning and leveling to avoid packing it down, which would make your cookies dense instead of tender
- Unsalted butter (1 cup), room temperature: This is non-negotiable for creaming properly; cold butter won't incorporate air and you'll lose that light, fluffy texture we're after
- Granulated sugar (3/4 cup): Creates that delicate crumb and helps the cookies spread just enough without going flat
- Baking powder (1/2 teaspoon): Just enough lift to keep these cookies from being hockey pucks—not too much or they'll be cakey
- Salt (1/4 teaspoon): Don't skip this; it's what makes the peppermint flavor actually pop instead of tasting one-dimensional
- Large egg (1): Binds everything together and adds richness that you can actually taste in the final cookie
- Vanilla extract (1 teaspoon): The supporting actor that lets the peppermint be the star
- Peppermint extract (1 teaspoon): The heart of this recipe; this is what makes people ask for the recipe—that bright, festive flavor that says 'holiday'
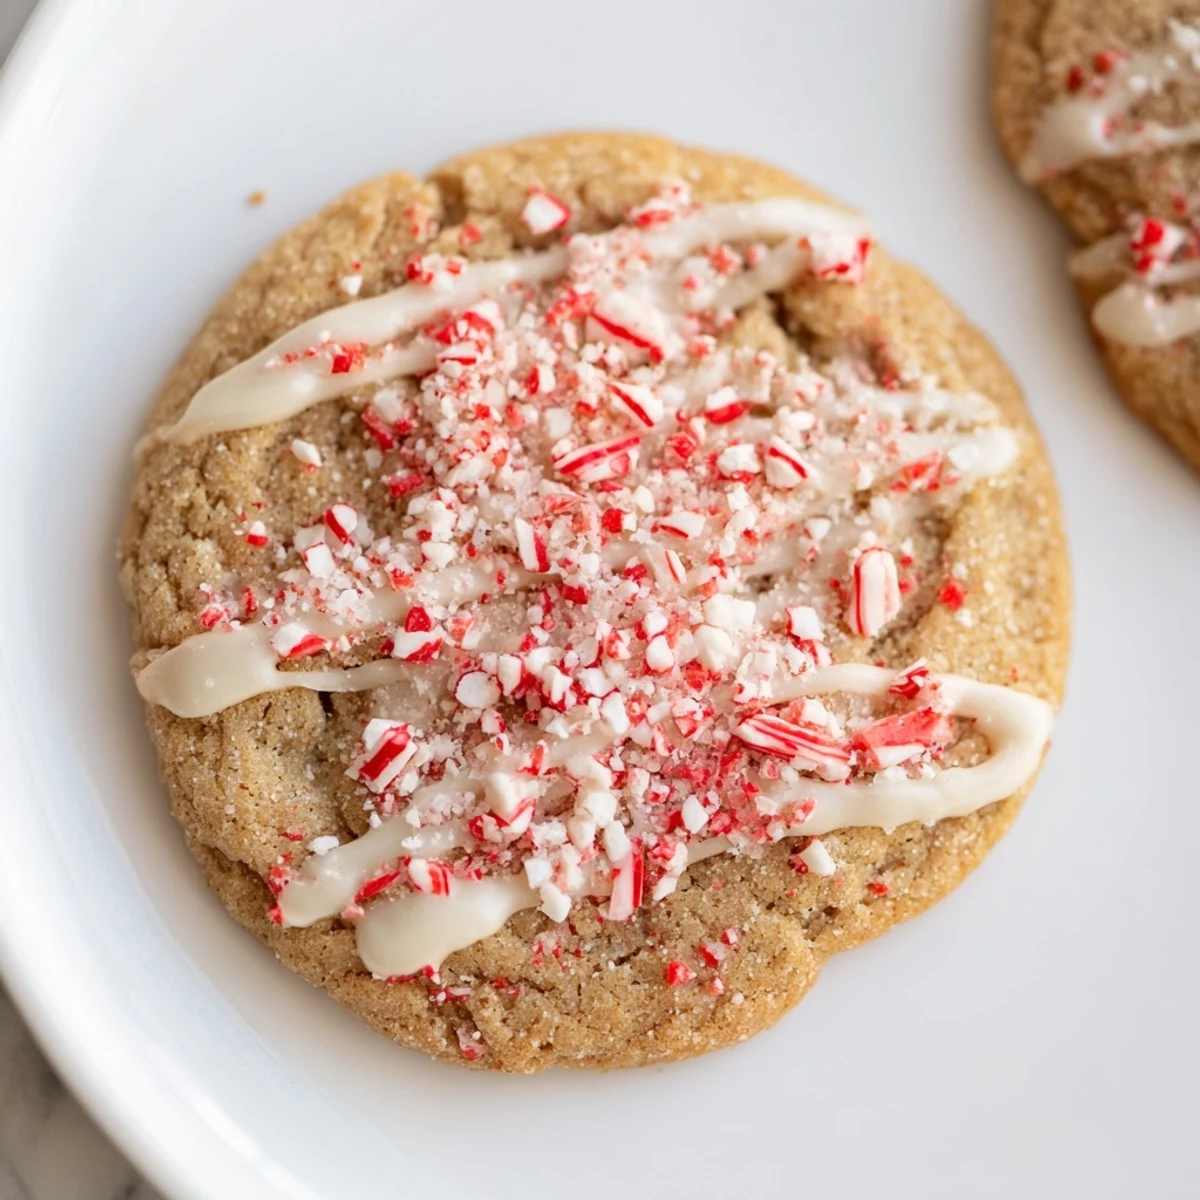
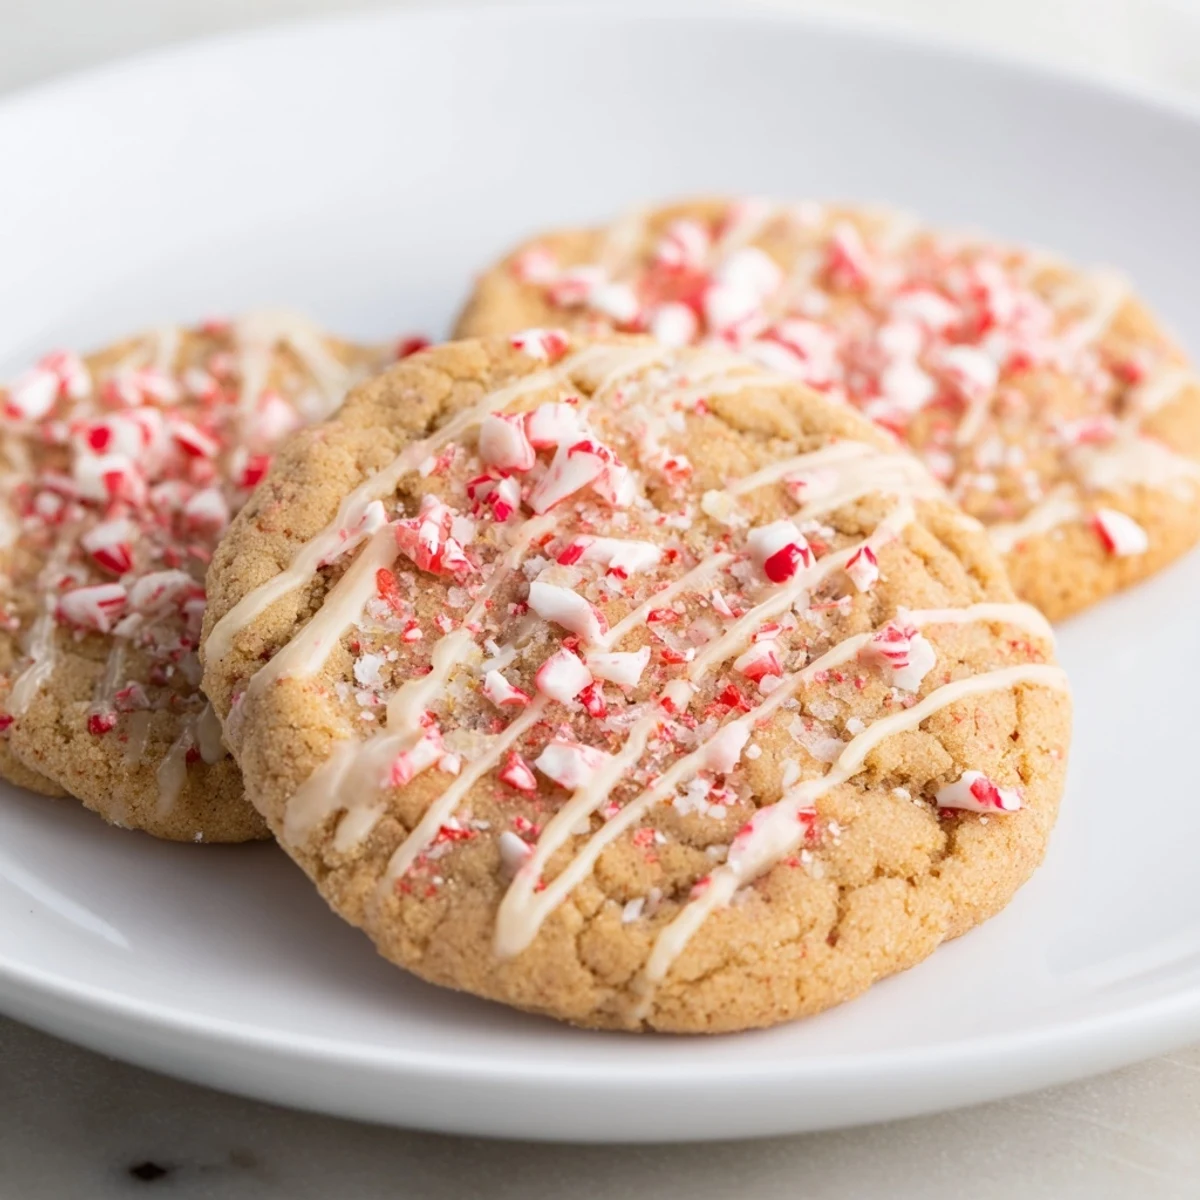
- Crushed peppermint candy canes (1/2 cup): These add both flavor and texture, plus they look beautiful pressed into the dough before baking
- White chocolate chips (1/4 cup, optional): For drizzling if you want to take them from nice to show-stopping
Instructions
- Get Everything Ready:
- Pull out your mixing bowls and ingredients. Having your butter at room temperature is crucial—it should feel soft when you press it, almost like it's giving way under your finger. Whisk together your flour, baking powder, and salt in a medium bowl. This pre-mixing is where you ensure the leavening is evenly distributed, so you don't end up with pockets of baking powder in some cookies and not in others.
- The Creaming Magic:
- In a large bowl, beat your room-temperature butter and sugar together for about 2 to 3 minutes until it's light, fluffy, and noticeably paler than where you started. This is where you're incorporating air into the butter, which will give your cookies that tender crumb. You'll actually hear the mixer sound change as the mixture becomes lighter.
- Bring It Together:
- Add your egg, vanilla, and peppermint extract to the butter mixture, beating until it's smooth and well combined. This is when your kitchen will smell like the holidays—that bright peppermint mixed with vanilla and buttery sweetness is intoxicating.
- The Gentle Fold:
- Gradually add your dry ingredients to the wet mixture, mixing just until combined. This is where patience matters—overmixing develops gluten and creates tough cookies instead of the tender ones we want. Stop as soon as you don't see flour streaks anymore.
- The Waiting Game:
- Cover your dough and refrigerate for at least 30 minutes, or longer if you have the time. This chill time is essential because it prevents the cookies from spreading too much in the oven and helps develop the flavors. I often chill mine for a full hour or even overnight.
- Prepare Your Stage:
- Preheat your oven to 350°F and line two baking sheets with parchment paper. This temperature is just right for these cookies—hot enough to set the edges and get them golden, but not so hot that the bottoms burn before the insides finish.
- Shape and Decorate:
- Scoop tablespoon-sized portions of dough and roll them into balls. Place them 2 inches apart, then gently flatten each one with your palm—this gives you that classic cookie shape. Now for the fun part: sprinkle crushed candy canes on each cookie, pressing gently so they stick to the dough. They'll look like little jeweled treasures.
- The Golden Moment:
- Bake for 9 to 11 minutes, watching for the edges to turn lightly golden. The centers will still look slightly underdone—that's exactly right. They'll continue cooking on the hot pan after you pull them out, resulting in cookies that are crispy on the edges but tender in the center.
- Cool with Purpose:
- Let the cookies rest on the baking sheet for 5 minutes—this is important because they're still setting up and will break apart if you move them too soon. Then transfer them to a wire rack where air can circulate underneath and they'll crisp up perfectly.
- The Optional Finale:
- If you want to take these cookies from special to absolutely showstopping, melt some white chocolate chips and drizzle them over the cooled cookies. The white chocolate adds richness and makes them look like they came from a fancy bakery.
 Save to Pinterest
 These cookies have a way of bringing people together. There was a year when my neighbor was going through a rough time, and I left a batch of these on her doorstep. She later told me that opening that package and smelling the peppermint made her feel like someone cared, which is exactly what cookies should do.
When You're Missing Something
If you can't find peppermint extract, try using 1/2 teaspoon of peppermint flavoring or even finely crushed candy canes mixed into the dough itself. You won't get quite the same depth of flavor, but it'll still feel festive and delicious. I've also had success using a few drops of peppermint essential oil meant for culinary use, though you need to use less since it's more concentrated. Just remember—taste your dough before baking if you're substituting, because peppermint intensity varies by product.
Keeping It Fresh
These cookies truly shine when they're fresh, but they'll keep beautifully in an airtight container for up to a week, tucked somewhere cool and away from heat sources. I've learned that storing them in a container with a piece of parchment paper between layers prevents them from sticking together. If they start to soften after a few days, you can recrisp them in a 300°F oven for about 5 minutes—they'll come back to life.
- If you're baking ahead for the holidays, you can freeze the dough balls in a freezer bag for up to three months; just add a minute or two to the baking time
- Store these away from strongly flavored foods because cookies are little aroma absorbers and you don't want them tasting like last night's garlic bread
- The white chocolate drizzle, if you do it, seals the cookies slightly and actually helps them stay fresher a bit longer
Flavor Variations That Work
Once you master the base recipe, there's room to play. Some years I swap the white chocolate for dark chocolate because the bitterness complements the peppermint beautifully. Other times, I add a tiny pinch of cayenne pepper to the dough—just an eighth of a teaspoon—which sounds unusual but adds a subtle warmth that makes people say 'something's different, what is it?' and then their faces light up when they figure it out. You could also dip the edges of the cookies in melted dark chocolate instead of drizzling white chocolate, or roll the warm cookies in crushed candy canes instead of pressing them on top before baking for a different texture.
Why This Recipe Feels Like the Holidays
There's something about the combination of peppermint and buttery cookies that just says 'December' without trying too hard. I think it's because peppermint as a flavor is bold and memorable—it lingers on your palate and makes you want another cookie. The candy cane topping adds visual drama with minimal effort, which is the whole point of holiday baking: maximum festiveness for minimal stress. These aren't cookies that require decorating skills or fancy equipment; they're just honest, good cookies that happen to taste like the season.
 Save to Pinterest
 These cookies have become my holiday signature, the thing people actually ask me to bring to gatherings. If you make them once, they'll become yours too.
Recipe FAQs
- → How can I enhance the peppermint flavor?
-
Increase peppermint extract by 1/2 teaspoon for a stronger minty taste without overpowering the buttery base.
- → Can I substitute white chocolate chips in the decoration?
-
Yes, swapping white chocolate for dark chocolate chips works well for a richer contrast and deeper flavor.
- → What is the best way to store these cookies?
-
Store in an airtight container at room temperature for up to one week to maintain freshness and texture.
- → Should the dough be chilled before baking?
-
Chilling the dough for at least 30 minutes helps the cookies hold their shape and develop better texture during baking.
- → Are there any allergens to be aware of?
-
These contain wheat gluten, eggs, and dairy from butter and optional white chocolate; some candy canes may have traces of soy or nuts.
