 Save to Pinterest
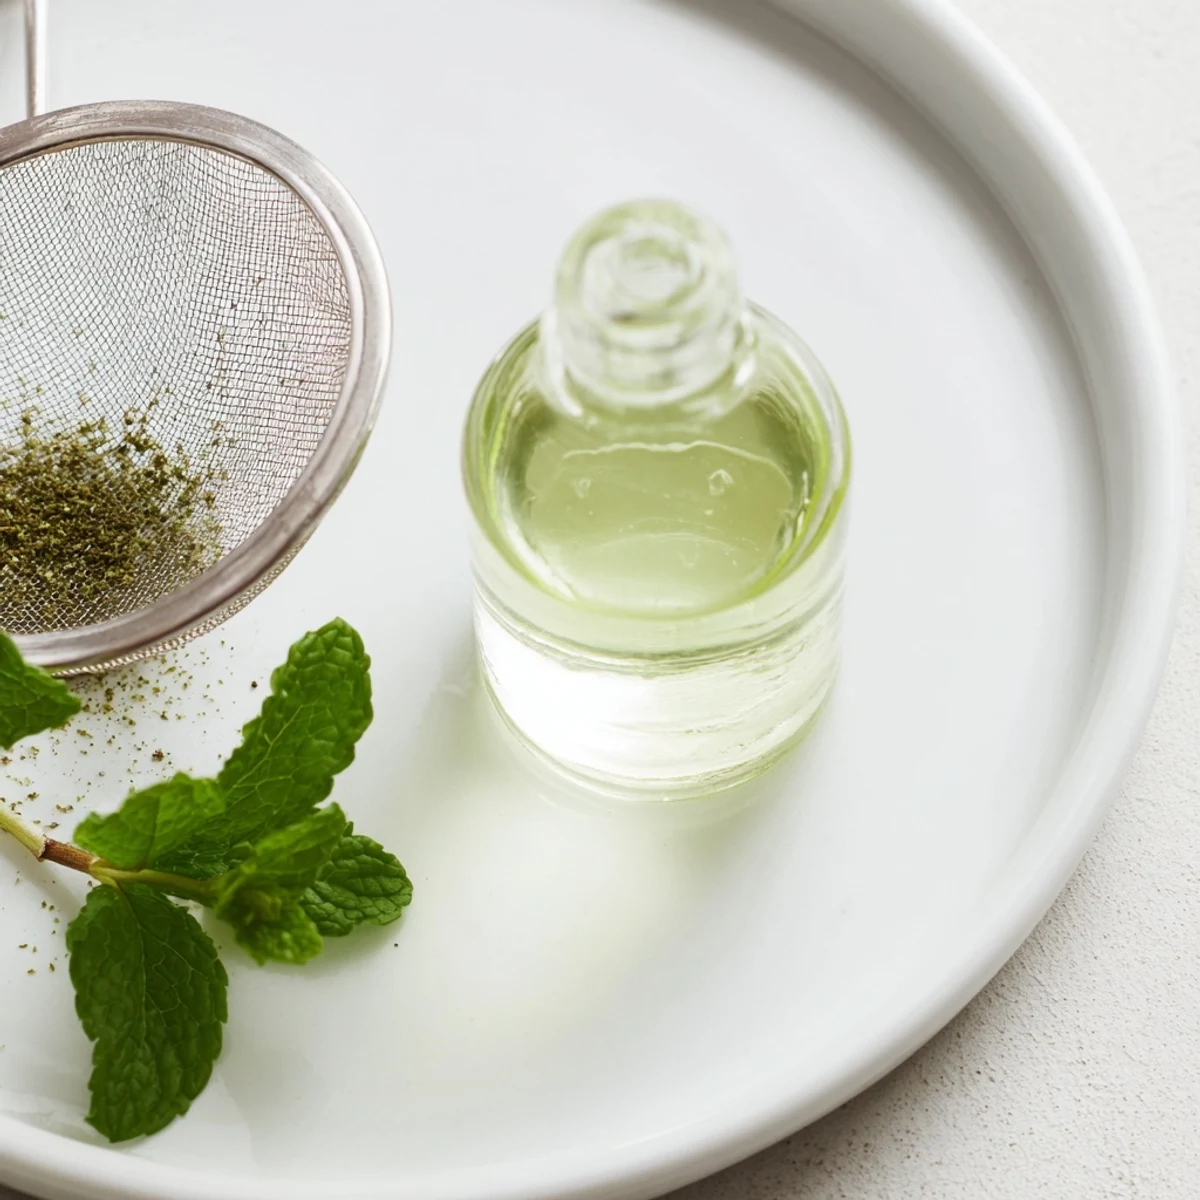
 This peppermint oil infusion uses fresh peppermint leaves combined with high-proof vodka to extract a clean, refreshing essence. The leaves are bruised to release oils, submerged in alcohol, and infused for 7 days with gentle daily shaking. Straining yields an aromatic liquid perfect for adding fresh mint flavor to frostings, hot chocolates, chocolates, and cocktails. It stores well in a dark bottle for up to a year. A non-alcoholic version can be made using food-grade glycerin.
I still remember the winter when my grandmother taught me the magic of making extracts from scratch. She had this old wooden muddler worn smooth from decades of use, and she'd press fresh peppermint leaves with such care, releasing their bright green oils into the kitchen air. That afternoon, watching her pour vodka over bruised leaves in a mason jar, I realized I was learning an old-fashioned art that transforms simple ingredients into liquid gold. Now, every time I make peppermint extract, I'm transported back to her kitchen, and I feel like I'm passing that same magic forward.
I made this extract for a baking competition once, using it in a dark chocolate mousse cake, and watching people's faces light up when they tasted that subtle peppermint note was everything. Someone actually asked if I'd used some expensive imported extract, and I loved that secret smile knowing it came from my own hands, my own jar, sitting in my cupboard for just seven days.
Ingredients
- 1 cup (240 ml) high-proof vodka (at least 80 proof, unflavored): This is your solvent, and it matters. Higher proof means better extraction of the peppermint's essential oils. I learned this the hard way when a well-meaning friend used lower-proof vodka and ended up with a weak, watery result. Unflavored is crucial because any competing flavors will muddy that beautiful peppermint clarity.
- 1 cup (loosely packed, about 40 g) fresh peppermint leaves, washed and dried: Fresh is always better than dried here because you want those vibrant oils at their peak. The leaves need to be genuinely dry before you start, or you'll introduce water that dilutes your extract. I usually wash mine and let them air-dry on a clean kitchen towel for an hour or two, patting gently.
Instructions
- Bruise those beautiful leaves:
- Take your rolling pin or muddler and gently press each bunch of peppermint leaves. You're not crushing them into oblivion, just encouraging them to release their oils. I like to do this right over the jar so some of that fragrant oil doesn't escape into the air. Listen for that subtle crackle and breathe in that green, minty aroma.
- Create your infusion home:
- Use a clean, sterilized glass jar with a tight-fitting lid. Sterilization matters because you want the peppermint to shine, not battle bacteria. I run mine through hot soapy water and let them air-dry completely, or give them a quick vodka rinse if you have a moment. Place those bruised leaves in the bottom.
- Submerge and seal:
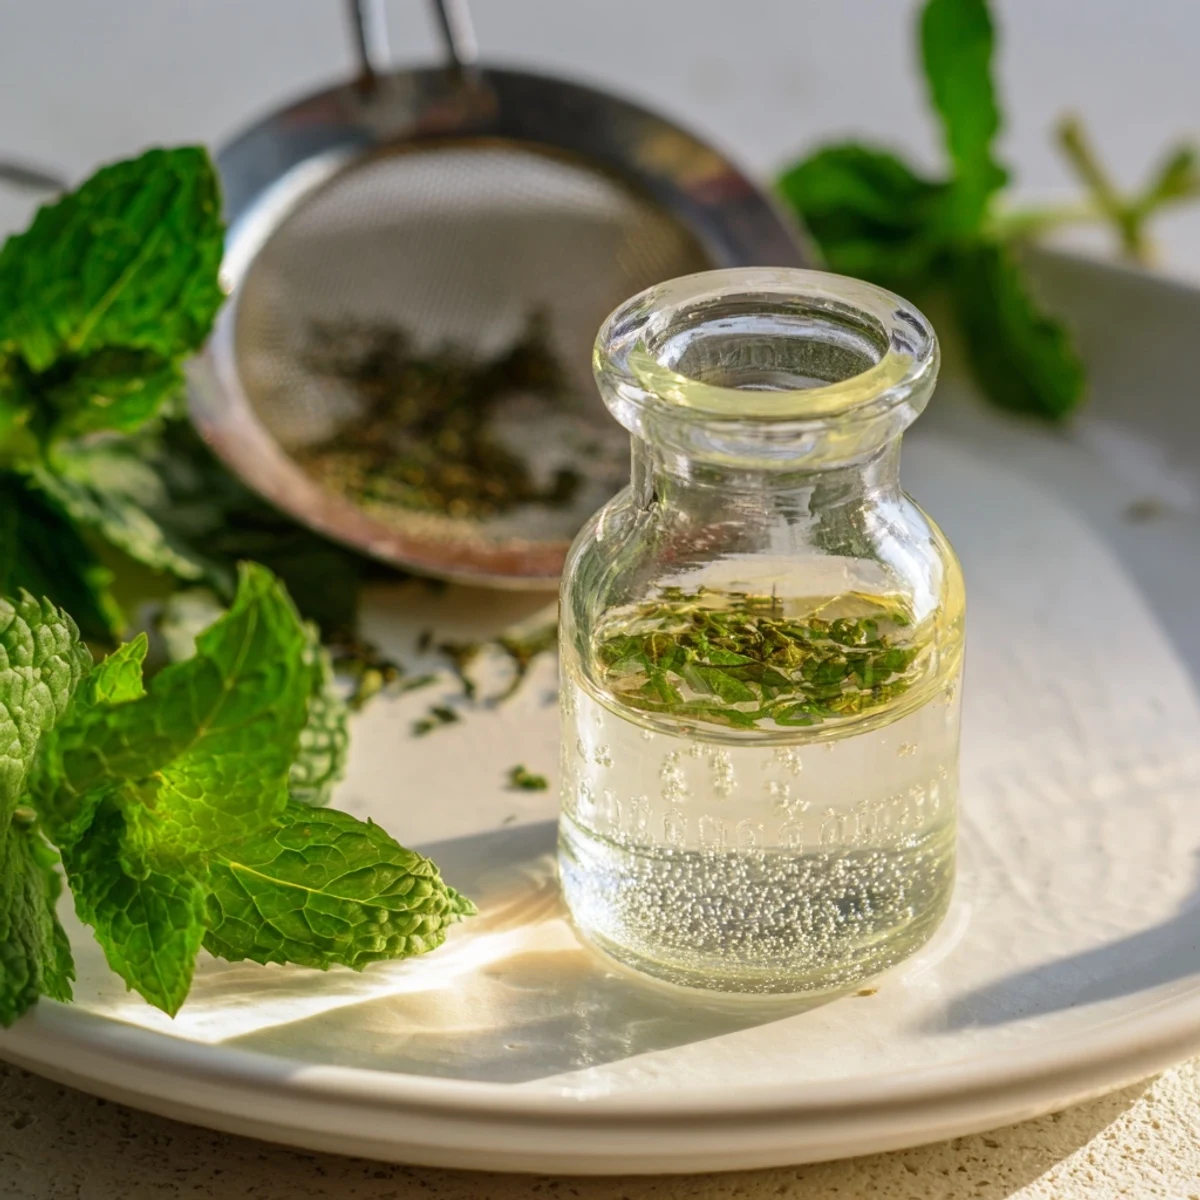
- Pour the vodka slowly over the leaves, watching them float and dance as the liquid rises. Make sure every leaf is covered—any leaf peeking above the surface can develop mold or off-flavors. Once it's all covered, seal that jar tightly. You're creating a little sealed world where flavor magic happens.
- The patient wait:
- Stash your jar in a cool, dark place—a cupboard, a pantry, the back of a shelf away from direct light. Every single day, give it a gentle shake. Not a wild shake, just a friendly swirl that reminds the leaves you're thinking of them. I usually shake mine in the morning with my coffee, making it part of my ritual.
- Taste and decide:
- After seven days, open that jar and smell it first. The aroma should be intensely minty and clean. Pour a tiny drop on your tongue and let it sit for a moment. If it's perfectly peppermint-forward and makes your mouth feel cool and fresh, you're done. If you want something more powerful, give it another week. I usually go nine or ten days for a really bold extract.
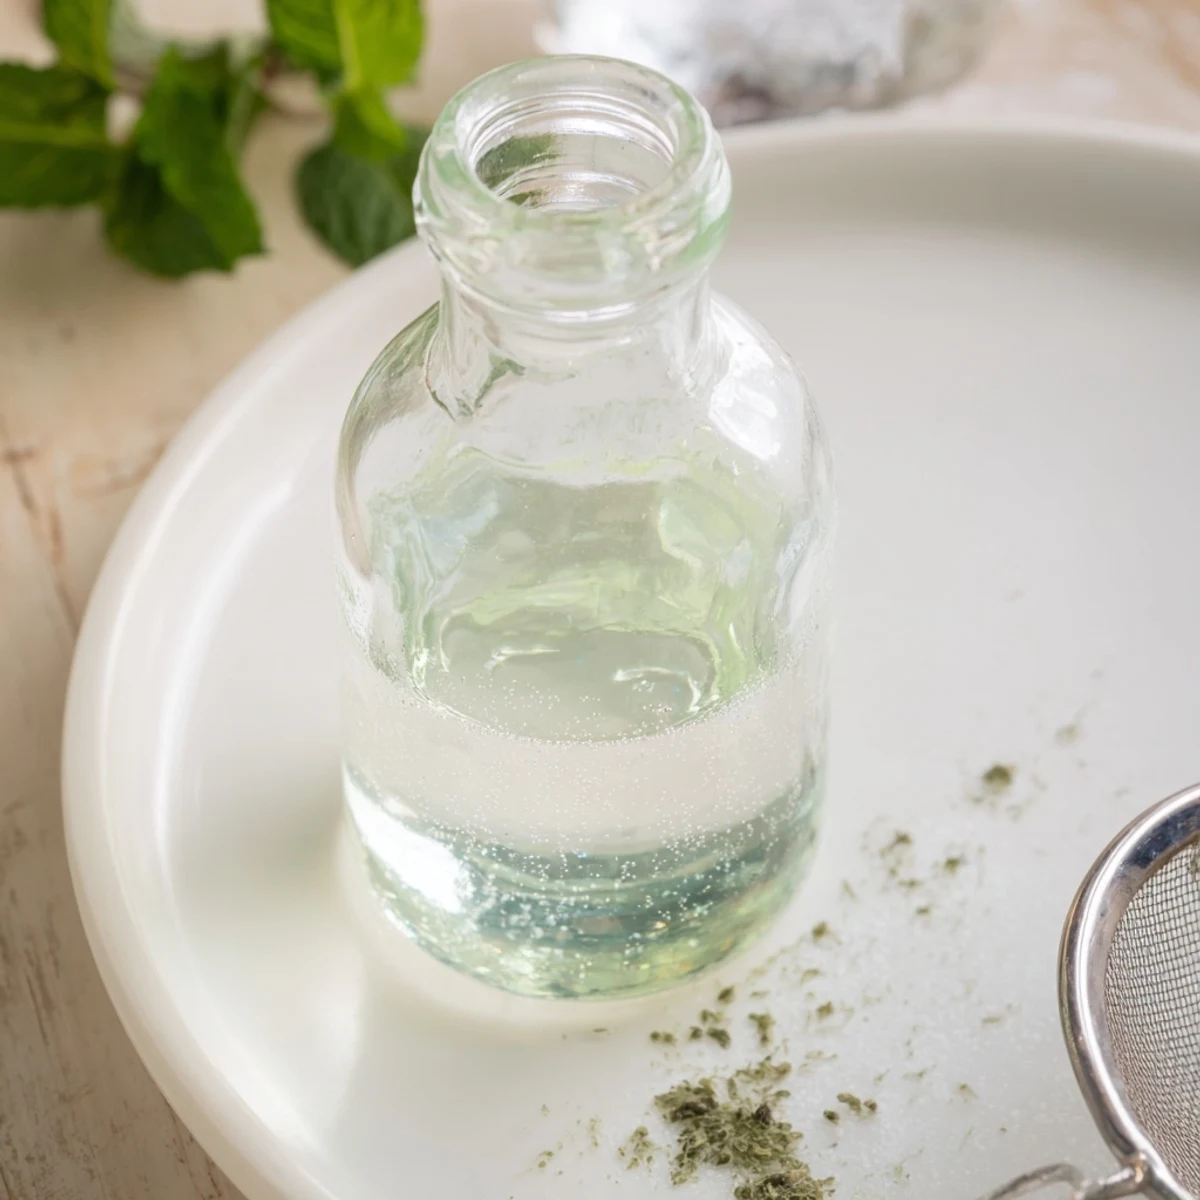
- Strain with intention:
- Line your fine mesh sieve with a square of cheesecloth if you want to be extra careful about sediment. Slowly pour the infused vodka through, letting gravity do the work. Don't squeeze the leaves—let them drain naturally over a few minutes. That liquid gold that drips through is your extract.
- Bottle for the future:
- Transfer your clear extract to a clean, dark glass bottle. Dark glass protects it from light damage and keeps it potent. Label it with the date so you remember when you made it. Store it in that same cool, dark place.
 Save to Pinterest
 I'll never forget the day my kids came home and asked what smelled so good. They couldn't quite name it, but they followed their noses to the cabinet where my extract jar was infusing. When I finally let them taste the finished product in hot chocolate weeks later, their whole faces changed—suddenly that invisible ingredient became the most important thing in their mug. That's when I understood: extracts aren't just flavoring, they're little bottles of transformed moments.
Using Your Extract Like a Secret Ingredient
Once you have your extract, you hold the power to elevate almost any sweet creation with just a whisper of peppermint. A teaspoon in chocolate frosting transforms it completely. A few drops in hot chocolate make it taste like luxury. I've learned that peppermint extract also works beautifully in cocktails—just add it to gin or vodka-based drinks for a fresh twist. The key is restraint: this extract is potent, and a little truly does go a long way. Start with one drop and taste, adding more with intention rather than pouring.
The Non-Alcoholic Alternative
If vodka isn't an option for you, food-grade glycerin works wonderfully as a substitute. The infusion process is identical—same seven days, same daily shaking, same straining—but the flavor will be slightly sweeter and softer, without that sharp alcohol bite. I've used this version for baking with children, and it creates a gentler peppermint flavor that still makes everything taste special.
Storage Secrets and Shelf Life
Your finished extract will keep beautifully for up to a year when stored properly in a cool, dark place. A pantry is perfect; above the stove is not. I've had bottles last even longer because alcohol is a natural preservative, but the flavor will gradually fade after that first year. The best part? Making a new batch becomes something to look forward to every twelve months, another chance to brew that green magic and fill your kitchen with that distinctive peppermint memory.
- Always use dark glass bottles to shield your extract from light damage that weakens flavor
- Keep the cap sealed tightly between uses—oxidation is the quiet enemy of extract quality
- A handwritten label with the date is both practical and turns your extract into something you made with care
 Save to Pinterest
 Making peppermint extract teaches you something fundamental about patience and transformation—that time and intention can turn simple leaves into something remarkable. Every time you use those few precious drops, you're using something you grew or gathered, infused with your own hands and care.
Recipe FAQs
- → How long should peppermint leaves be infused?
-
Infuse fresh peppermint leaves in alcohol for 7 days, shaking gently daily. Extending to 14 days intensifies flavor.
- → Can dried peppermint leaves be used instead of fresh?
-
Yes, use half the amount of dried leaves, as they are more concentrated.
- → What alcohol is recommended for infusion?
-
A high-proof, unflavored vodka (at least 80 proof) is best for extracting clean, aromatic notes.
- → How should the peppermint oil be stored?
-
Store in a clean, dark glass bottle in a cool, dark place to maintain freshness for up to one year.
- → Is there an alcohol-free alternative for this extract?
-
Yes, food-grade glycerin can replace alcohol for a non-alcoholic version, though flavor extraction differs slightly.
