 Save to Pinterest
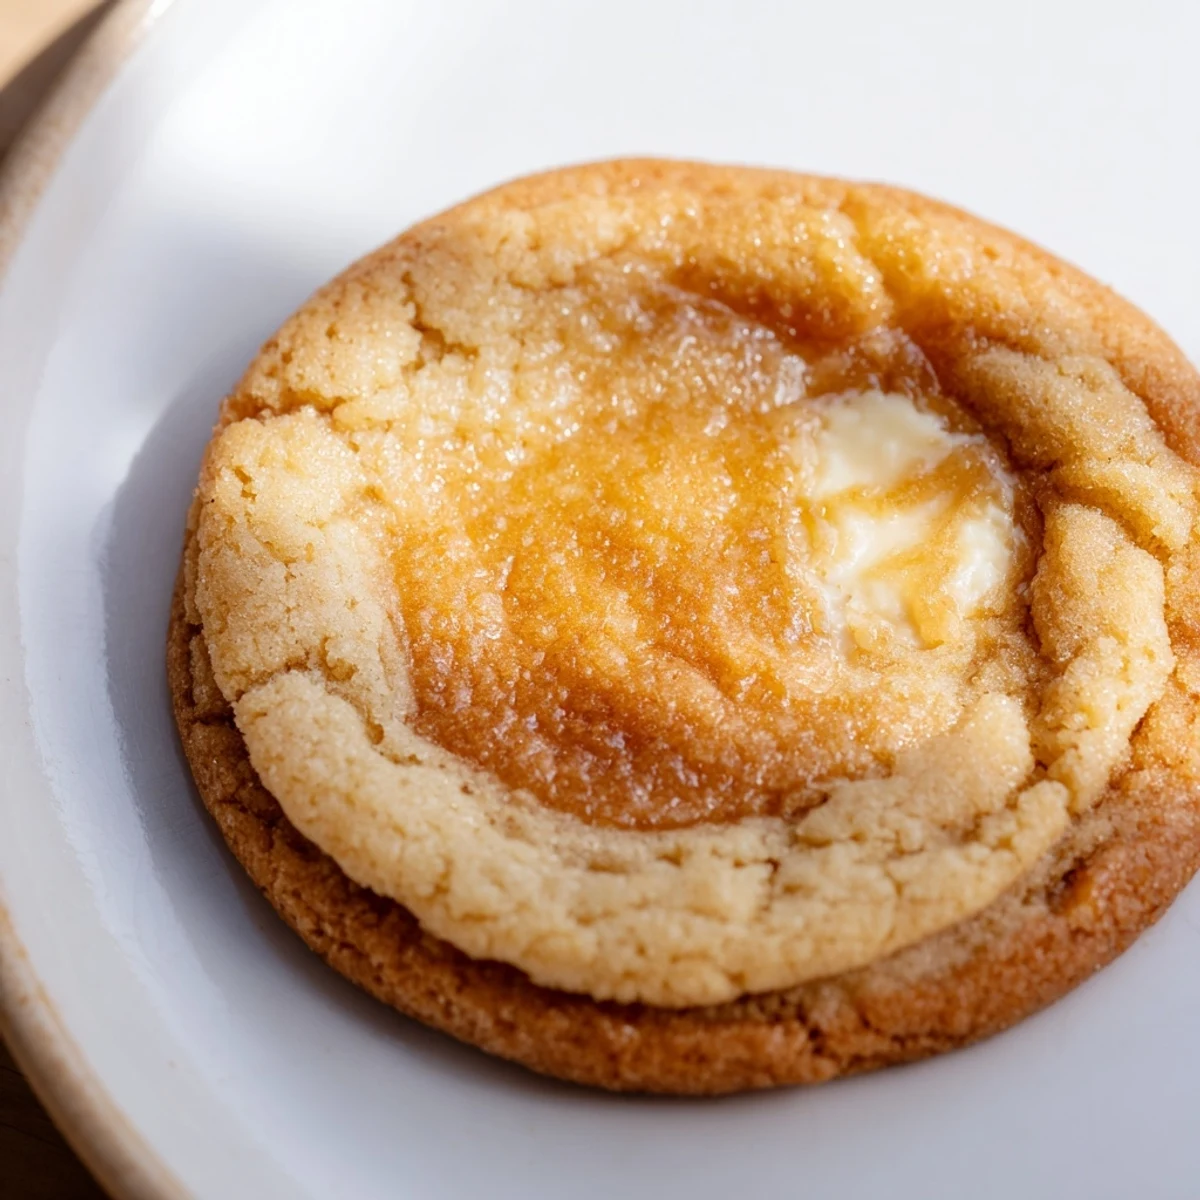
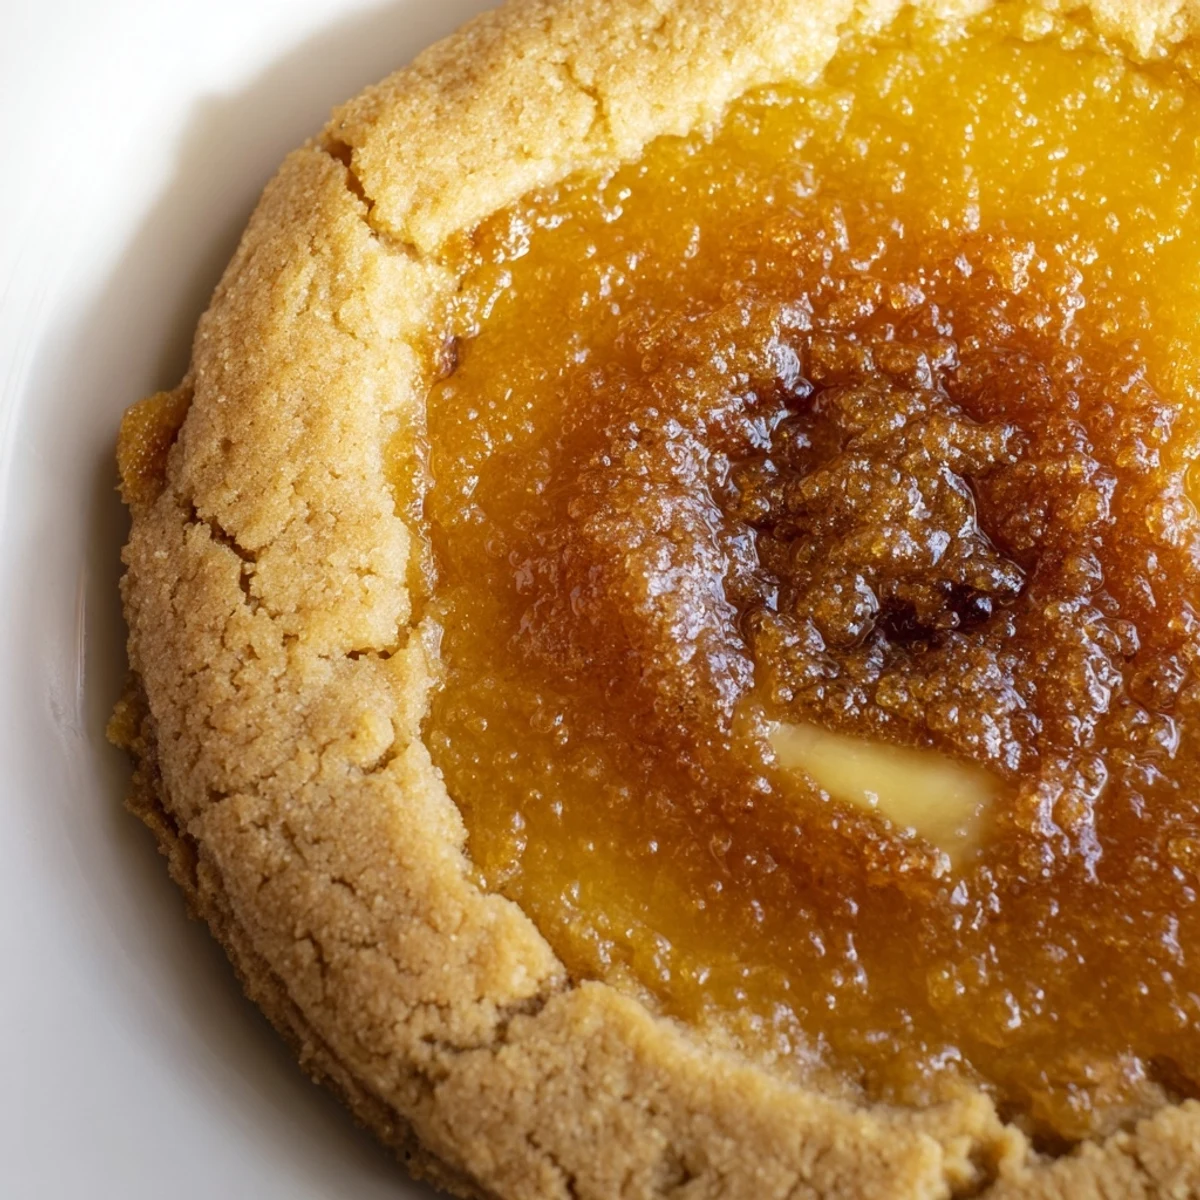
 These soft baked cookies capture the essence of classic French crème brûlée in a handheld treat. The tender vanilla dough envelopes a rich cream cheese filling, finished with a signature caramelized sugar crackle. A kitchen torch creates the perfect brûlée effect, though your oven broiler works in a pinch.
The dough comes together quickly with pantry staples, while the creamy filling adds that luxurious custard-like center. Each cookie delivers the satisfying contrast of crisp caramelized sugar against soft, buttery dough.
Perfect for dessert tables, afternoon tea, or whenever you crave something special. The yield of 18 cookies makes them ideal for sharing—or keeping all to yourself.
My friend Sarah brought these to a dinner party last winter, and I literally could not stop thinking about them for weeks. Something about that crackly burnt sugar top giving way to soft creamy vanilla filling just does something to your brain. I've made them three times since then, each batch disappearing faster than the last. The kitchen torch part makes you feel like a fancy pastry chef, even if you're just standing there in your pajamas.
I made these for my mom's birthday instead of a cake, and she said they were better than any crème brûlée she'd ever had at a restaurant. The trick is really not overbaking them, so they stay soft and almost underbaked in the middle. My brother walked in while I was torching the sugar tops and his eyes went huge, like he'd just watched me perform some kind of kitchen sorcery.
Ingredients
- All-purpose flour: The foundation that gives these cookies their structure and soft chew
- Baking soda: Helps the cookies spread just enough while staying thick and plush
- Salt: Essential for balancing all that sugar and making the vanilla pop
- Unsalted butter: Softened to room temperature so it creams beautifully with the sugar
- Granulated sugar: Sweetens and creates that perfect crisp edge on the cookies
- Egg yolks: The yolks add richness and help create that tender, melt-in-your-mouth texture
- Vanilla extract: Don't skimp here, it's the backbone flavor of the entire cookie
- Sour cream: The secret ingredient that keeps these cookies incredibly soft and prevents them from drying out
- Cream cheese: Softened completely so it blends into a silky smooth filling
- Vanilla bean paste: Those tiny vanilla specks make the filling look and taste professional
- Extra granulated sugar: For sprinkling on top and torching into that signature burnt sugar crust
Instructions
- Get your oven ready:
- Preheat to 350°F and line two baking sheets with parchment paper, setting the stage for evenly baked cookies.
- Whisk the dry team:
- In a medium bowl, combine flour, baking soda, and salt until well blended, then set this mixture aside.
- Cream the butter and sugar:
- Beat softened butter with sugar until fluffy and pale, then mix in egg yolks, vanilla, and sour cream until everything comes together.
- Bring it all together:
- Gradually fold in the dry ingredients, mixing just until a soft dough forms, being careful not to overwork it.
- Make the creamy filling:
- Beat softened cream cheese with sugar and vanilla bean paste until completely smooth and luscious.
- Stuff those cookies:
- Flatten a scoop of dough, add a teaspoon of filling to the center, then fold and pinch the dough around it to seal completely.
- Arrange for baking:
- Place each sealed cookie seam side down on the prepared sheets, leaving at least two inches between them for spreading.
- Bake to perfection:
- Bake for 11 to 13 minutes until the edges are set but centers still look slightly soft, then cool on the pans for 10 minutes.
- The torch moment:
- Sprinkle cooled cookies with an even layer of sugar and torch until golden and crackly, letting them set for 5 minutes before serving.
 Save to Pinterest
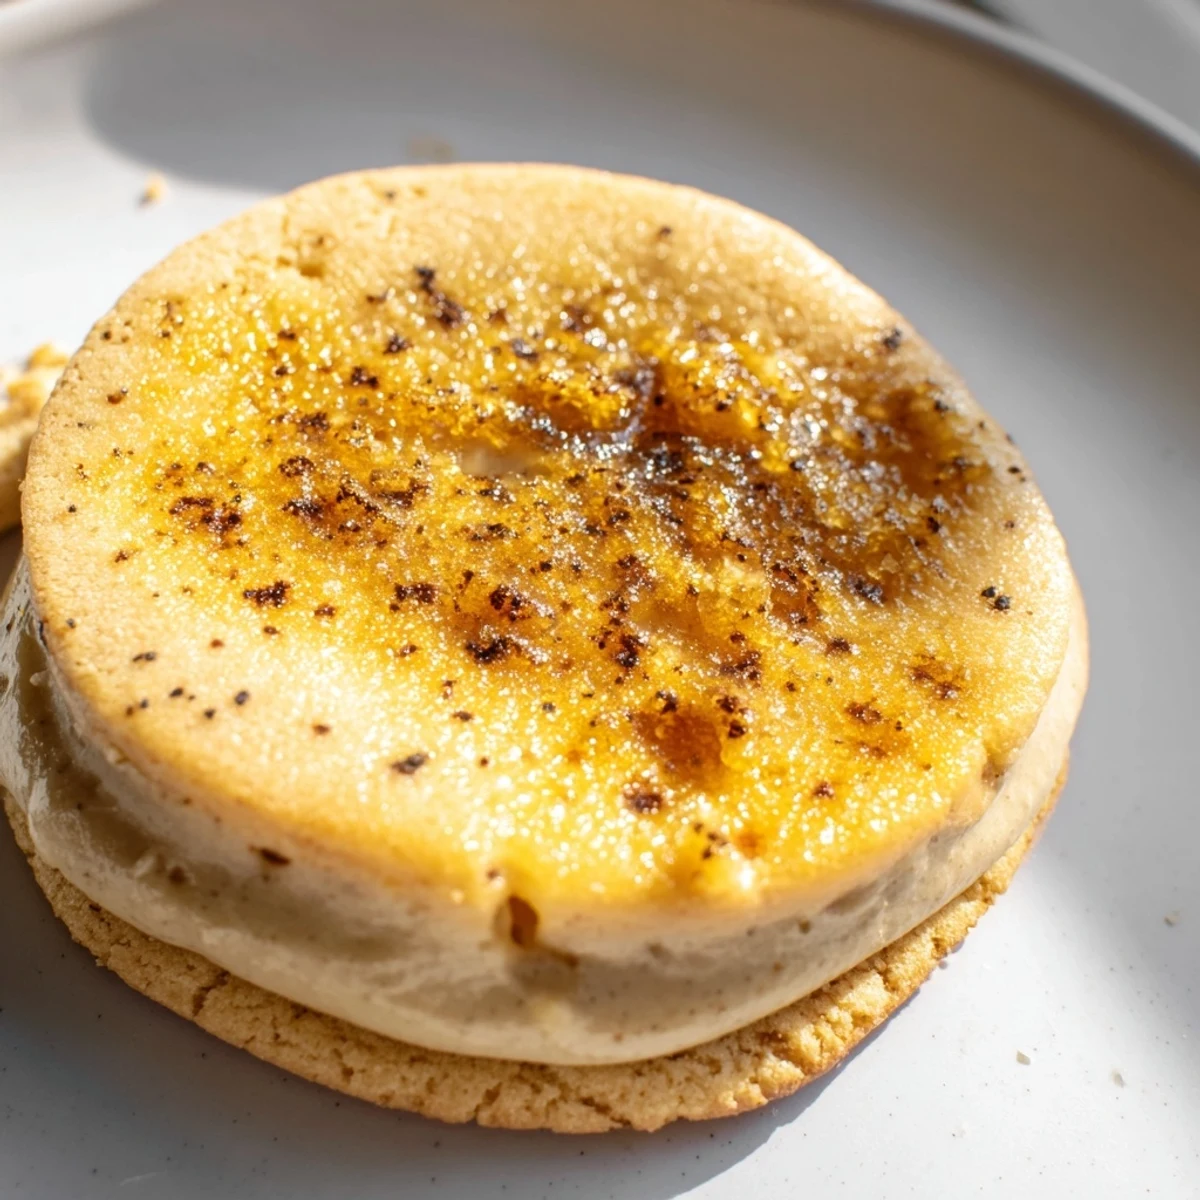
 These became my go-to holiday treat after I made them for a cookie exchange and everyone demanded the recipe. There's something so special about biting through that caramelized top and hitting the cool creamy center. It's like a little surprise in every single bite.
Making Ahead
I've learned that the cookie dough freezes beautifully, so I often double the batch and keep half in the freezer for emergencies. You can scoop the filled cookies onto a parchment lined tray, freeze until solid, then transfer to a bag. Bake from frozen, adding just a couple extra minutes to the time.
Torch Technique
After many slightly burnt attempts, I figured out that moving the torch in slow circles about two inches from the surface creates the most even caramelization. Work in small sections and let the sugar cool between passes, otherwise you'll end up with dark spots instead of that beautiful golden crackle.
Serving Suggestions
These are best the same day you make them because that burnt sugar starts to soften over time, though they're still delicious. Serve them on a pretty plate and watch people's faces when they crack through that top layer.
- A cup of hot coffee or espresso cuts through the richness perfectly
- They pair beautifully with fresh berries if you want something lighter alongside
- Store any leftovers in a single layer to prevent the tops from getting sticky
 Save to Pinterest
 There's something so satisfying about making a dessert that looks and tastes this impressive. Every time I serve them, someone asks how long I spent in pastry school.
Recipe FAQs
- → Can I make the dough ahead of time?
-
Yes, the cookie dough can be prepared and refrigerated for up to 24 hours before baking. Let it soften slightly at room temperature for easier scooping and filling.
- → What if I don't have a kitchen torch?
-
You can caramelize the sugar topping under your oven broiler. Place cookies on a baking sheet and broil for 1-2 minutes, watching closely to prevent burning. The sugar will bubble and harden as it cools.
- → How should I store these cookies?
-
Store in an airtight container at room temperature for up to 3 days. The caramelized topping may soften slightly over time. For longer storage, freeze unfilled cookies and torch the sugar just before serving.
- → Can I use vanilla extract instead of vanilla bean paste?
-
Absolutely. Vanilla bean paste provides those signature specks and intense flavor, but pure vanilla extract works perfectly well. Use the same measurement called for in the filling.
- → Why do I need to chill the dough?
-
Chilling isn't strictly necessary for this dough, but if it feels too soft or sticky to work with, refrigerate for 30 minutes. This makes shaping and sealing the filling easier without affecting the final texture.
- → What's the best way to prevent the filling from leaking?
-
Ensure the dough disc is large enough to fully encase the filling. Pinch the seams tightly and place cookies seam-side down on the baking sheet. Avoid overfilling—1 teaspoon of filling is the perfect amount.
